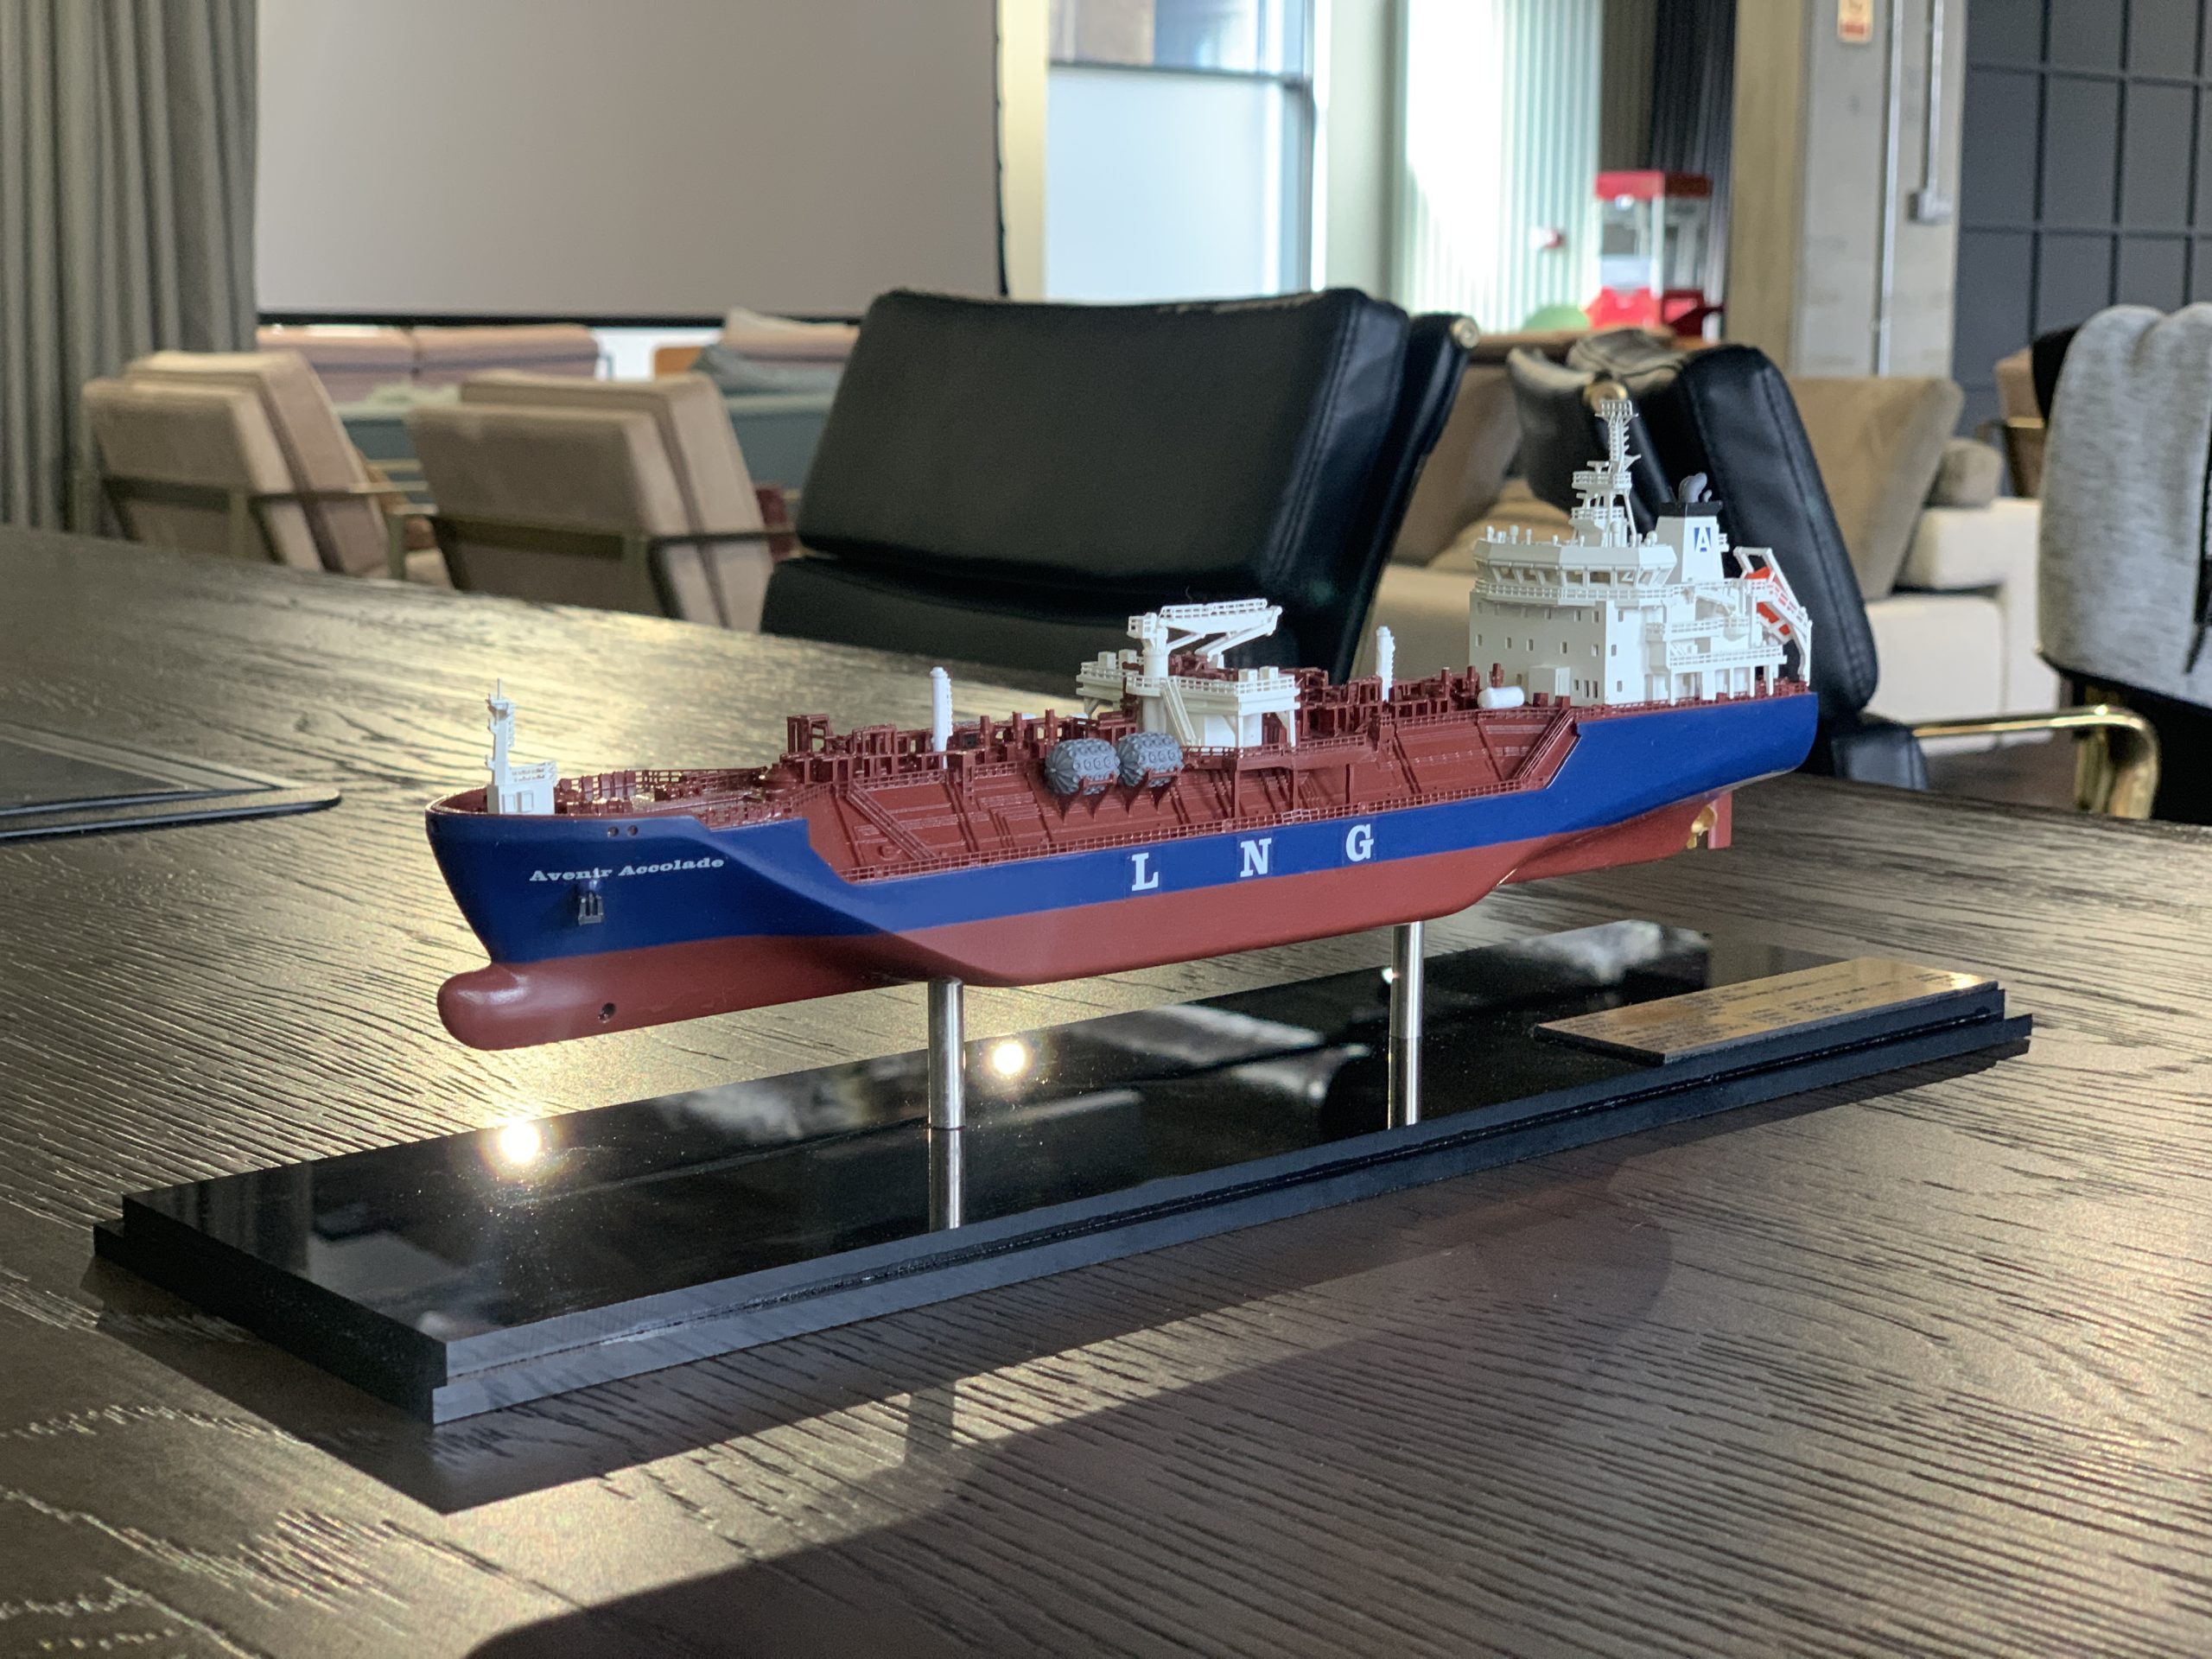
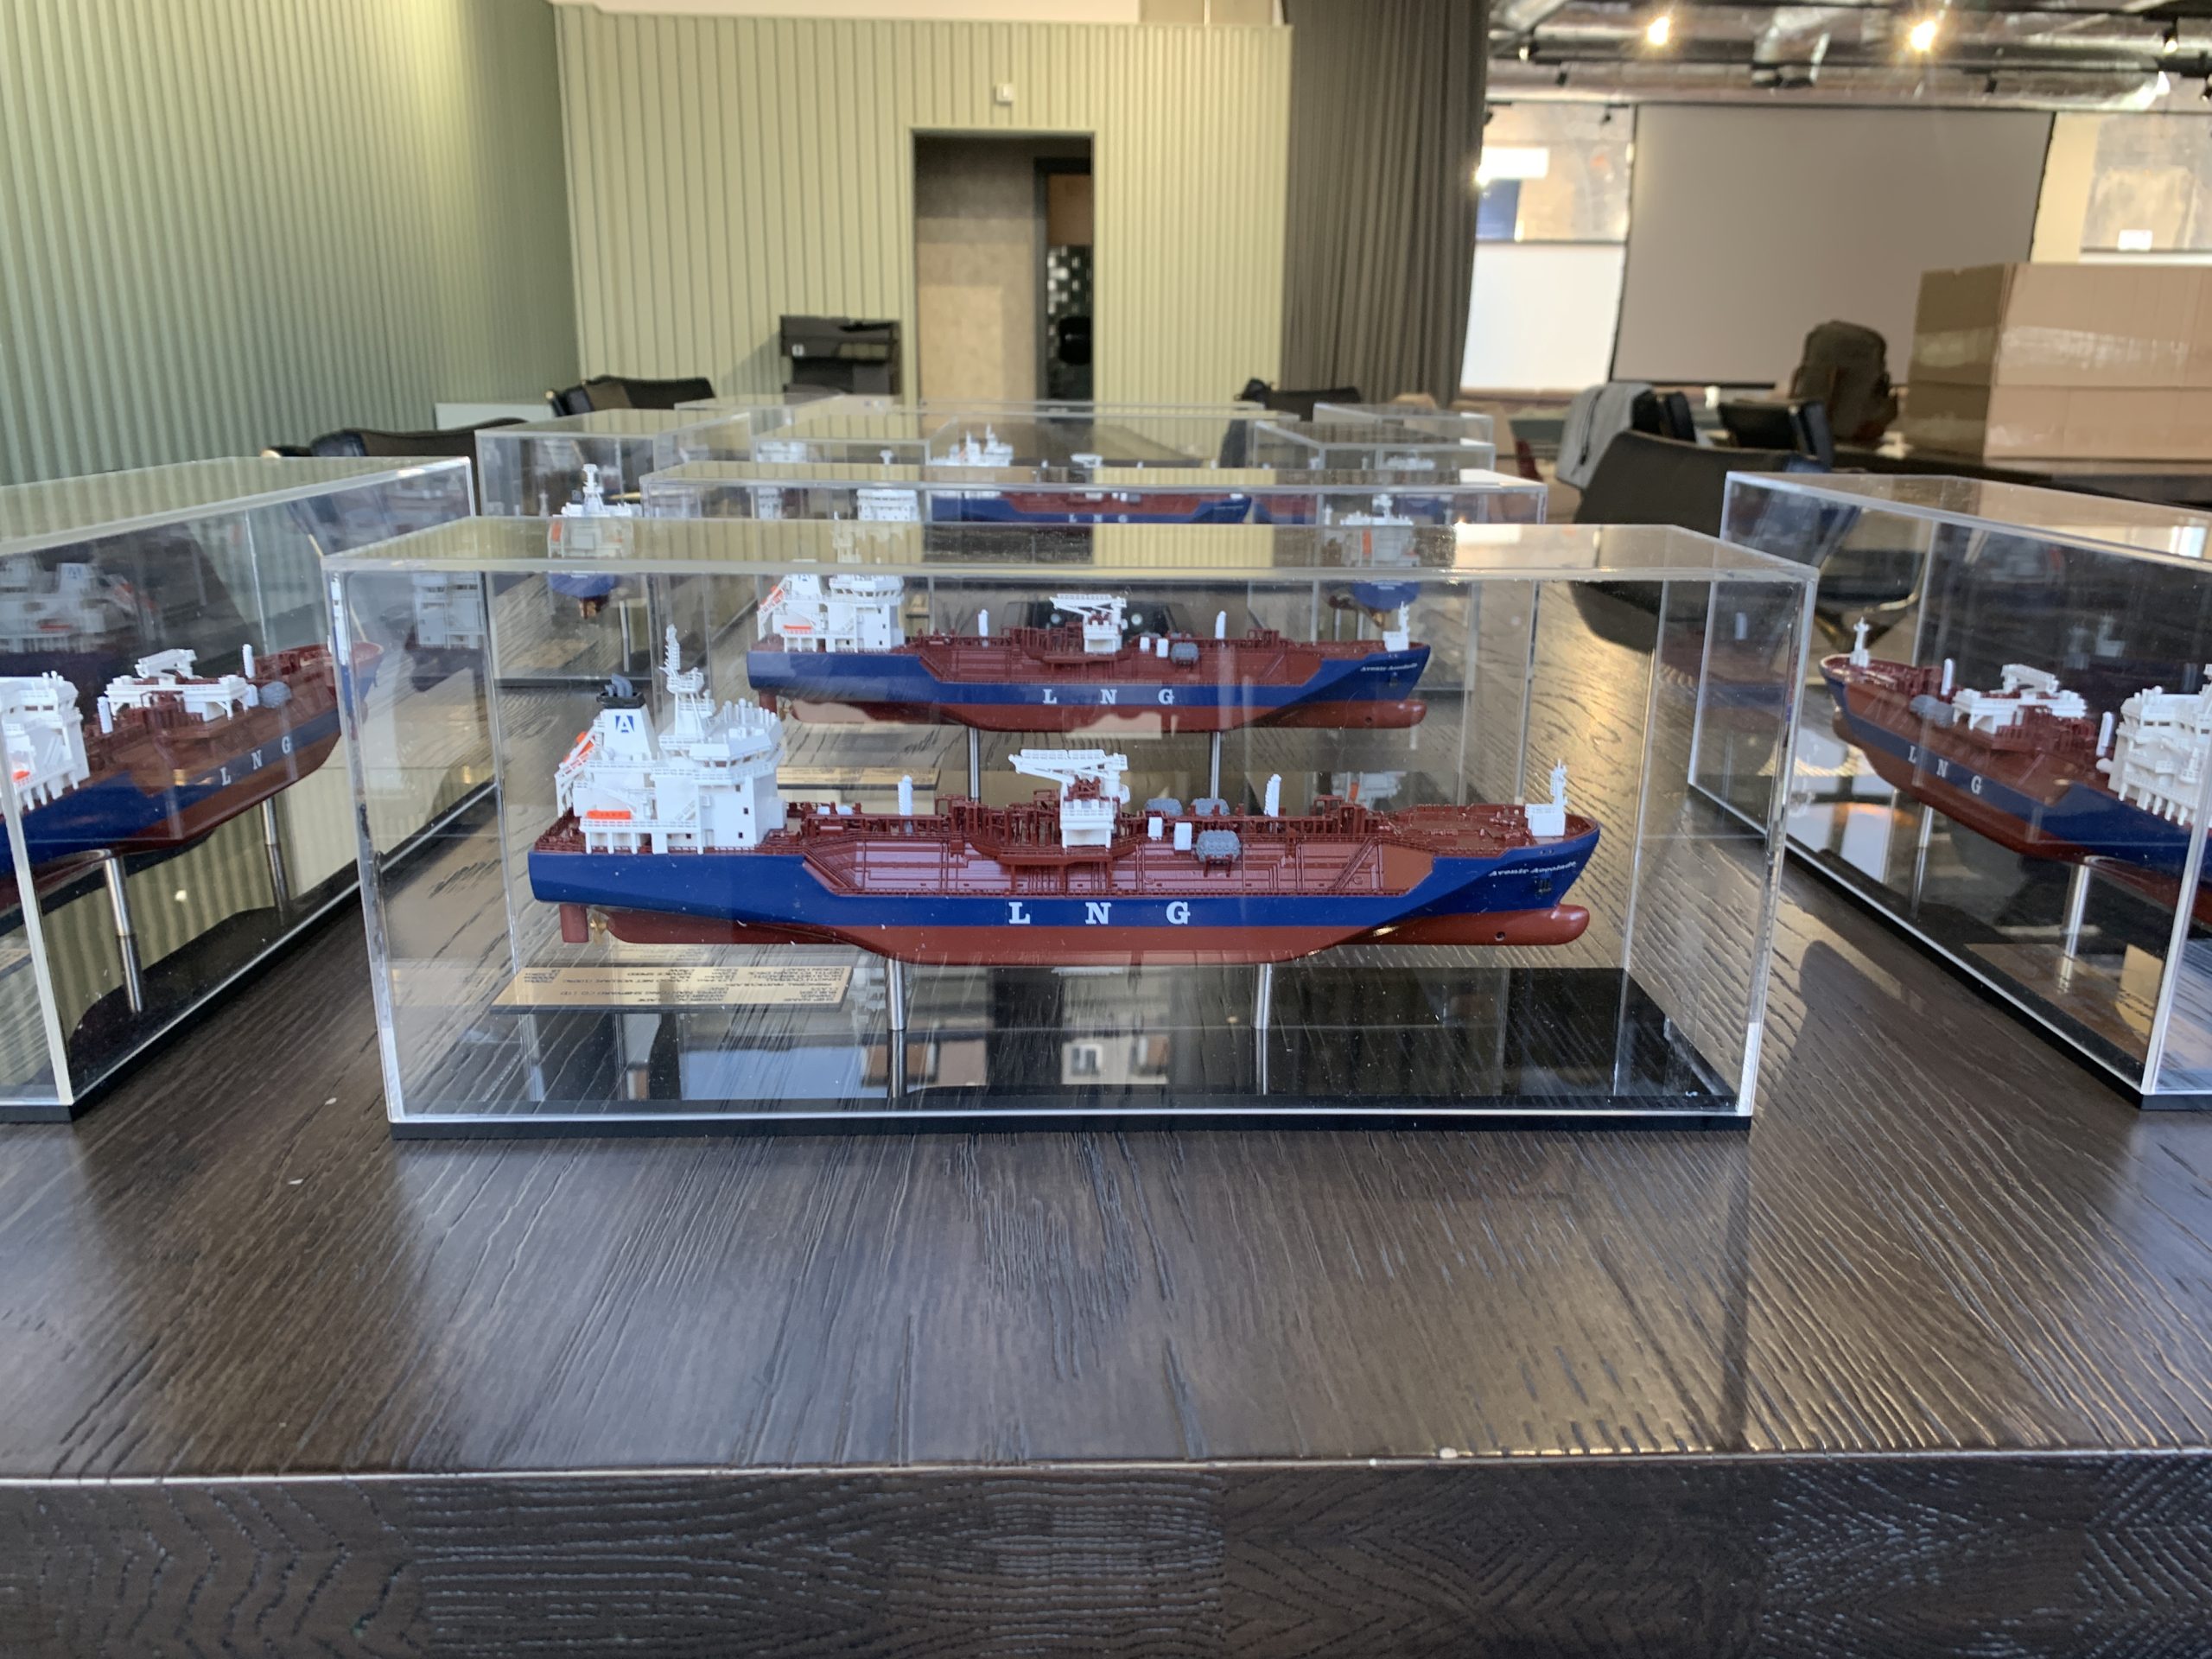
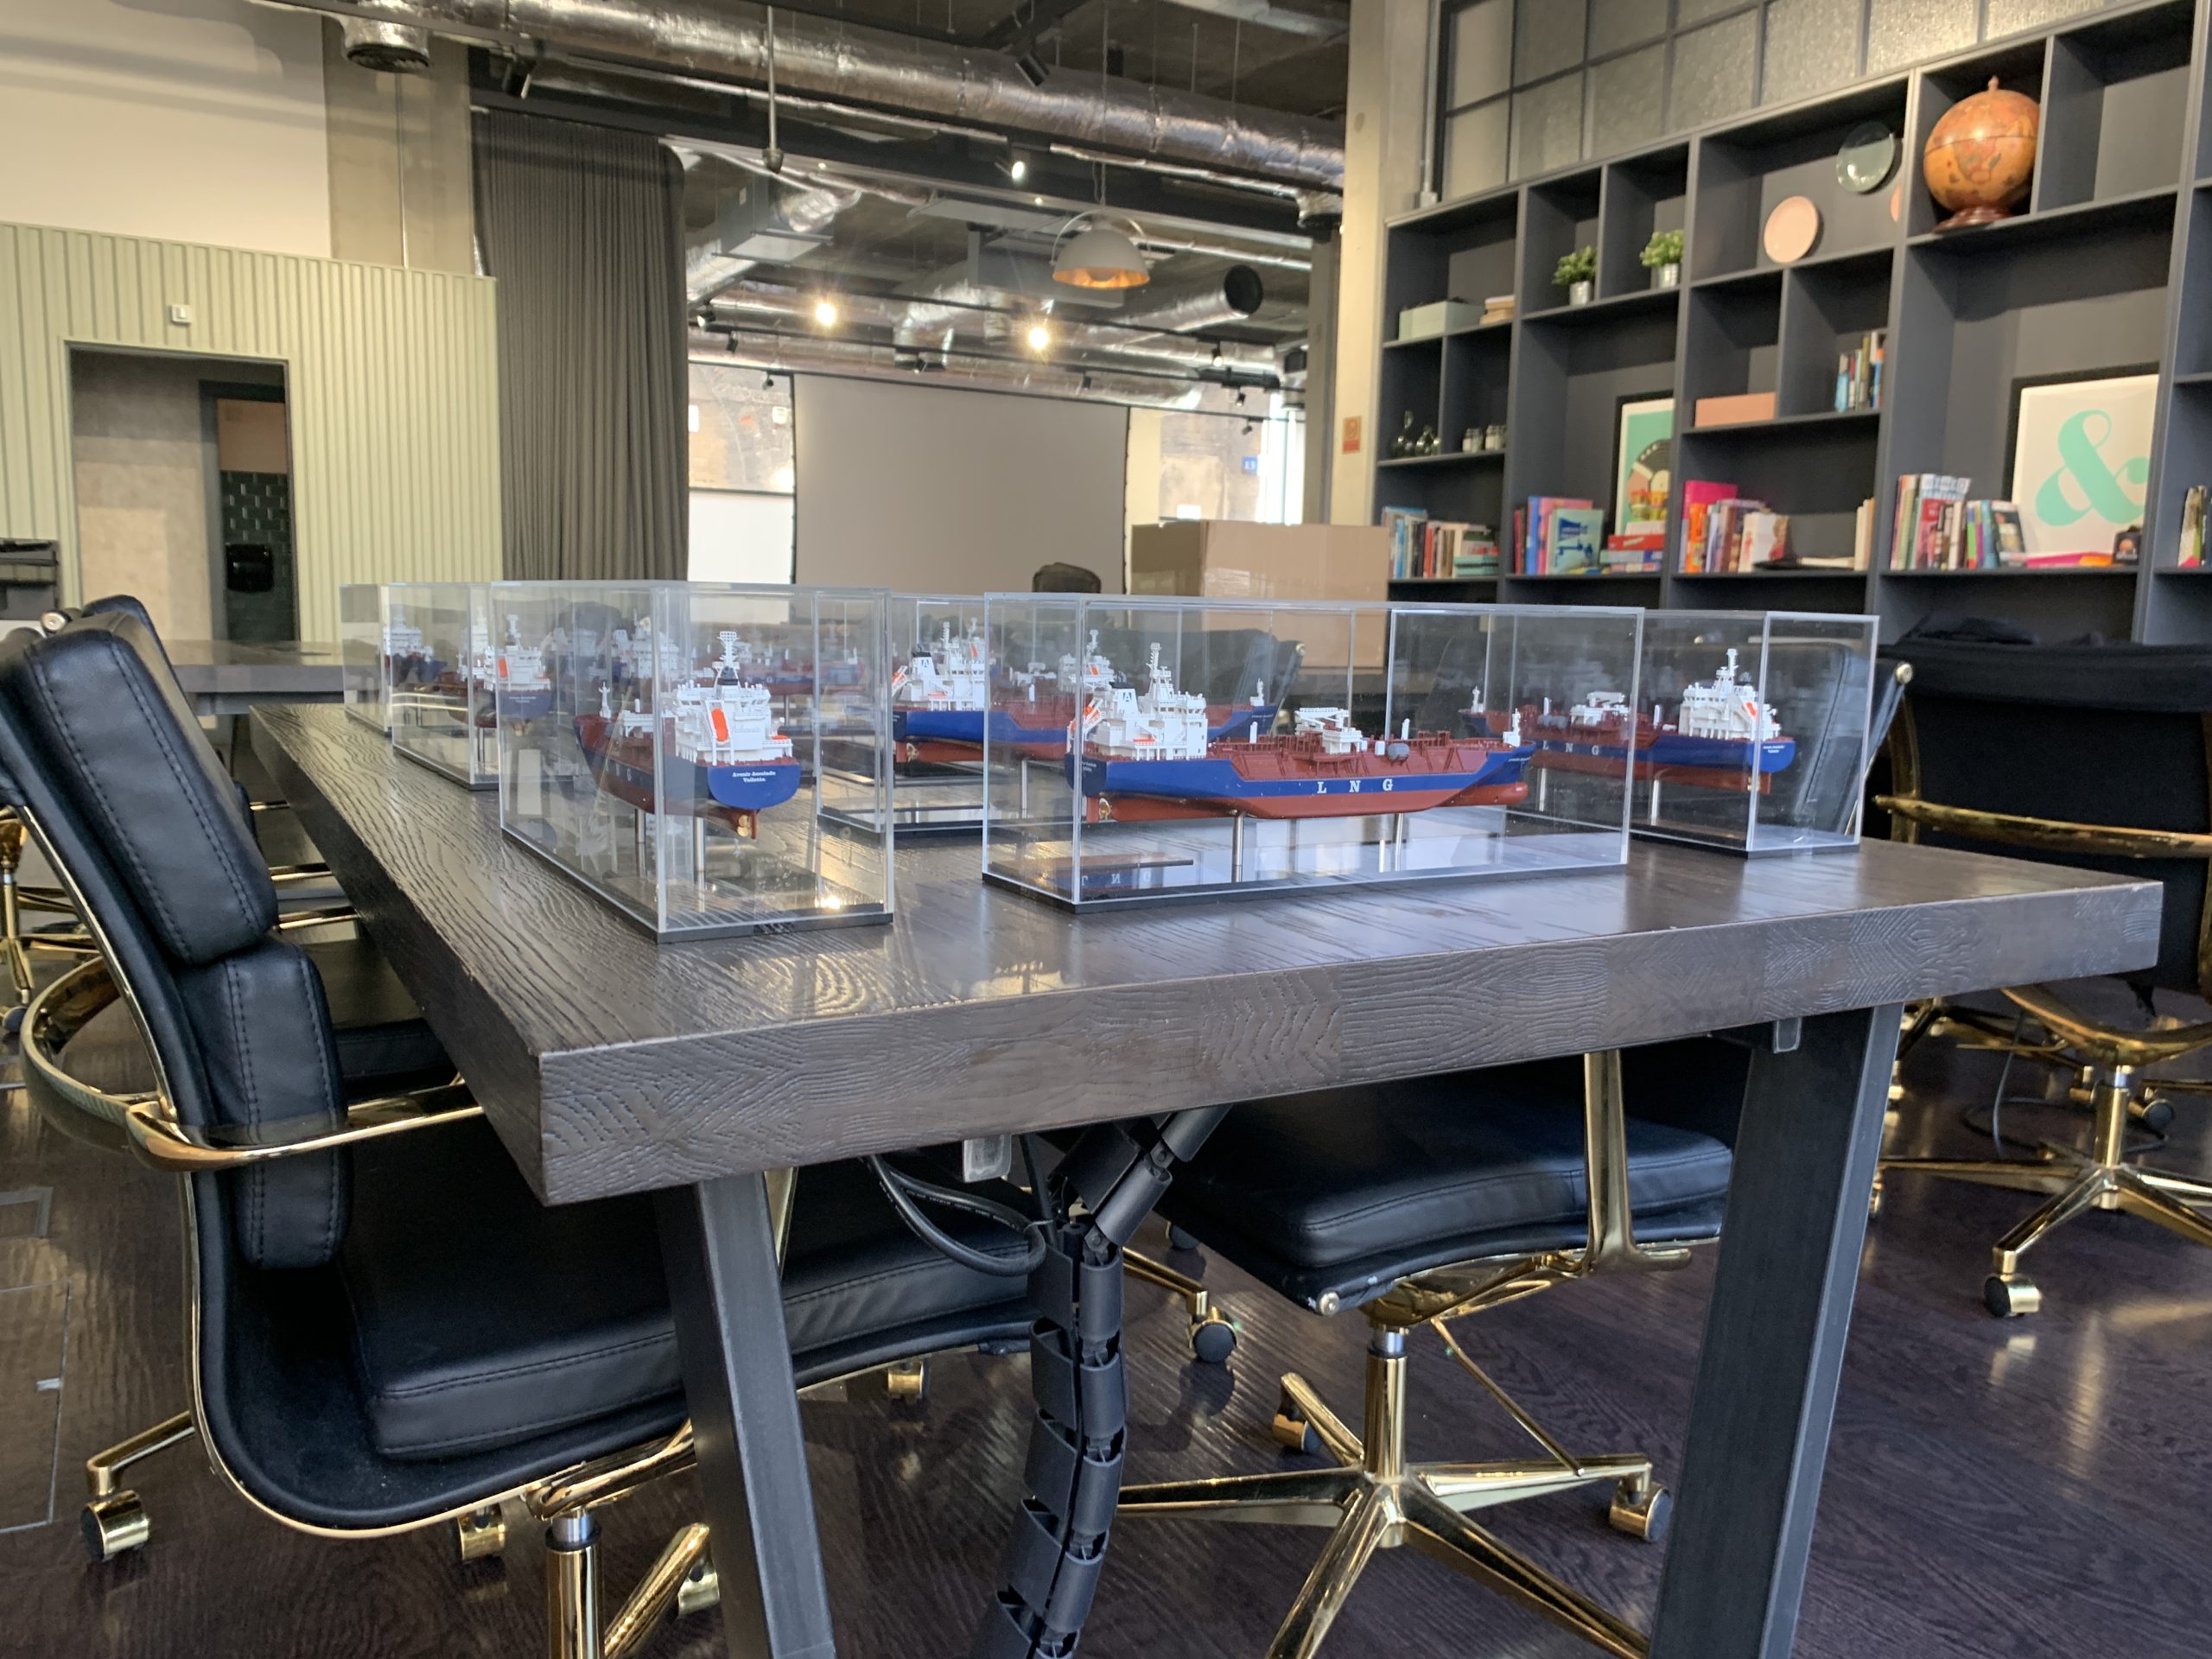
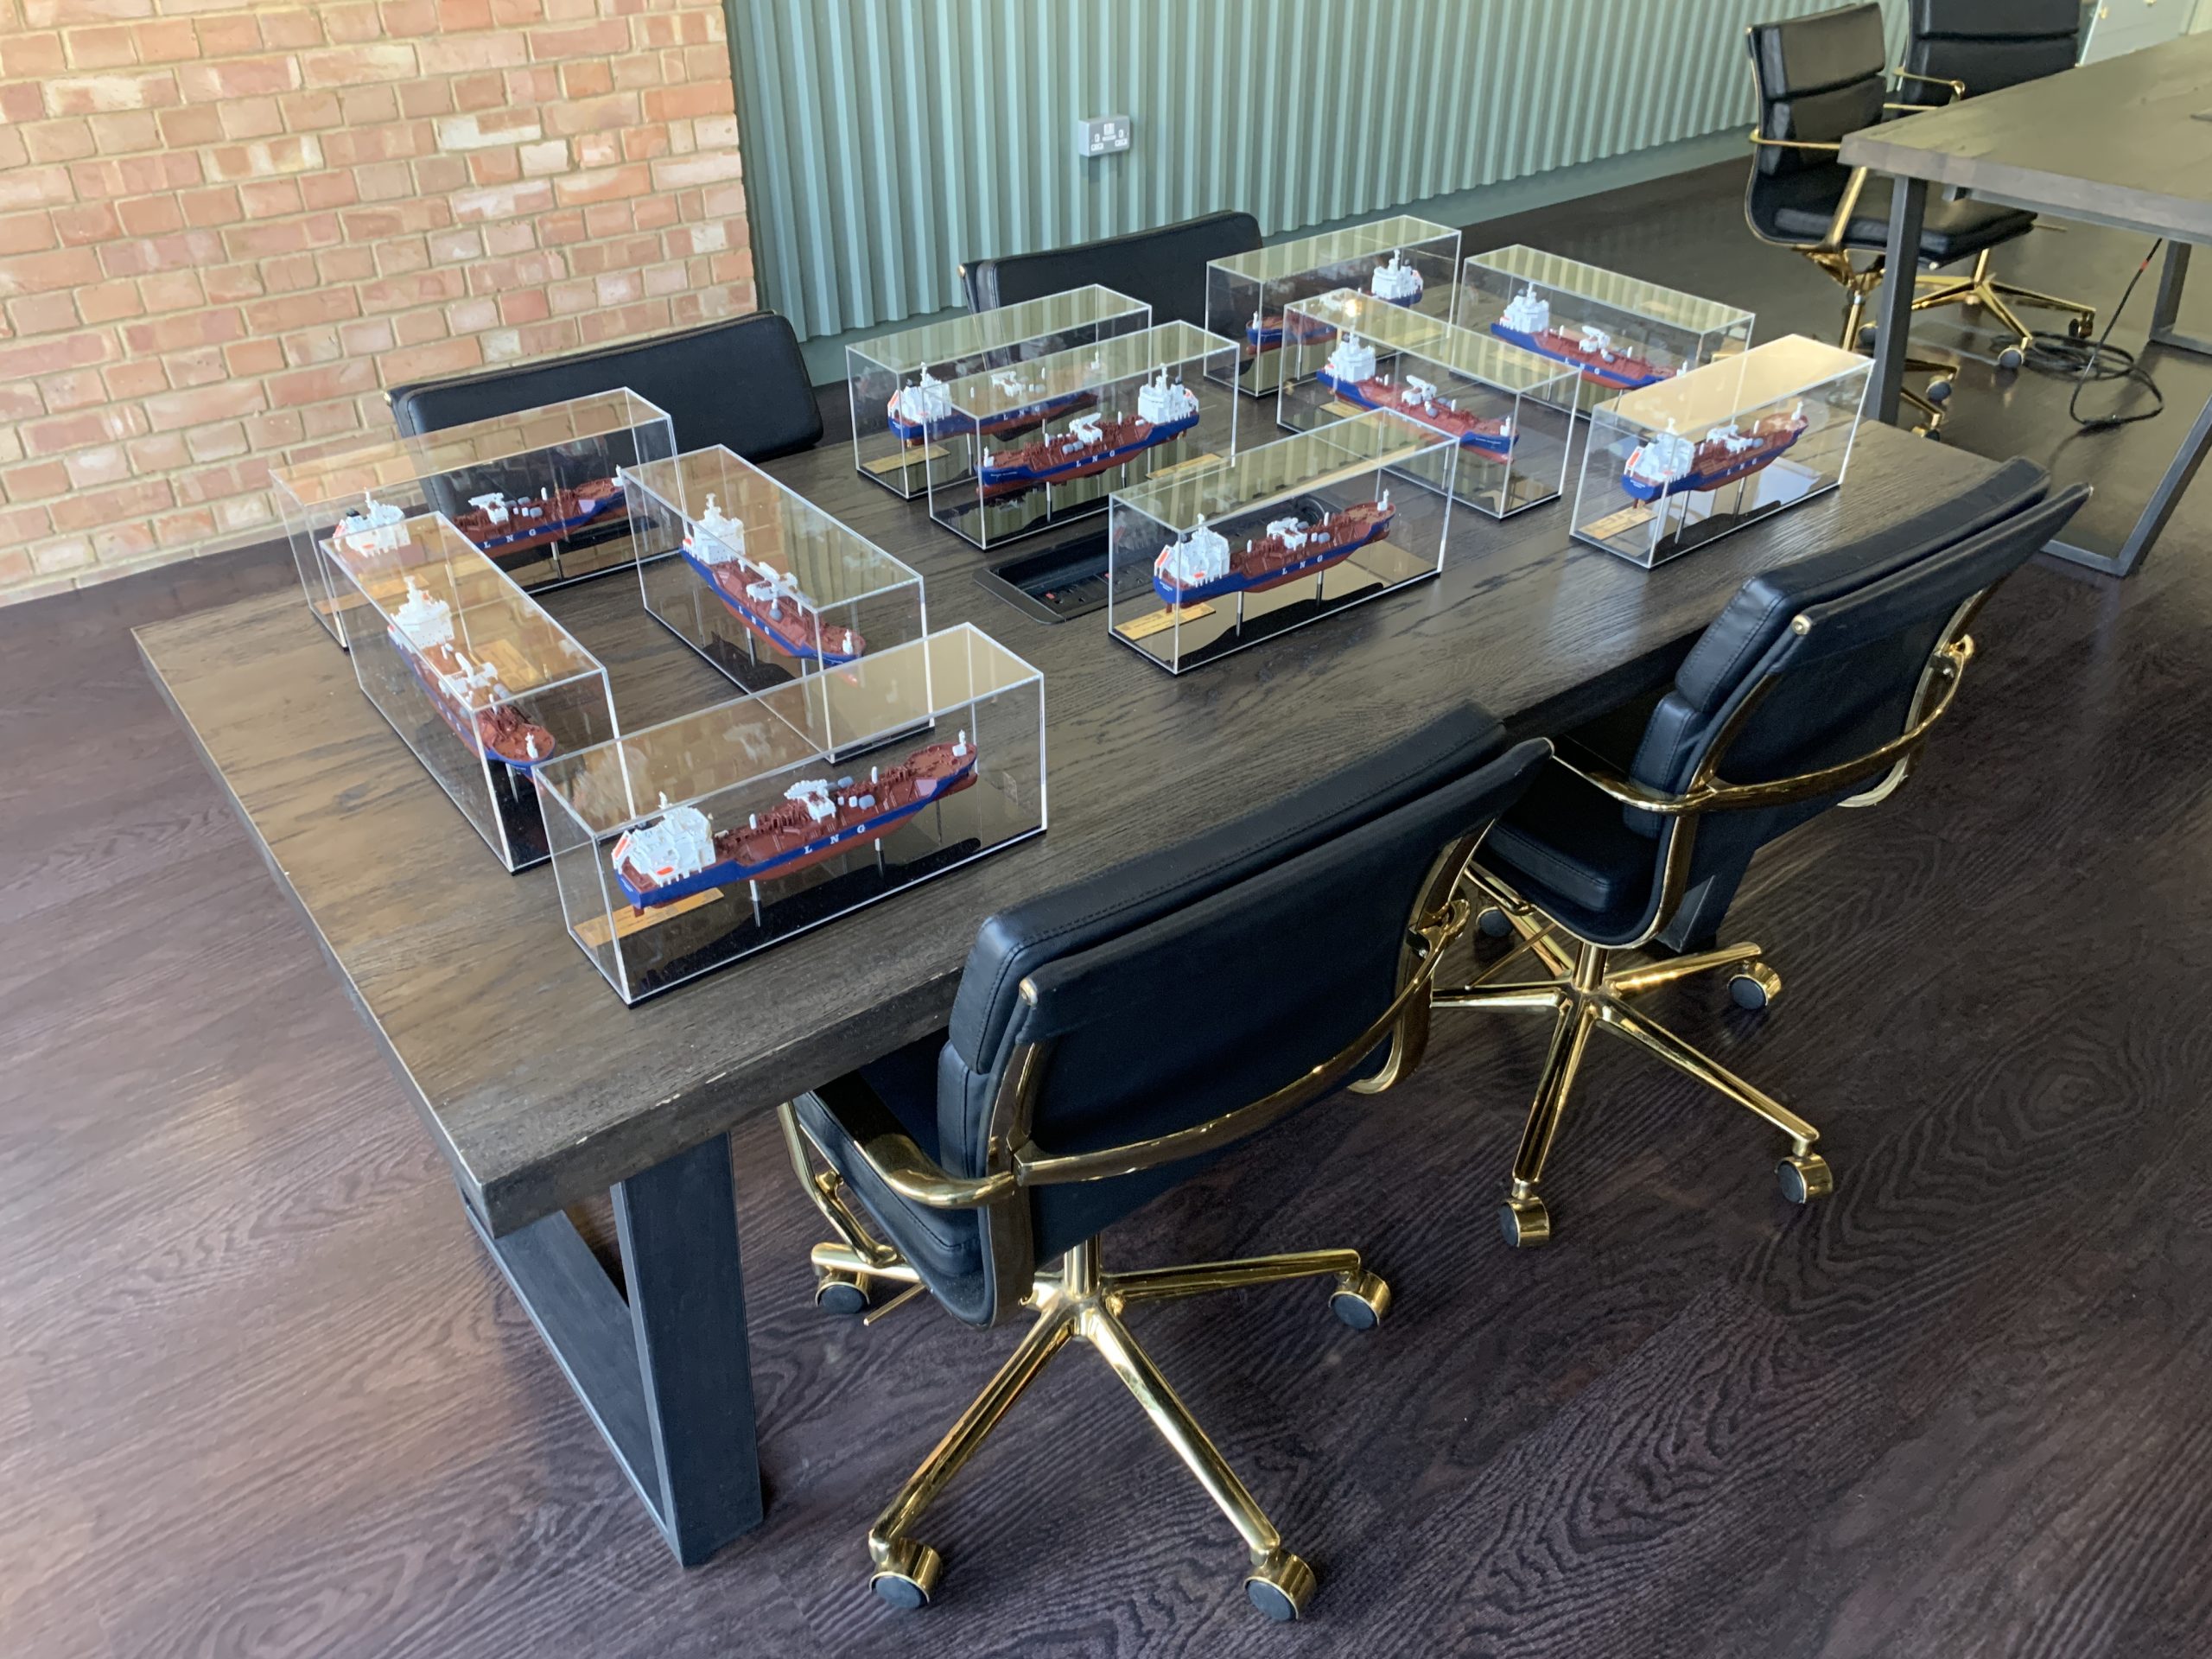
Towards the end of 2021, Premier Ship Models was tasked with constructing 35 models of the new line of Avenir ships. This consisted of: eleven Accolades, eight Aspirations, eight Ascensions and eight Achievements. This case study will focus on the eleven Accolades, the research that goes into the initial stages and how they’re produced using 3D-printing technology.
Avenir LNG originated in 2018, and they’re a fully integrated small-scale LNG supplier. They remain strong at the forefront in one of the quickest growing sectors of alternative fuel distribution.
Petrol and Diesel, as we know them, are both finite and harmful to the environment. Rising awareness of this has led to a much greater demand for cleaner fuels, and this has subsequently resulted in a spike in figures for both the import and transportation of LNG. According to Bloomberg, by the year 2030, 450 million metric tonnes per annum (MMtpa) of LNG will be needed around the world. This is an increase from 308MMtpa in 2018, and the majority of this surge will be largely driven by Asia, primarily China and India. Asia as a continent will account for 86% of the total growth.
3D-printing is an incredibly complex profession. It requires you to understand three main things:
- The material
- The printer
- The methodology of the piece and your desired end result
The entire process is extremely specialist. Our 3D-modeller focuses on two skillsets when constructing models: creating the model in a digital manner and readying it for printing, and the separate skillset to take the parts from the printer and get them to a professionally high-standard.
When it comes to the actual process of 3D-printing, there are two core stages: presentation and production. Presentation involves researching the ships themselves, liaising with the client and then creating renders for said client to review. Production is the actual printing and subsequent construction of the unit as an entirety.
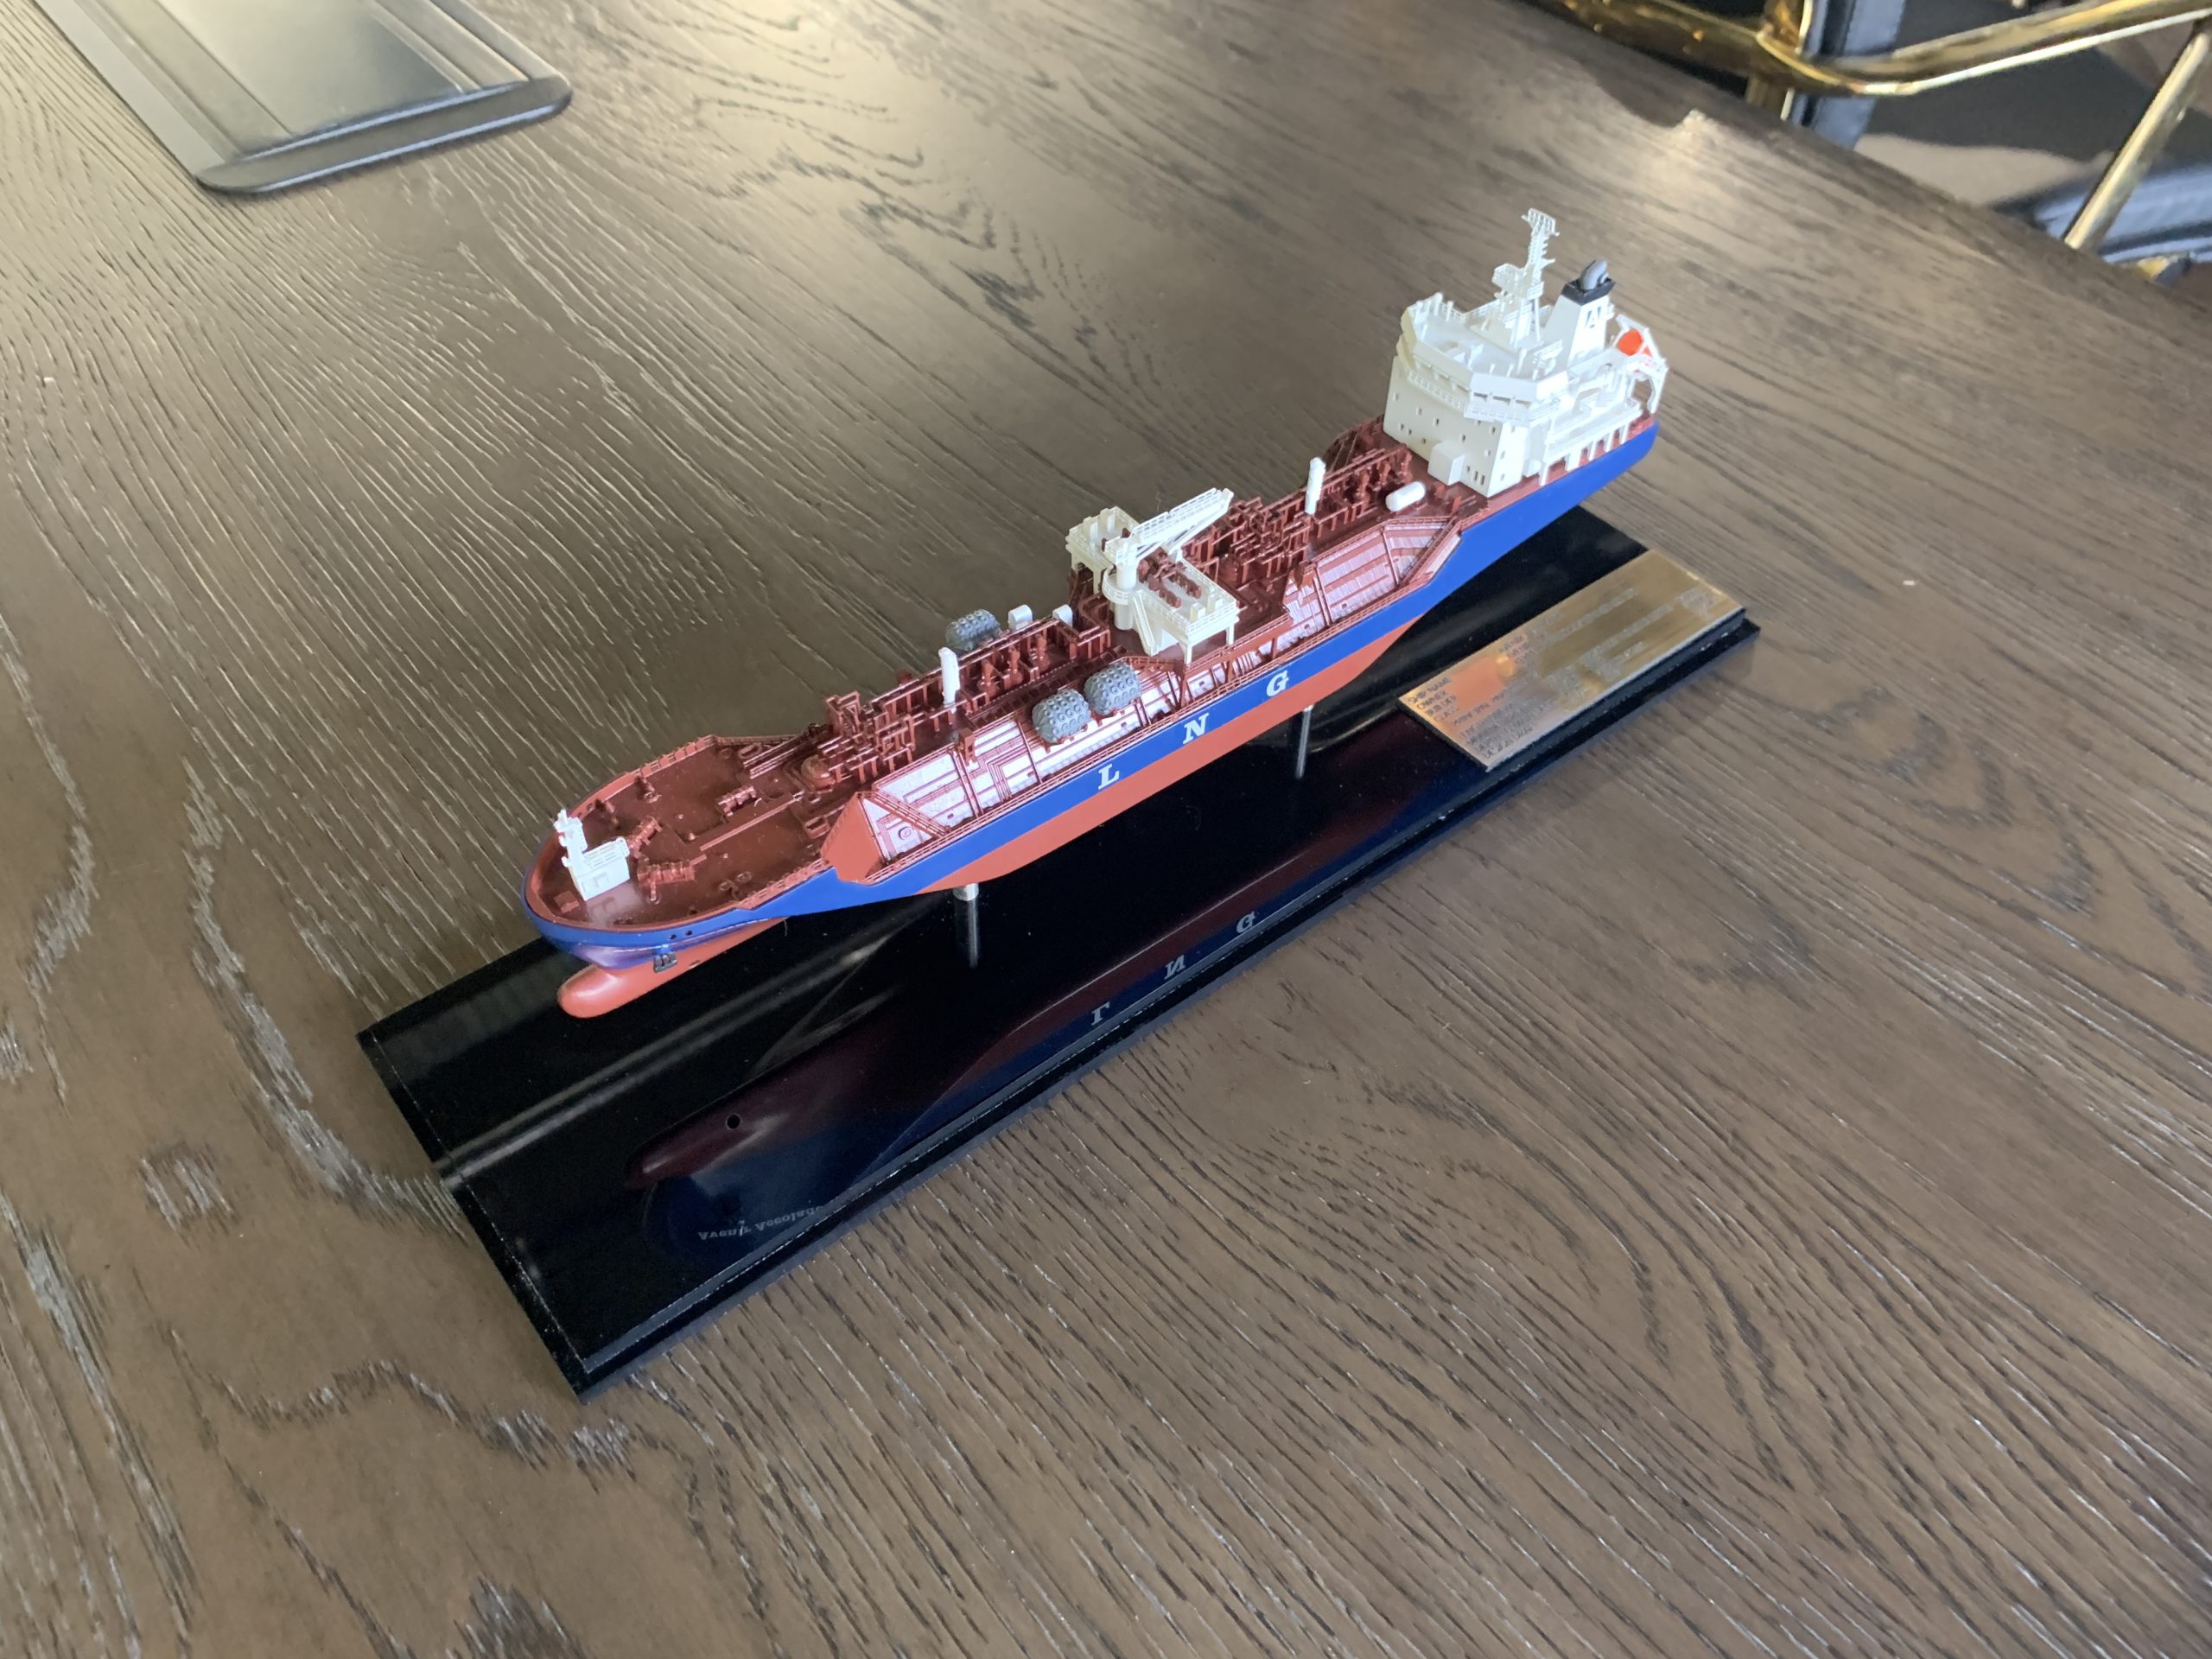
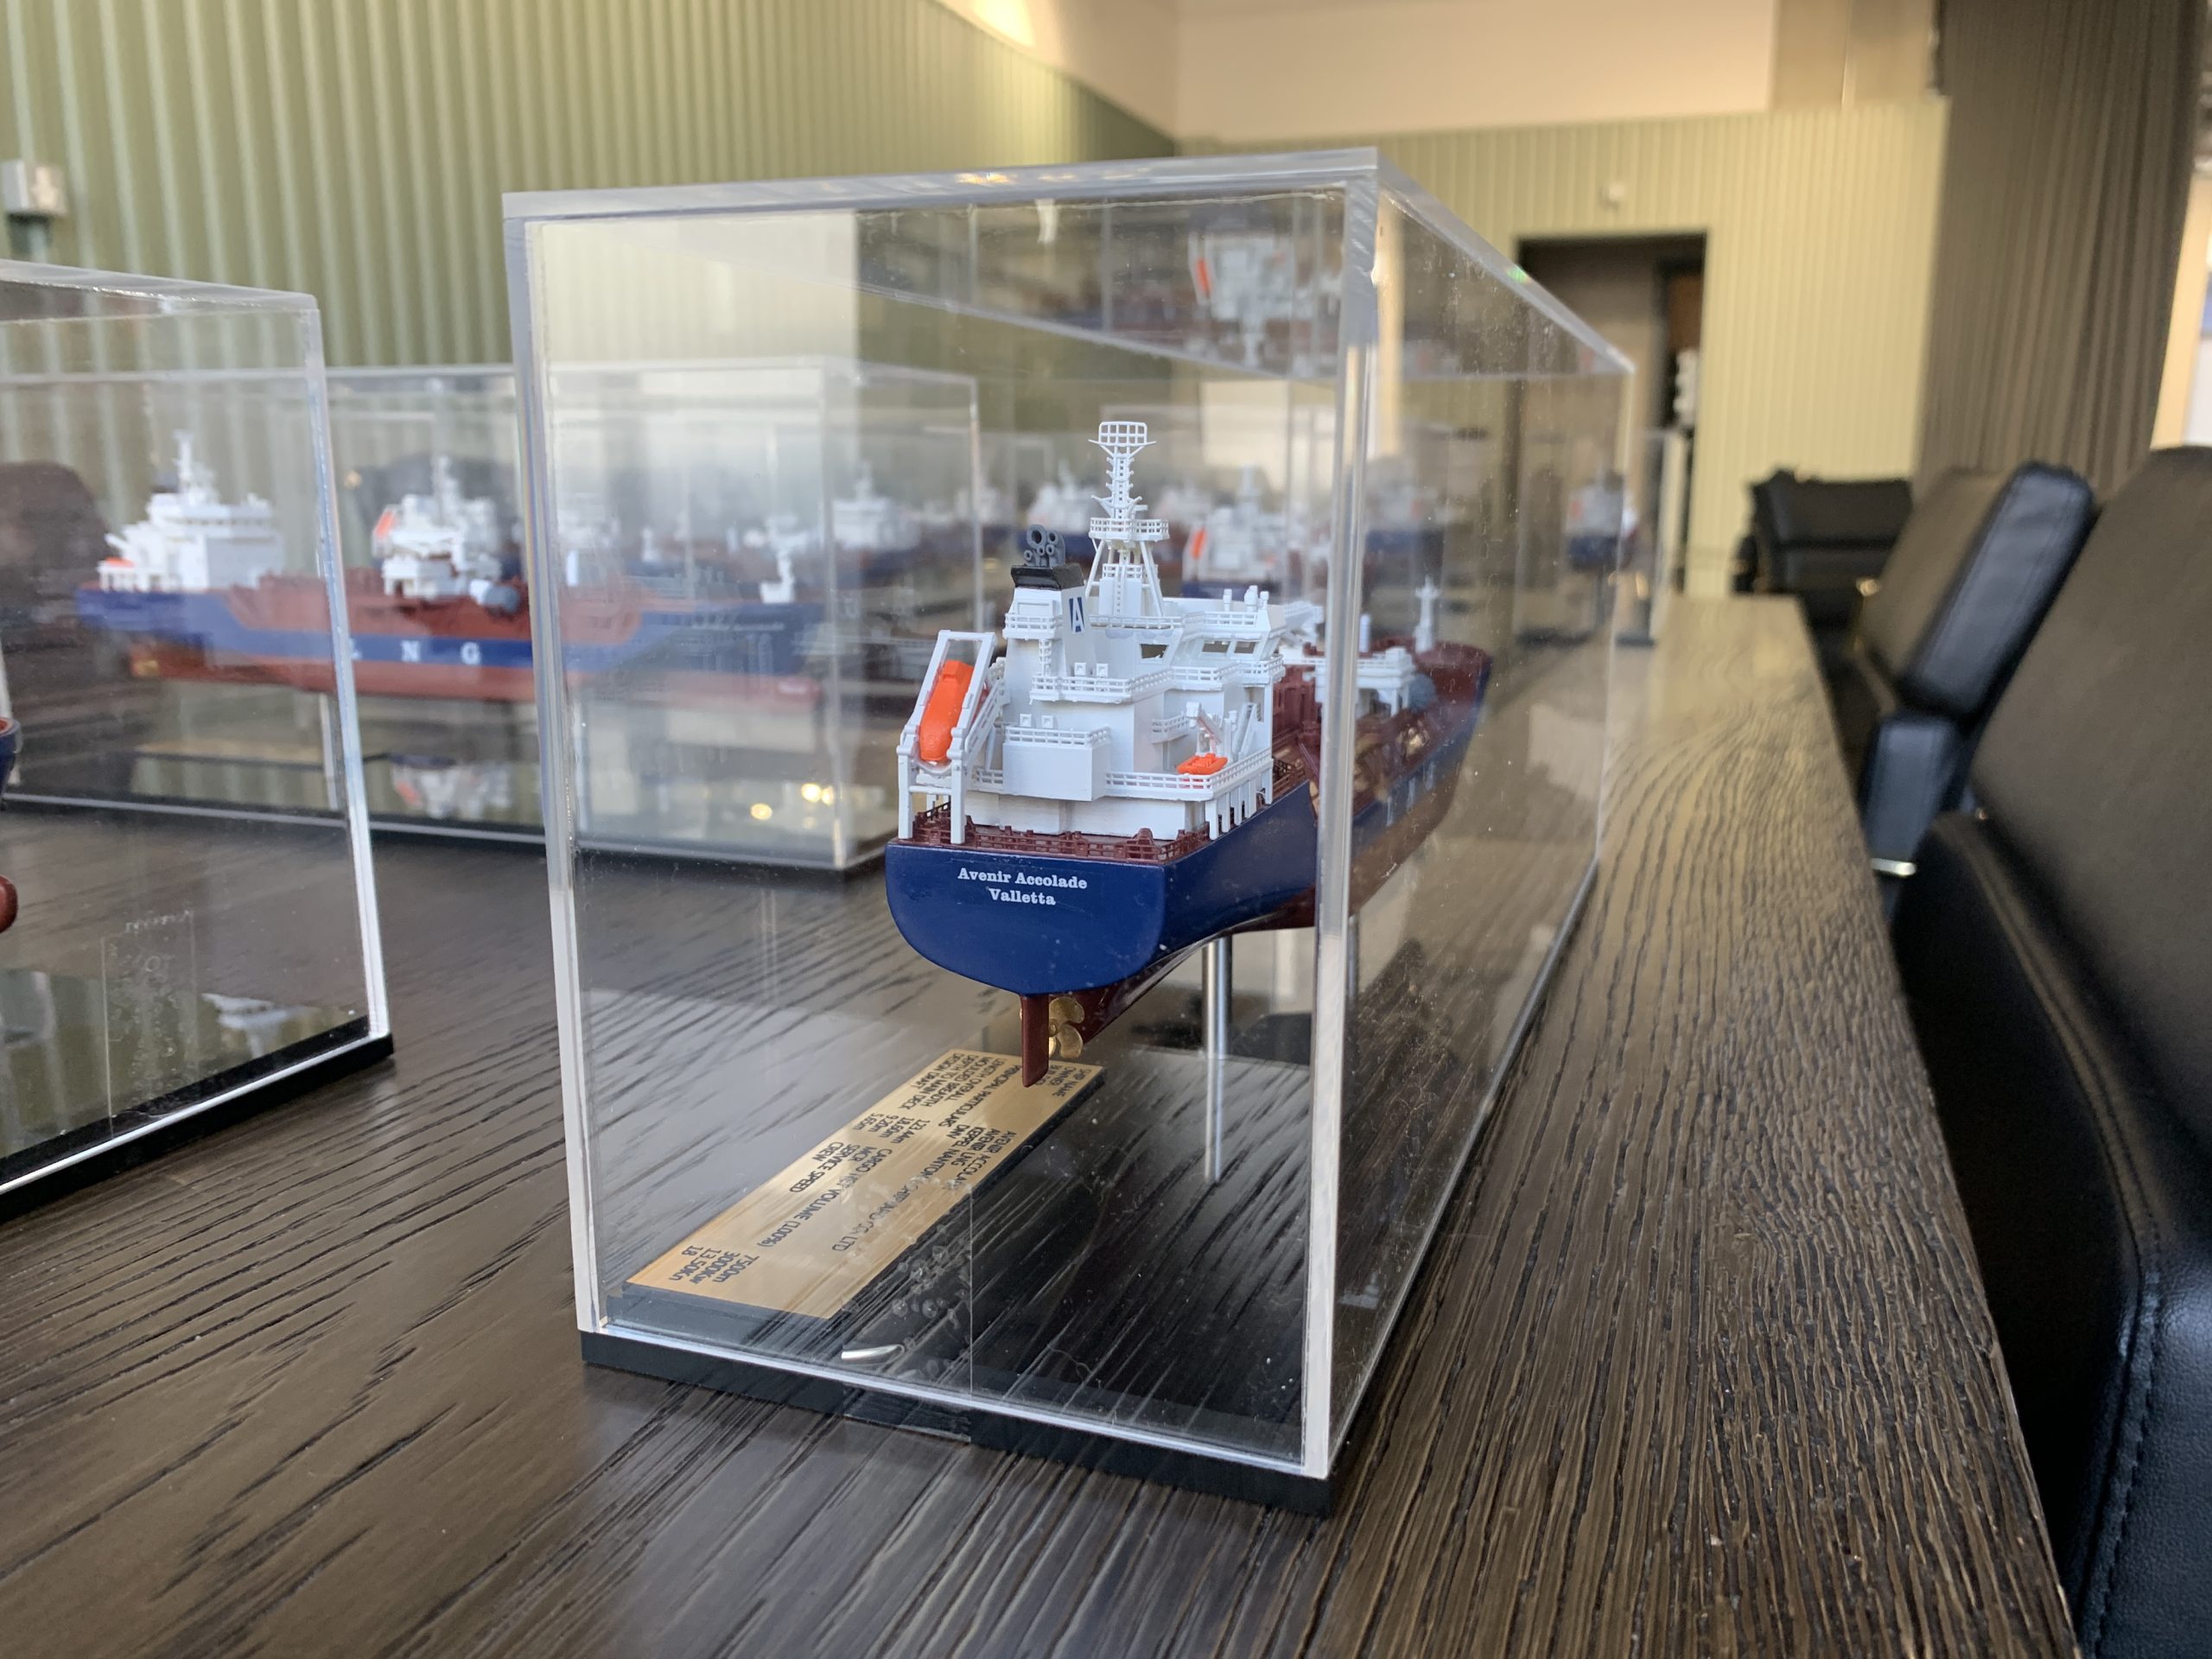
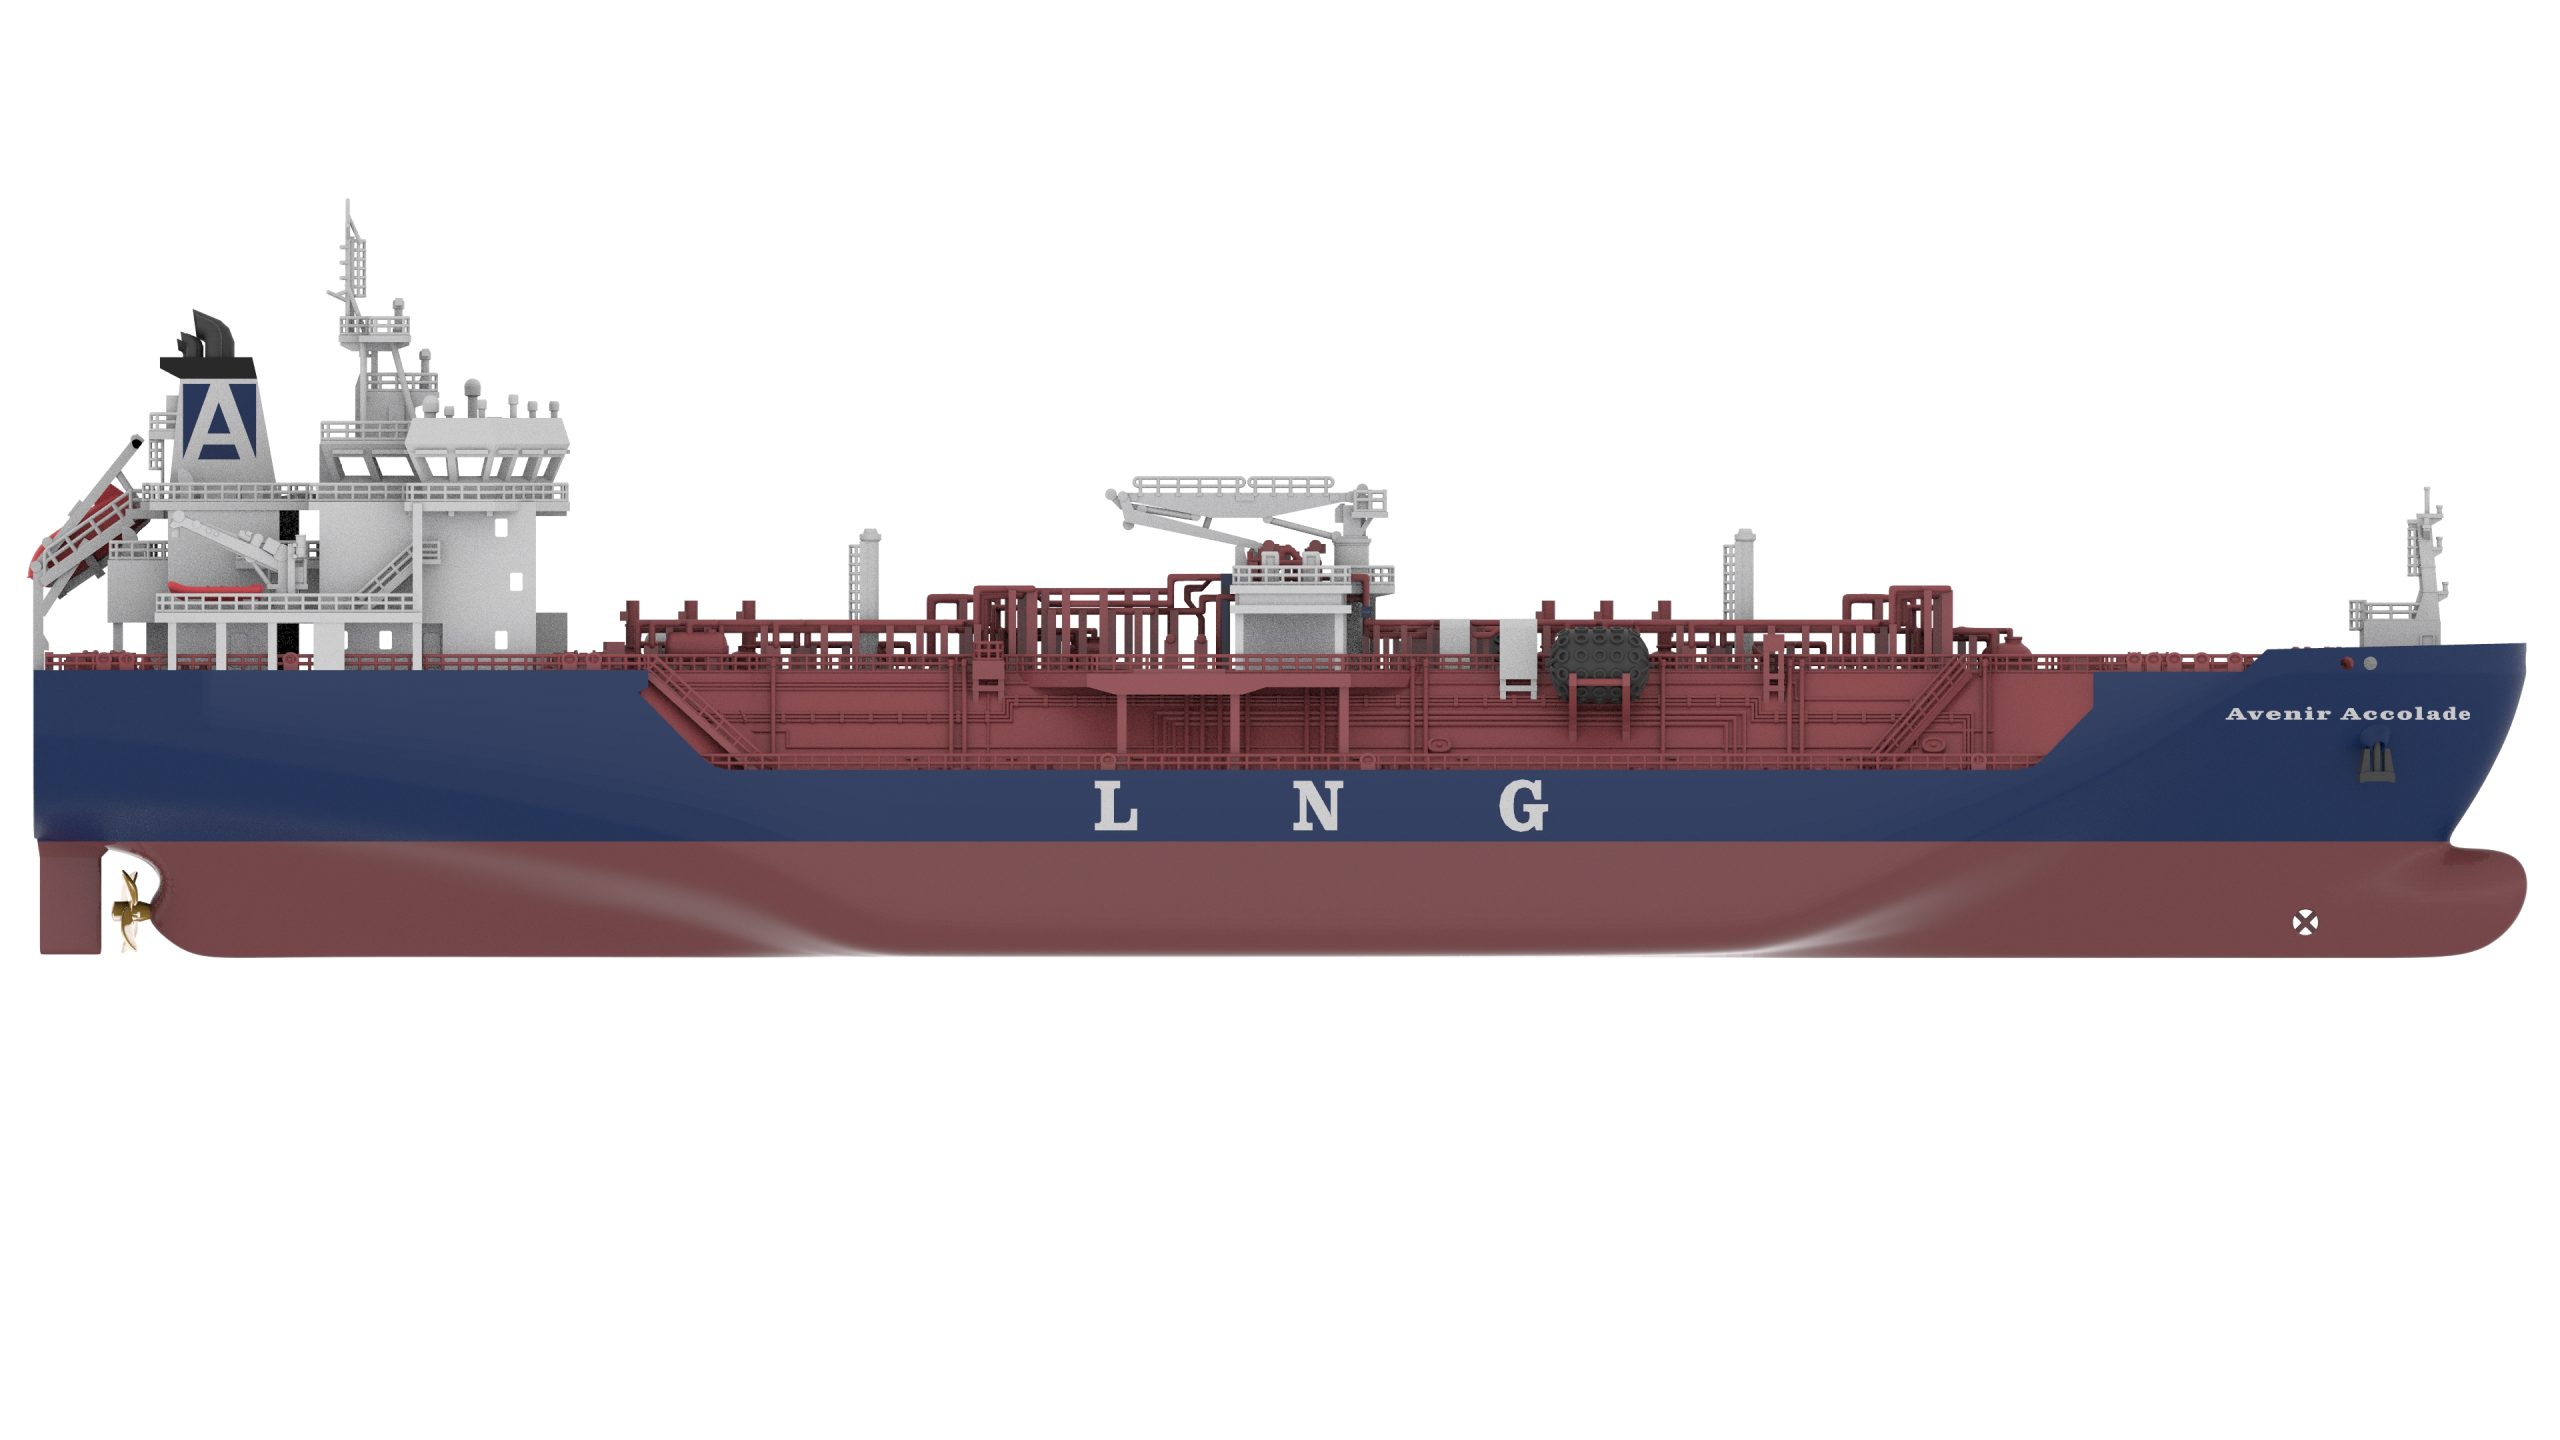
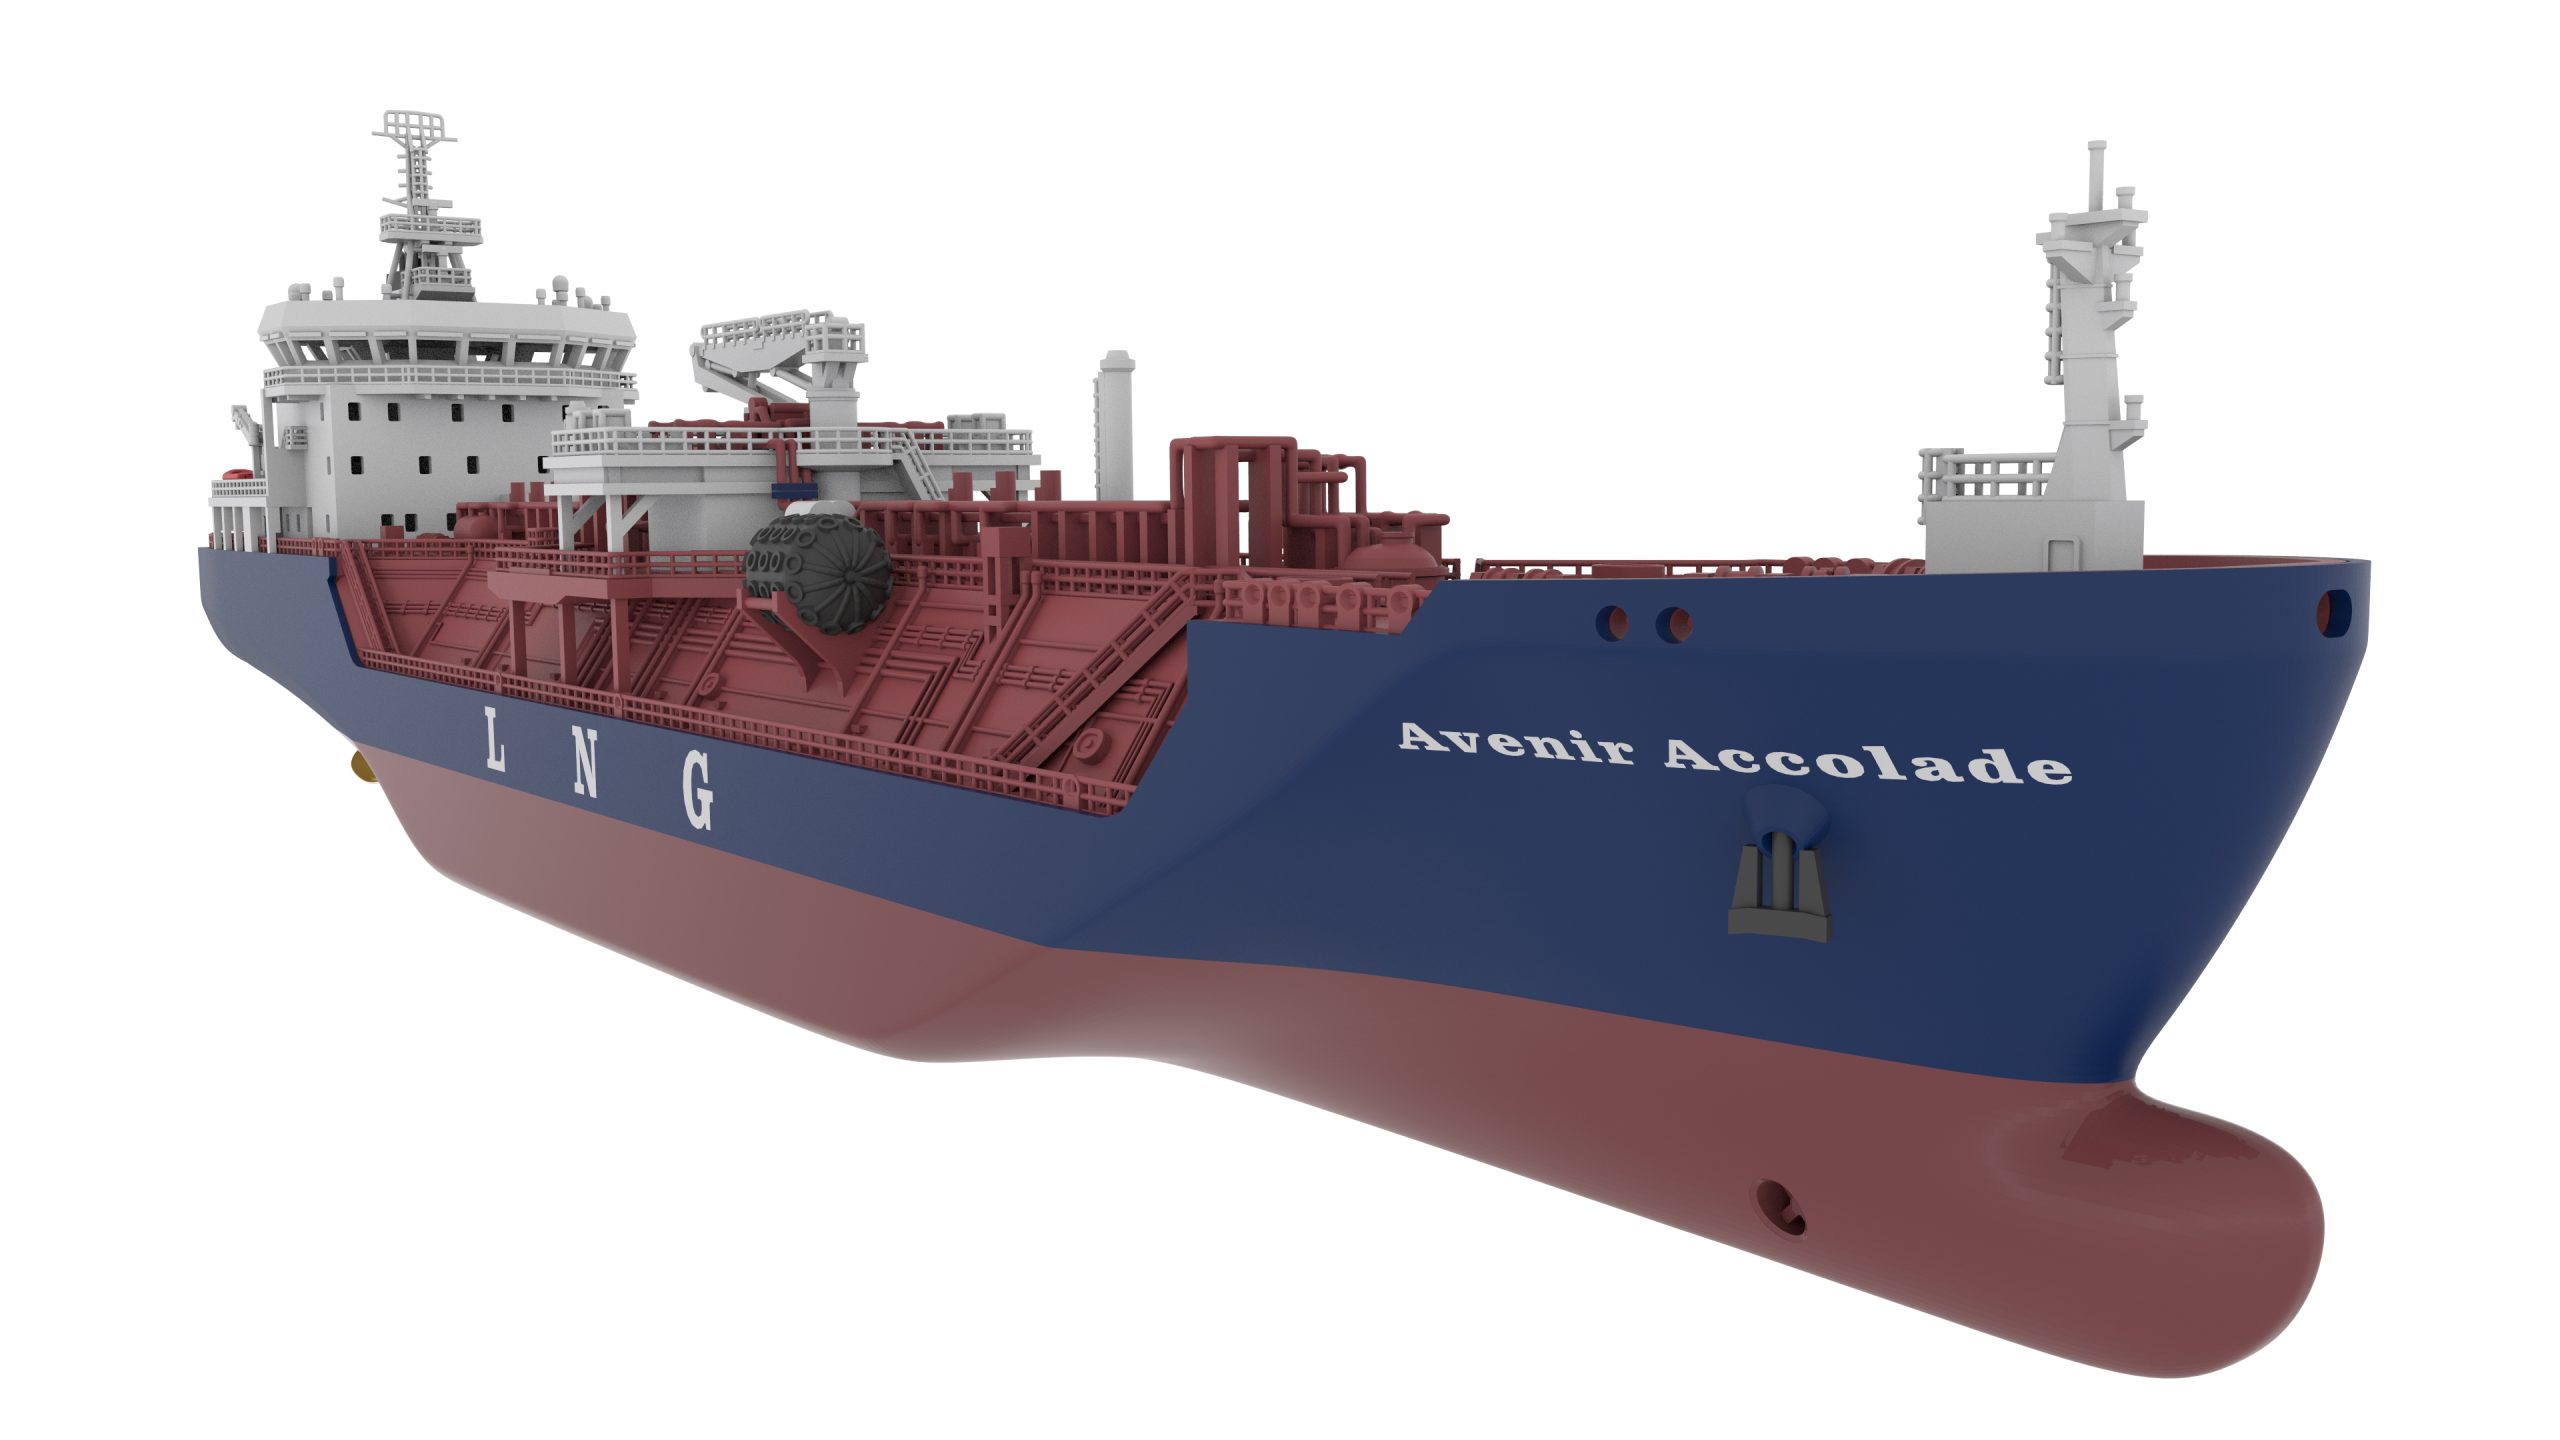
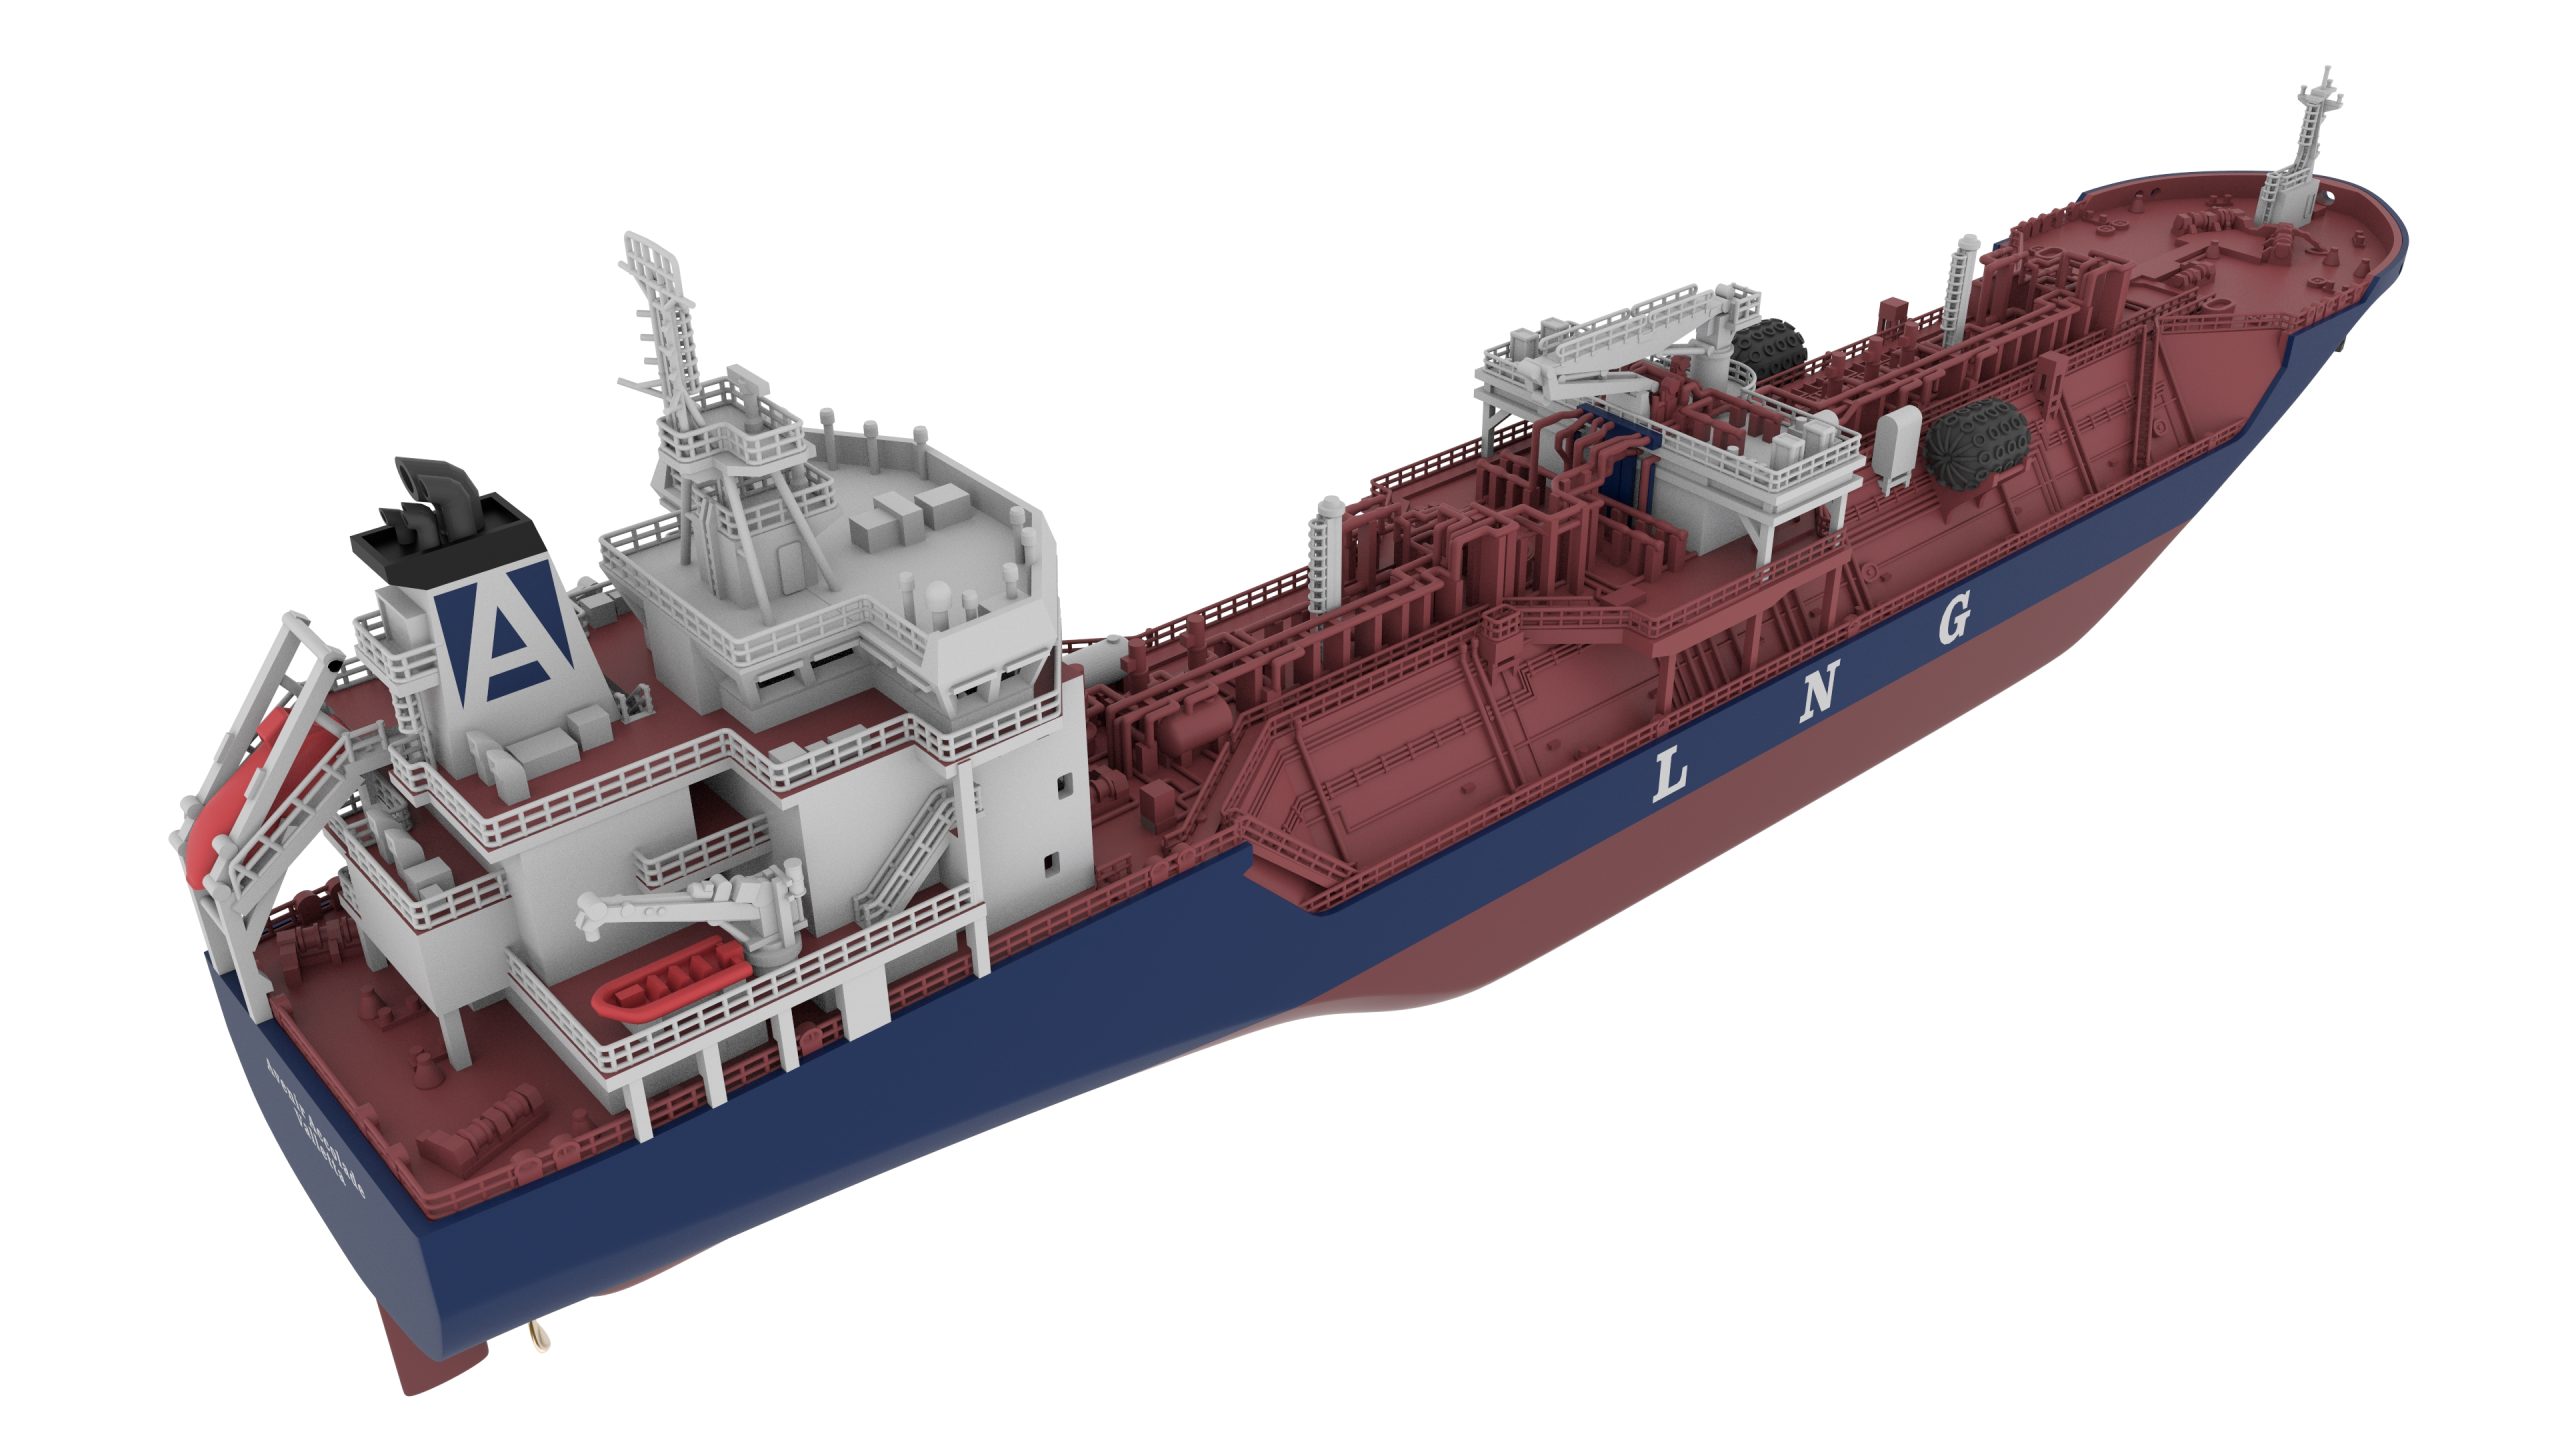
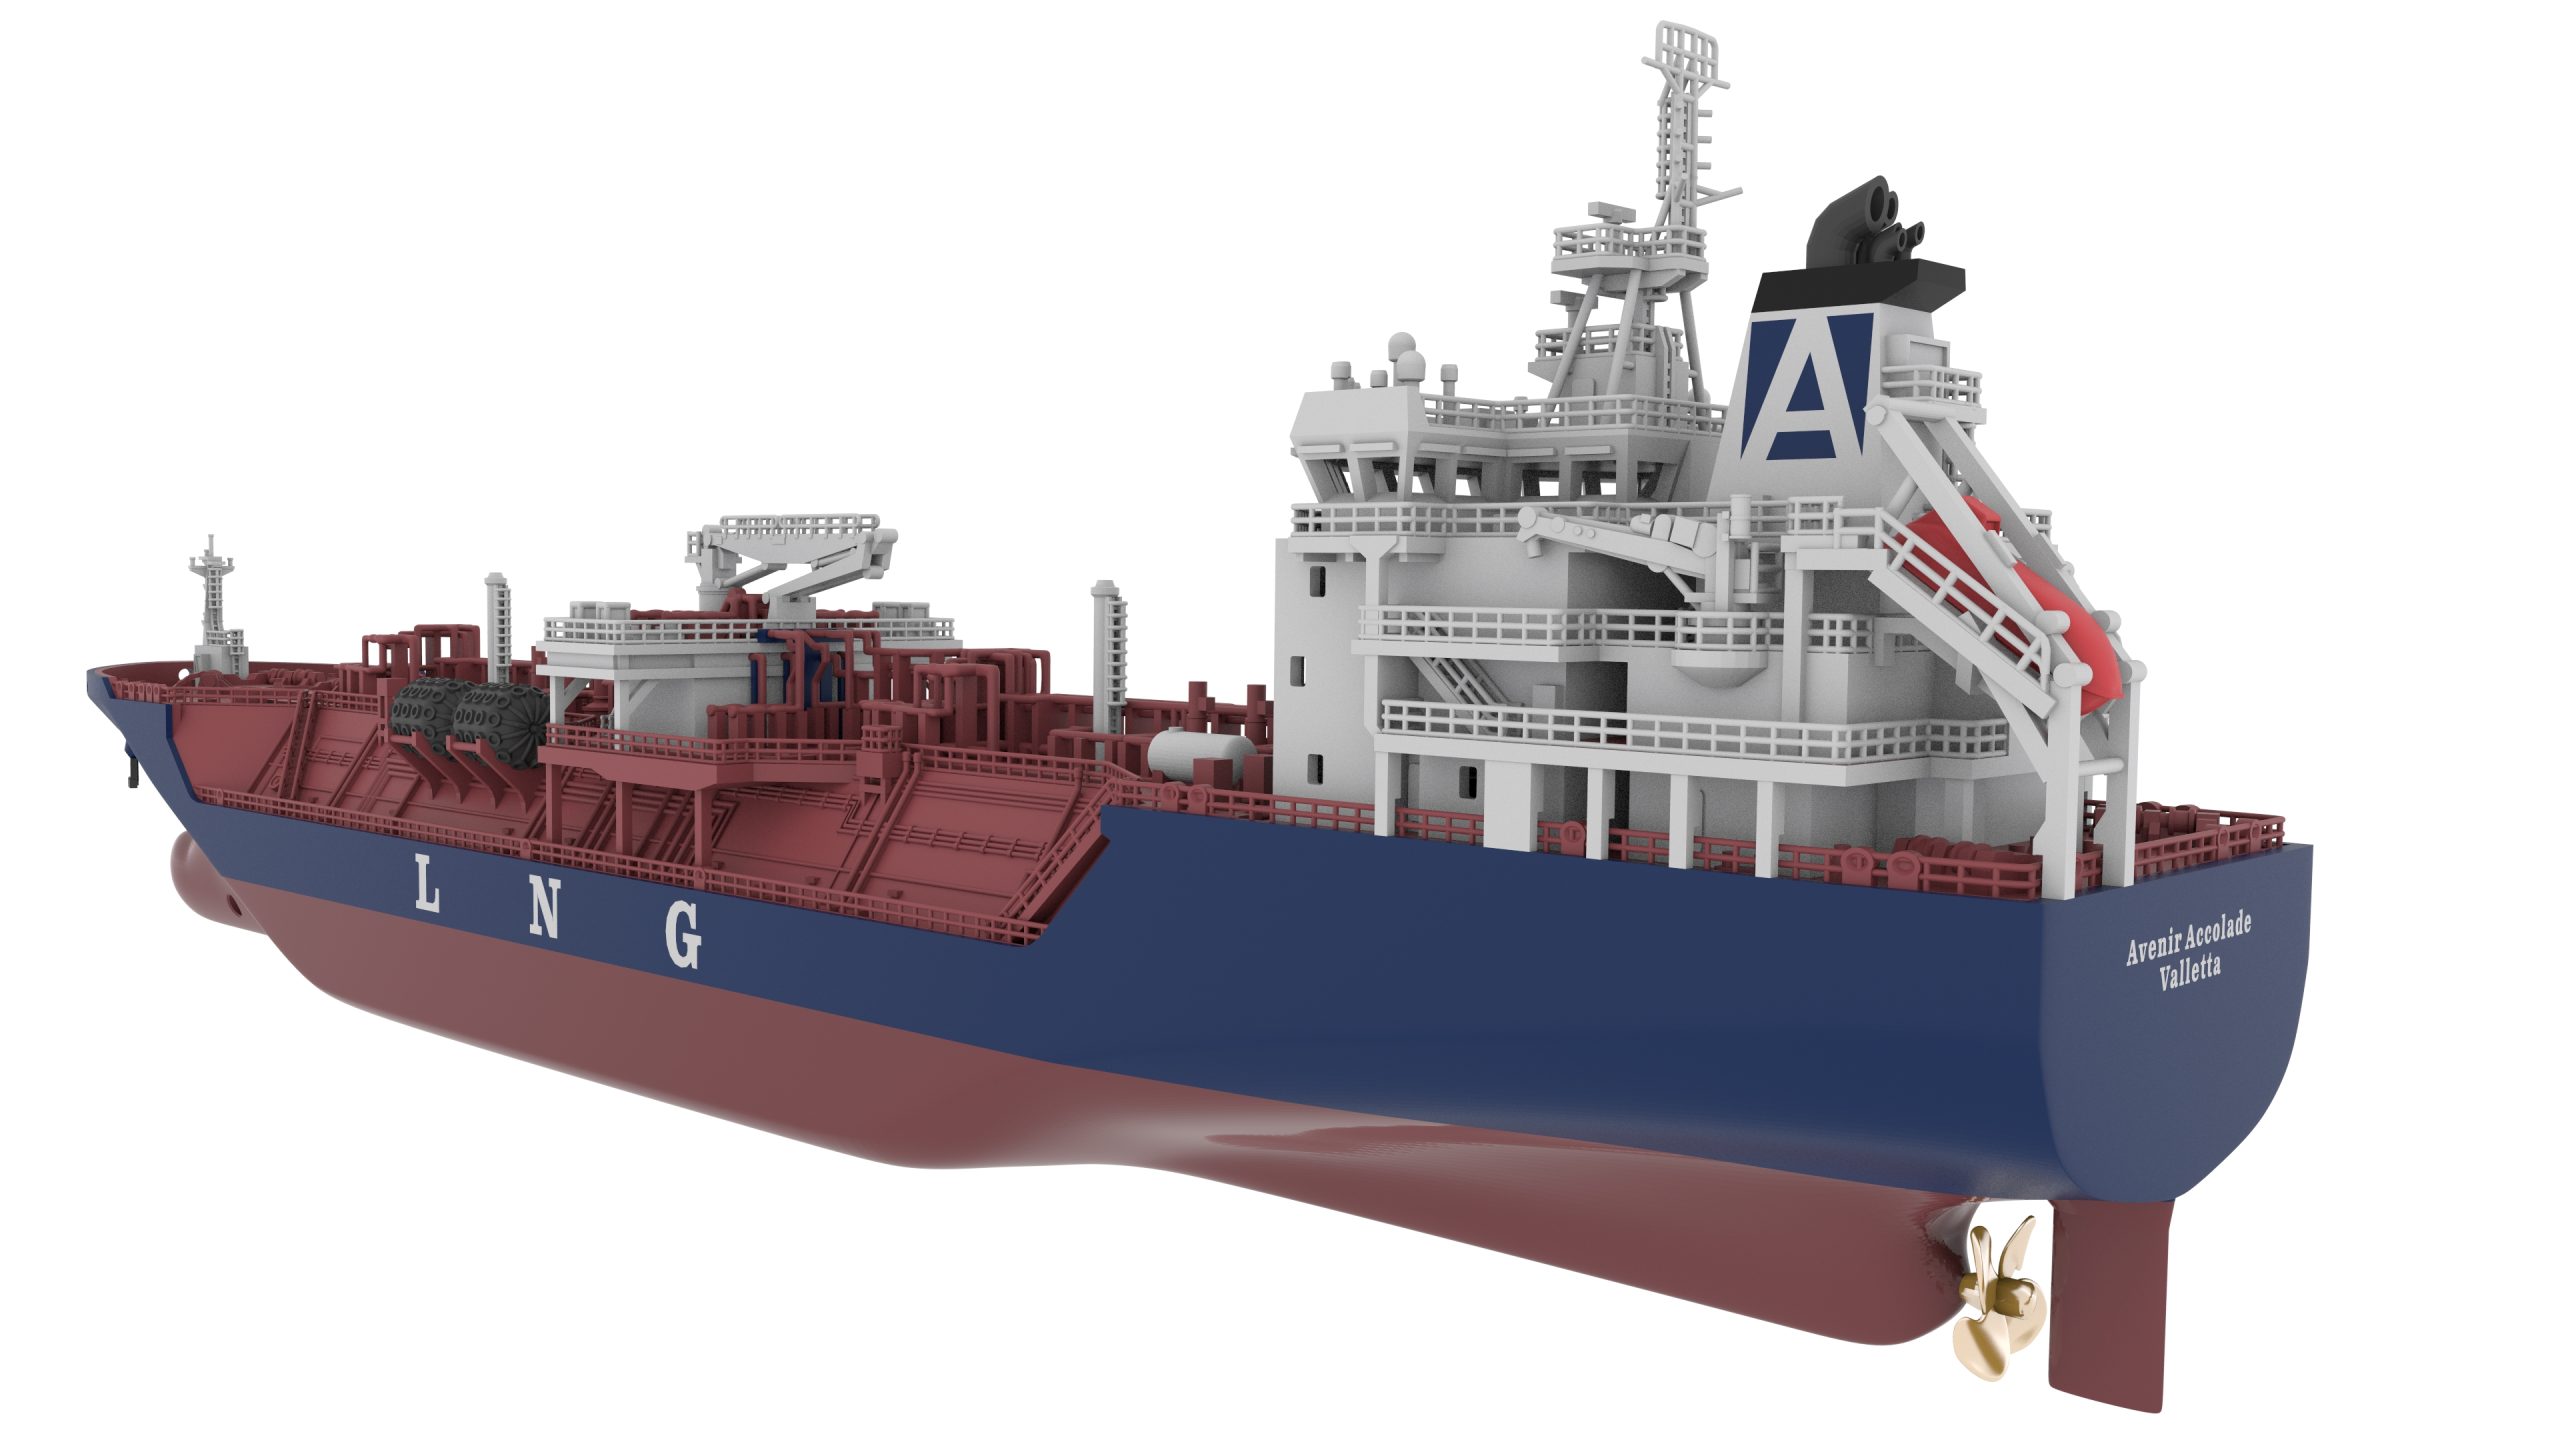
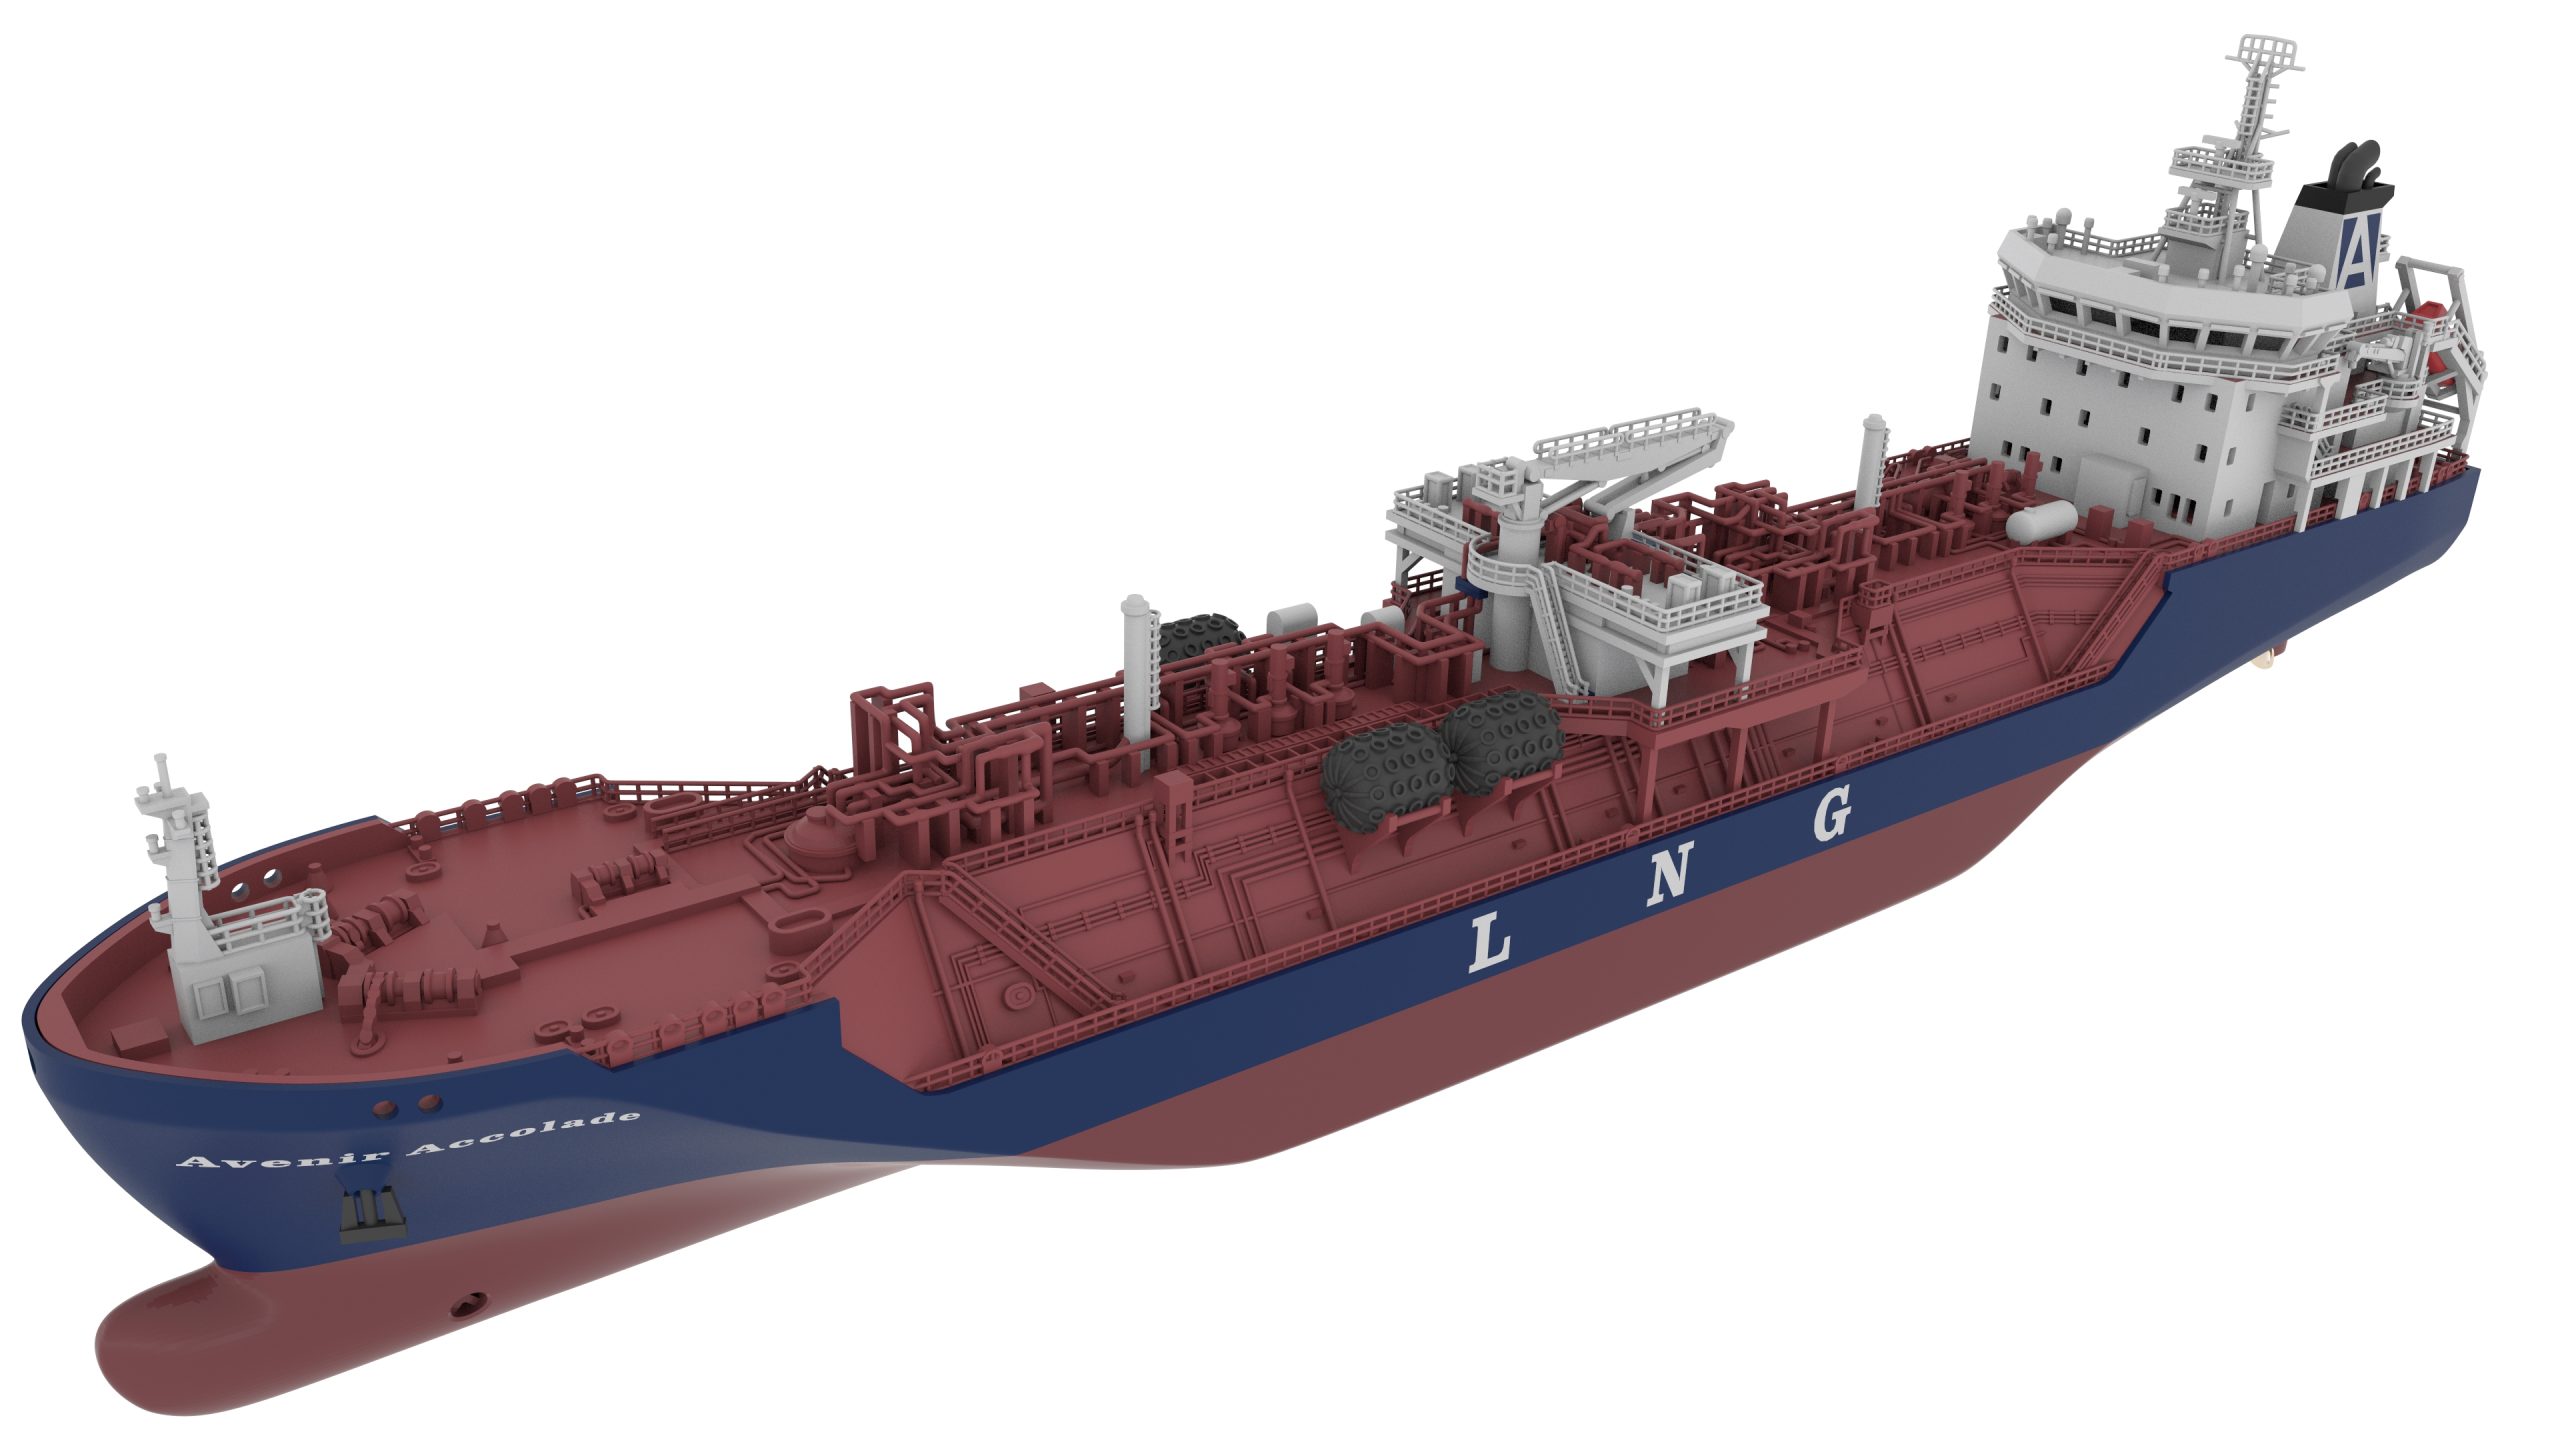
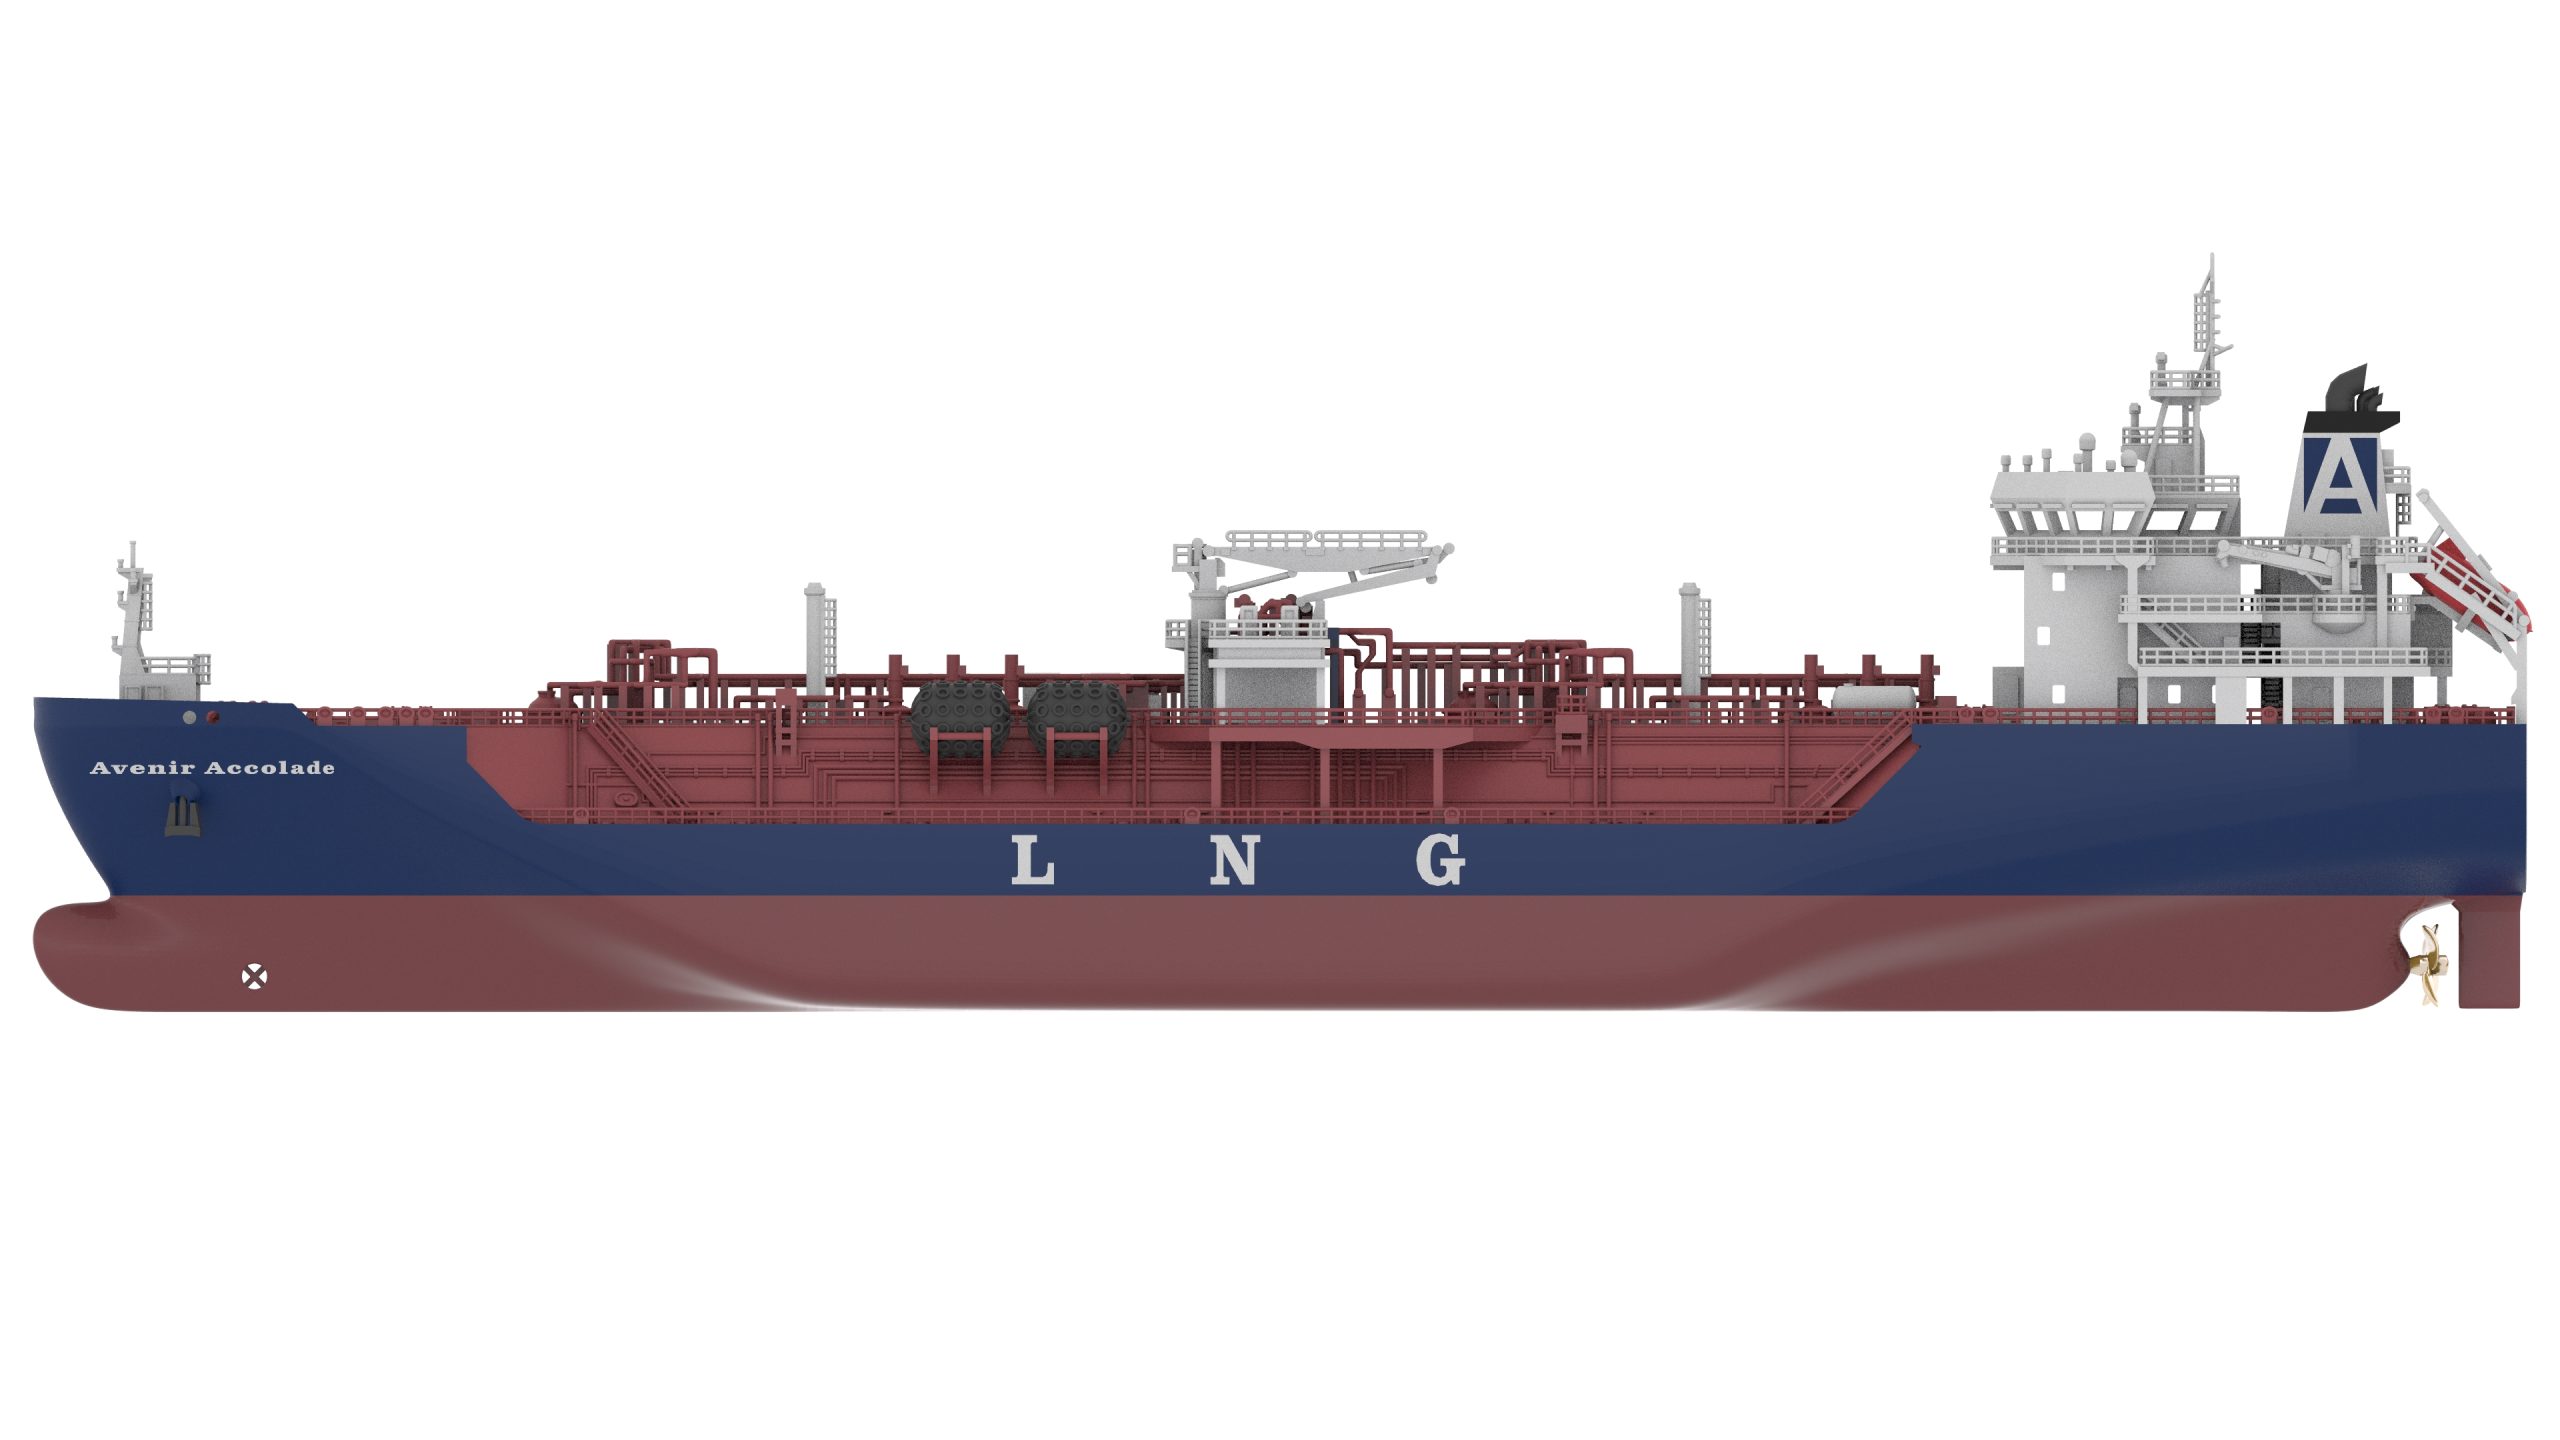
As mentioned above, the initial stage of any build involves liaising with the client, and conducting as much research as humanly possible. Our 3D-modeller discussed receiving blueprints so as to retain the highest levels of accuracy and intricacy. Next, smaller details such as colour schemes and decals were discussed, and these really bolster the realistic aspect of the ships. Having these features such as the name and logo truly improves the authenticity of the models. Each one is fairly small in size, and so the extra details enhance the visual aspect of the ship.
After these preliminary discussions, our 3D-modeller will create a digital model, complete with colour, decals, logos and added features such as funnels and lifeboats. These are then presented to the client for review, and this is open to a round of questioning so the model can be refined and eventually perfected in the exact way the client wants.
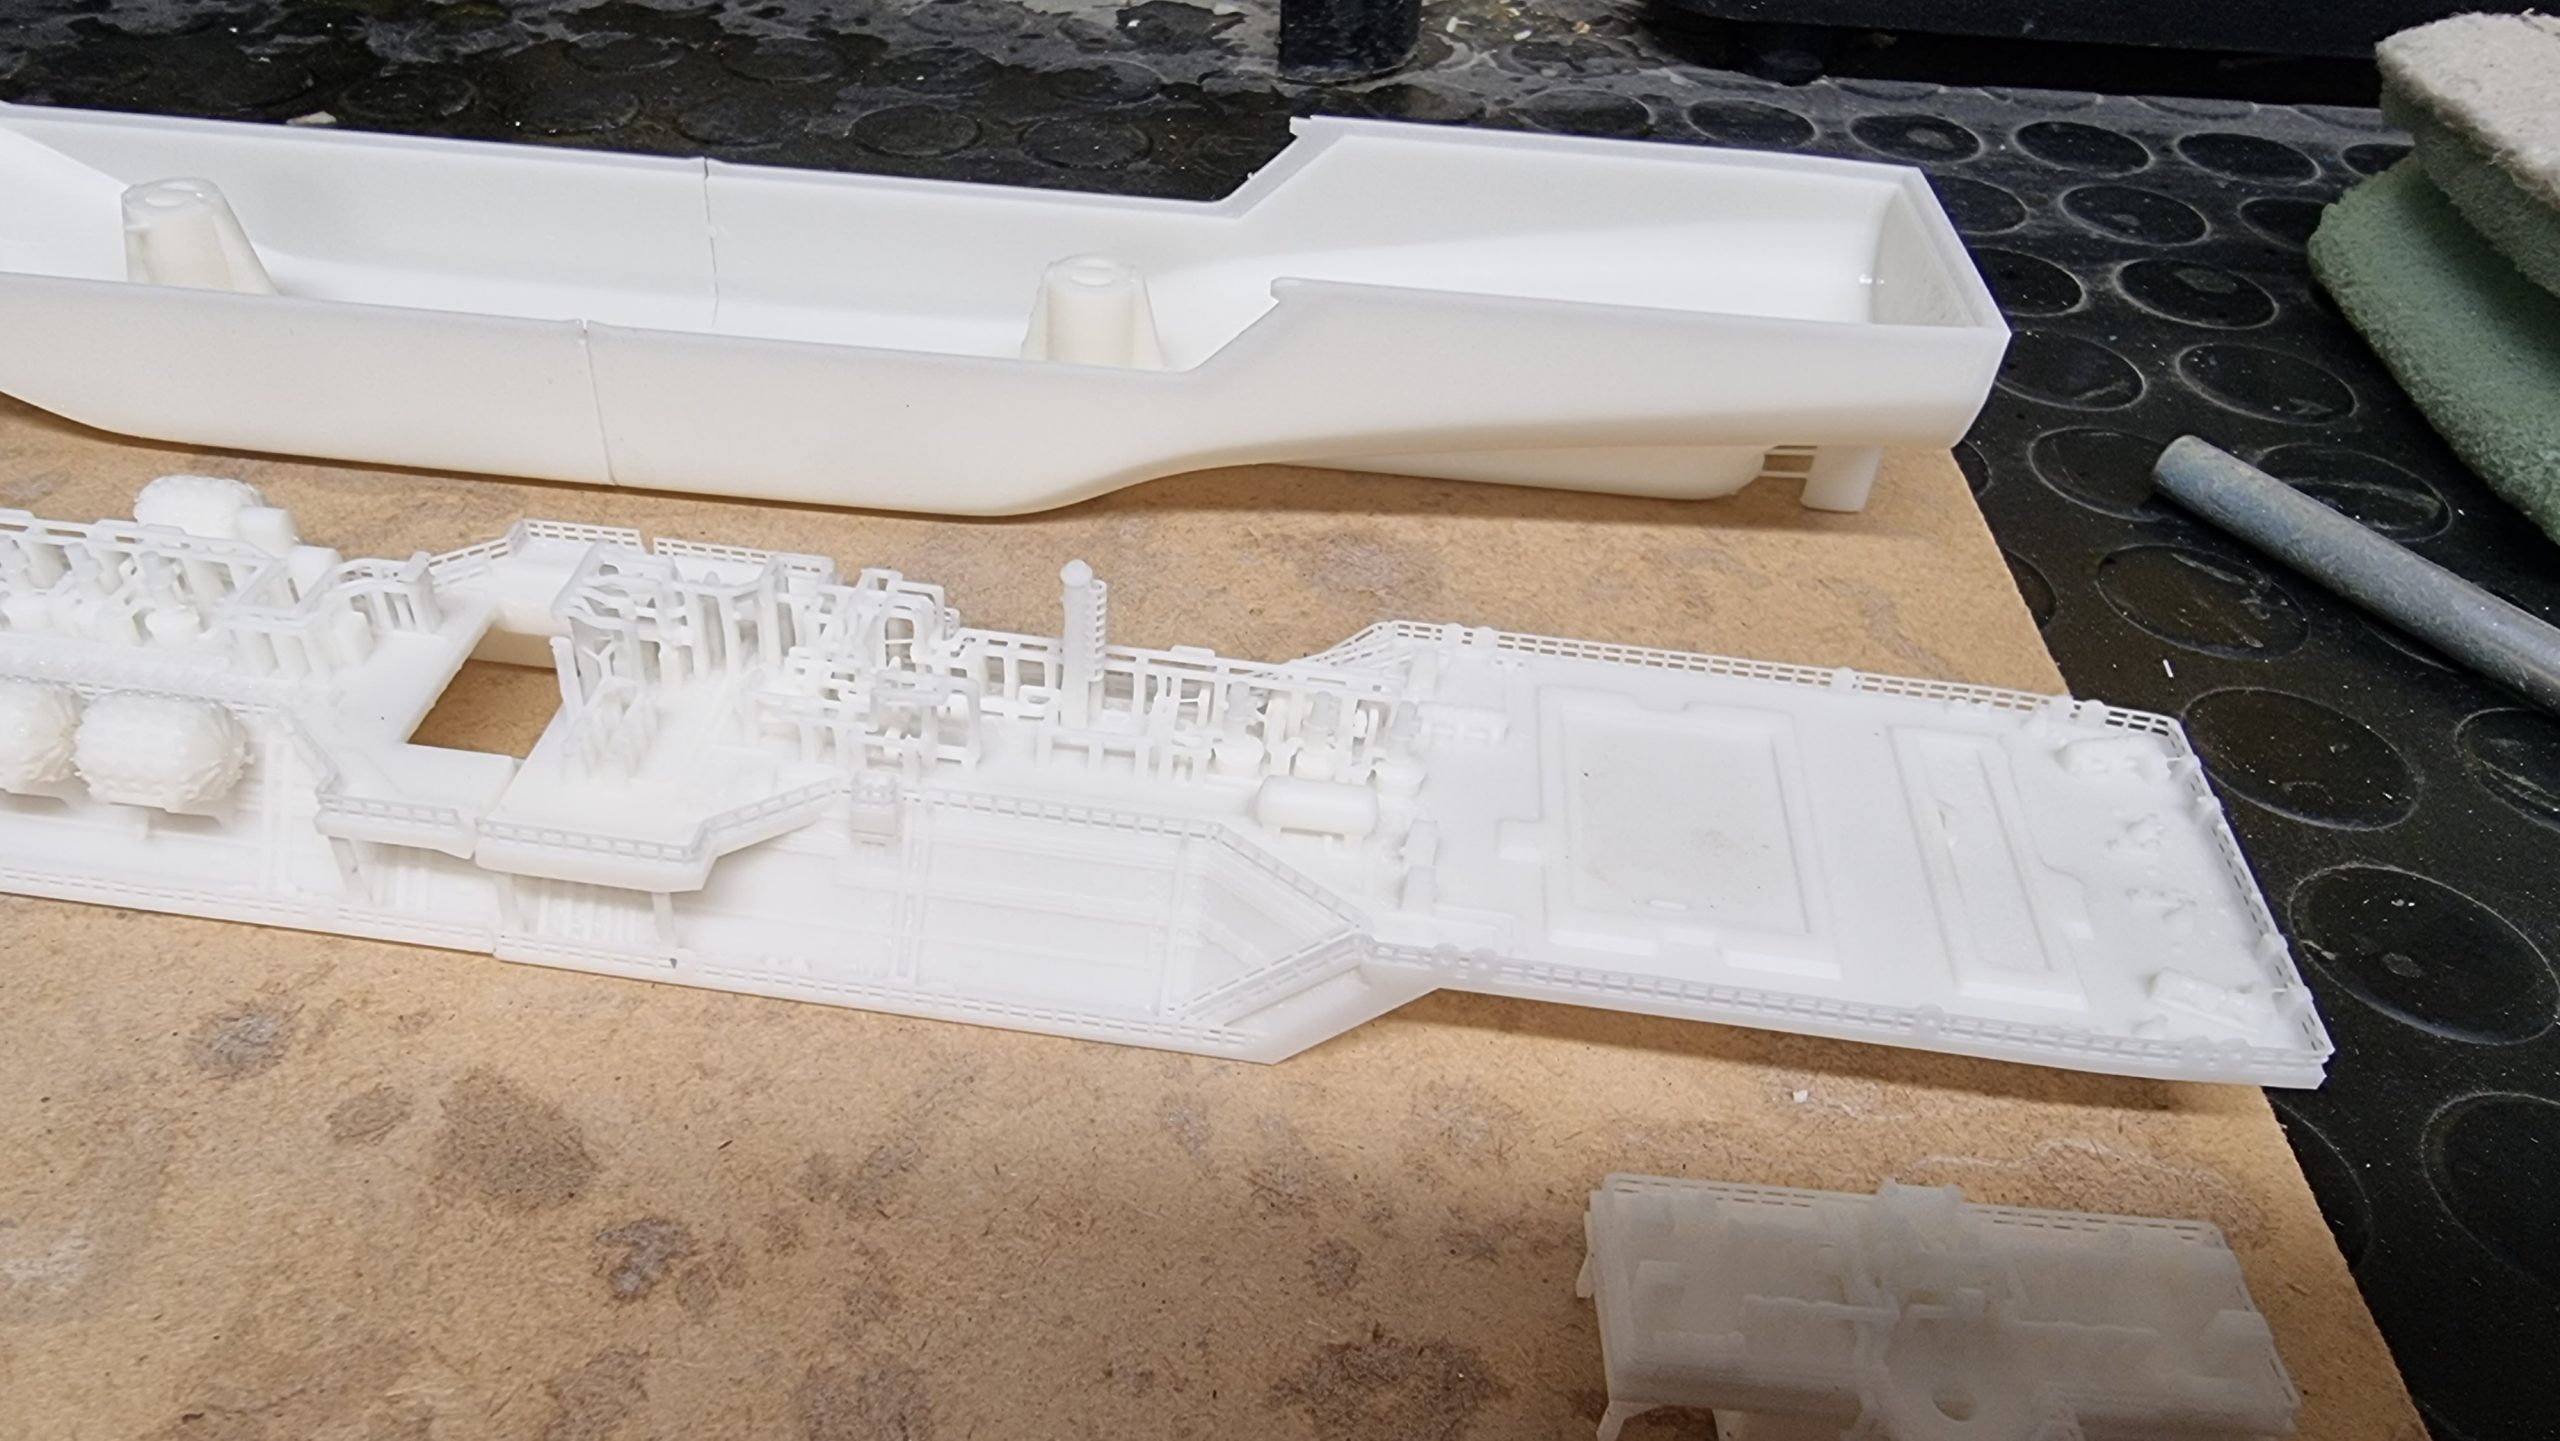
Once the client has signed-off on the digital renders, production can begin. One of the trickiest stages is converting the digital render into a file that is compatible with the 3D-printer, and so certain software has to be used to achieve this. Before this is done, the render itself is split into chunks – which are actual parts of the model (albeit digitalised) – and accordingly named and saved where appropriate. After this, another piece of software is used to ensure the parts are ready to be printed; making sure they’re of the right scale, are sturdy enough and watertight.
After the pieces are confirmed to be the correct shape and size, another piece of software is used that ensures they can actually be printed. This software completely disregards the shape, and only pays attention to how it will physically 3D-print.
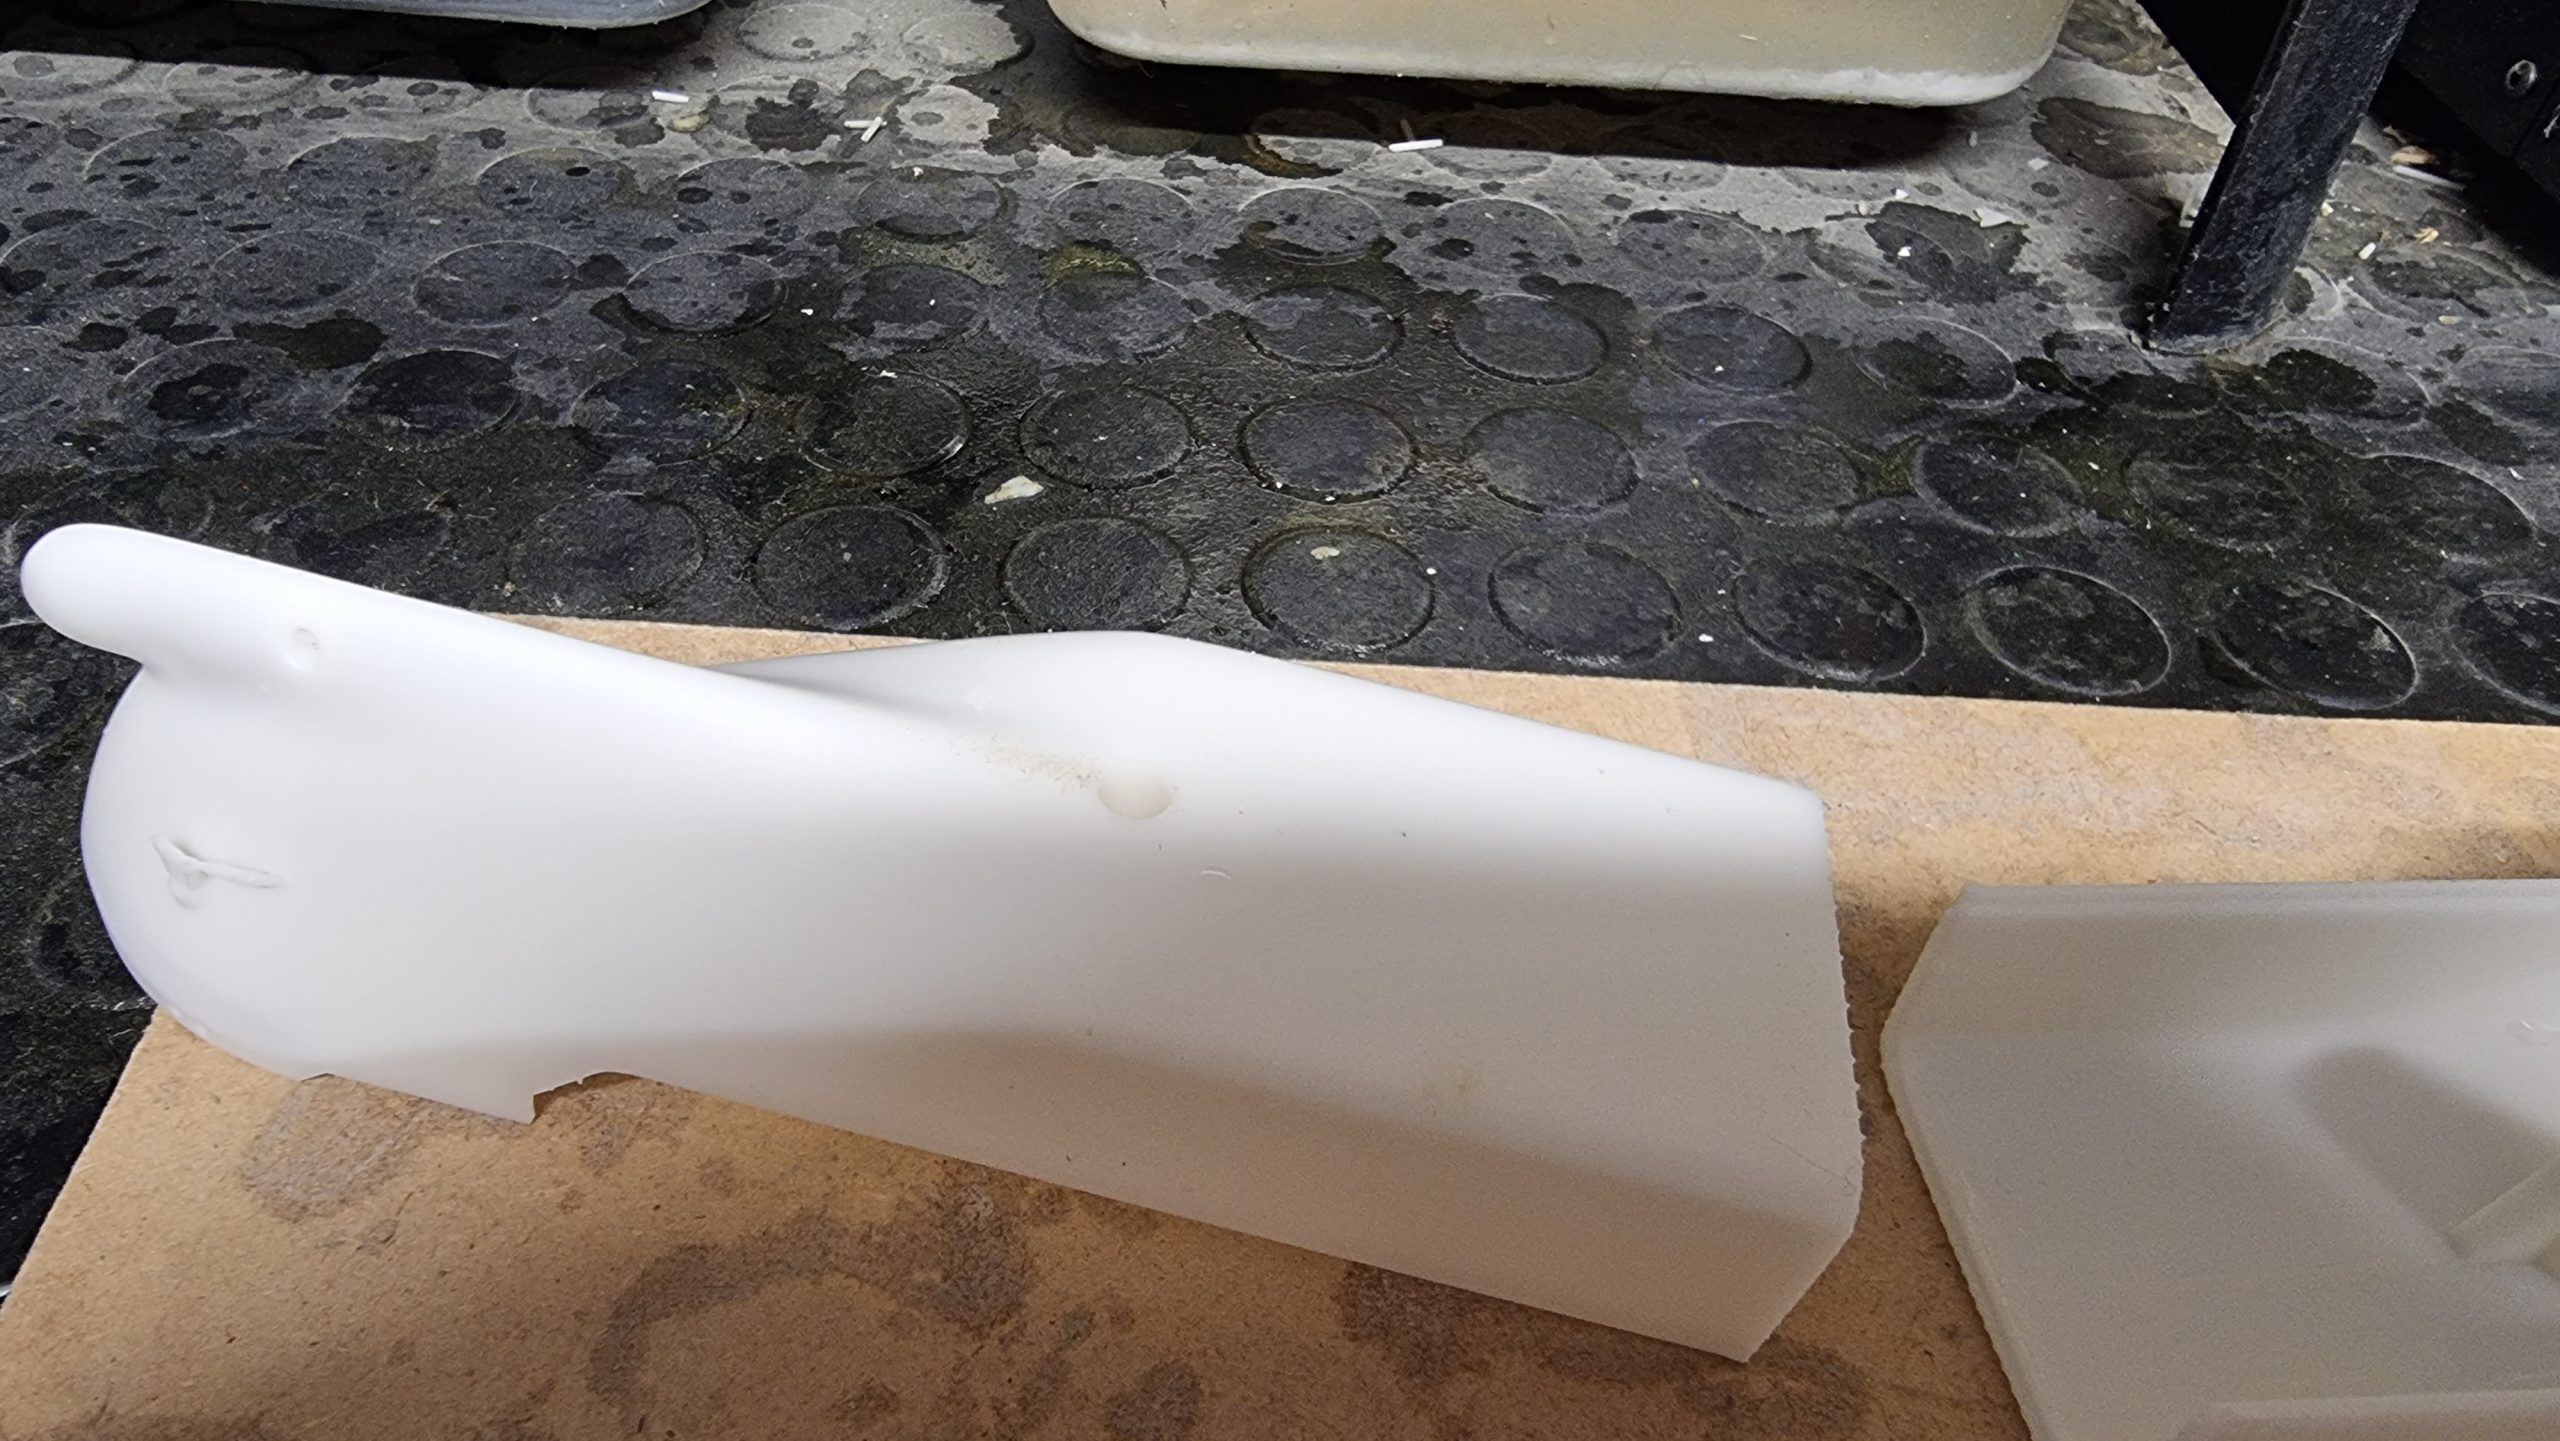
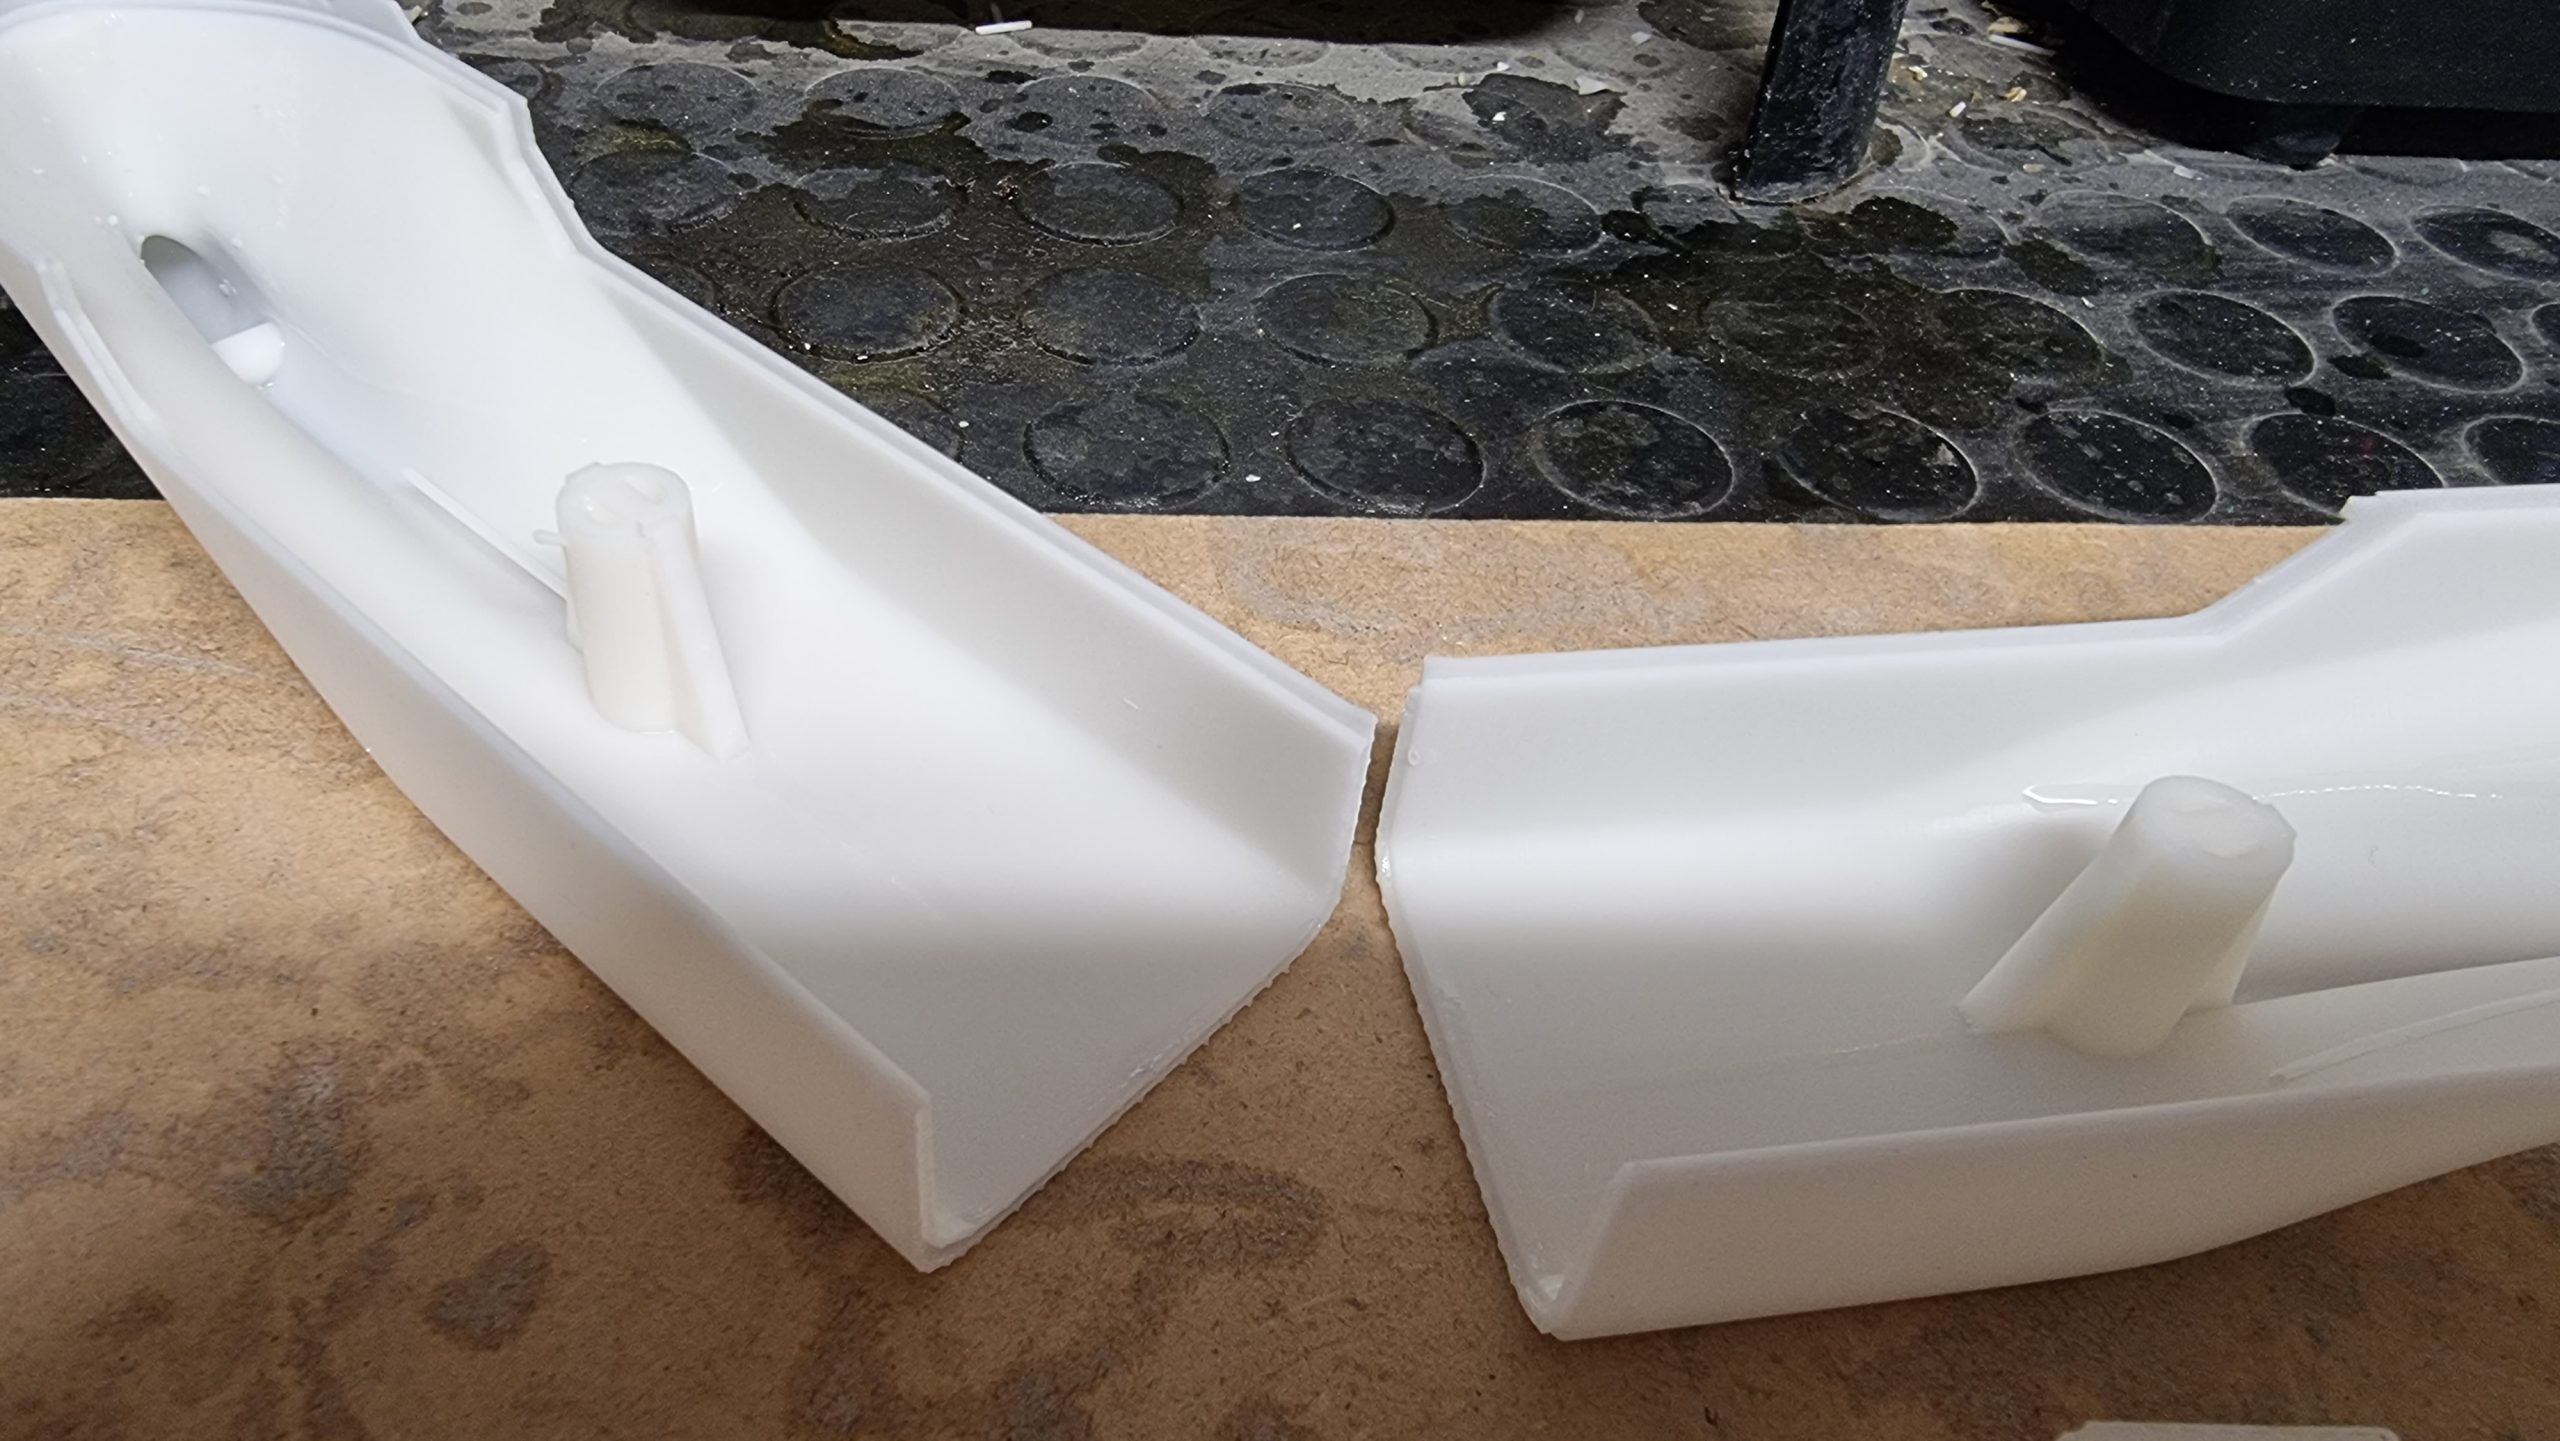
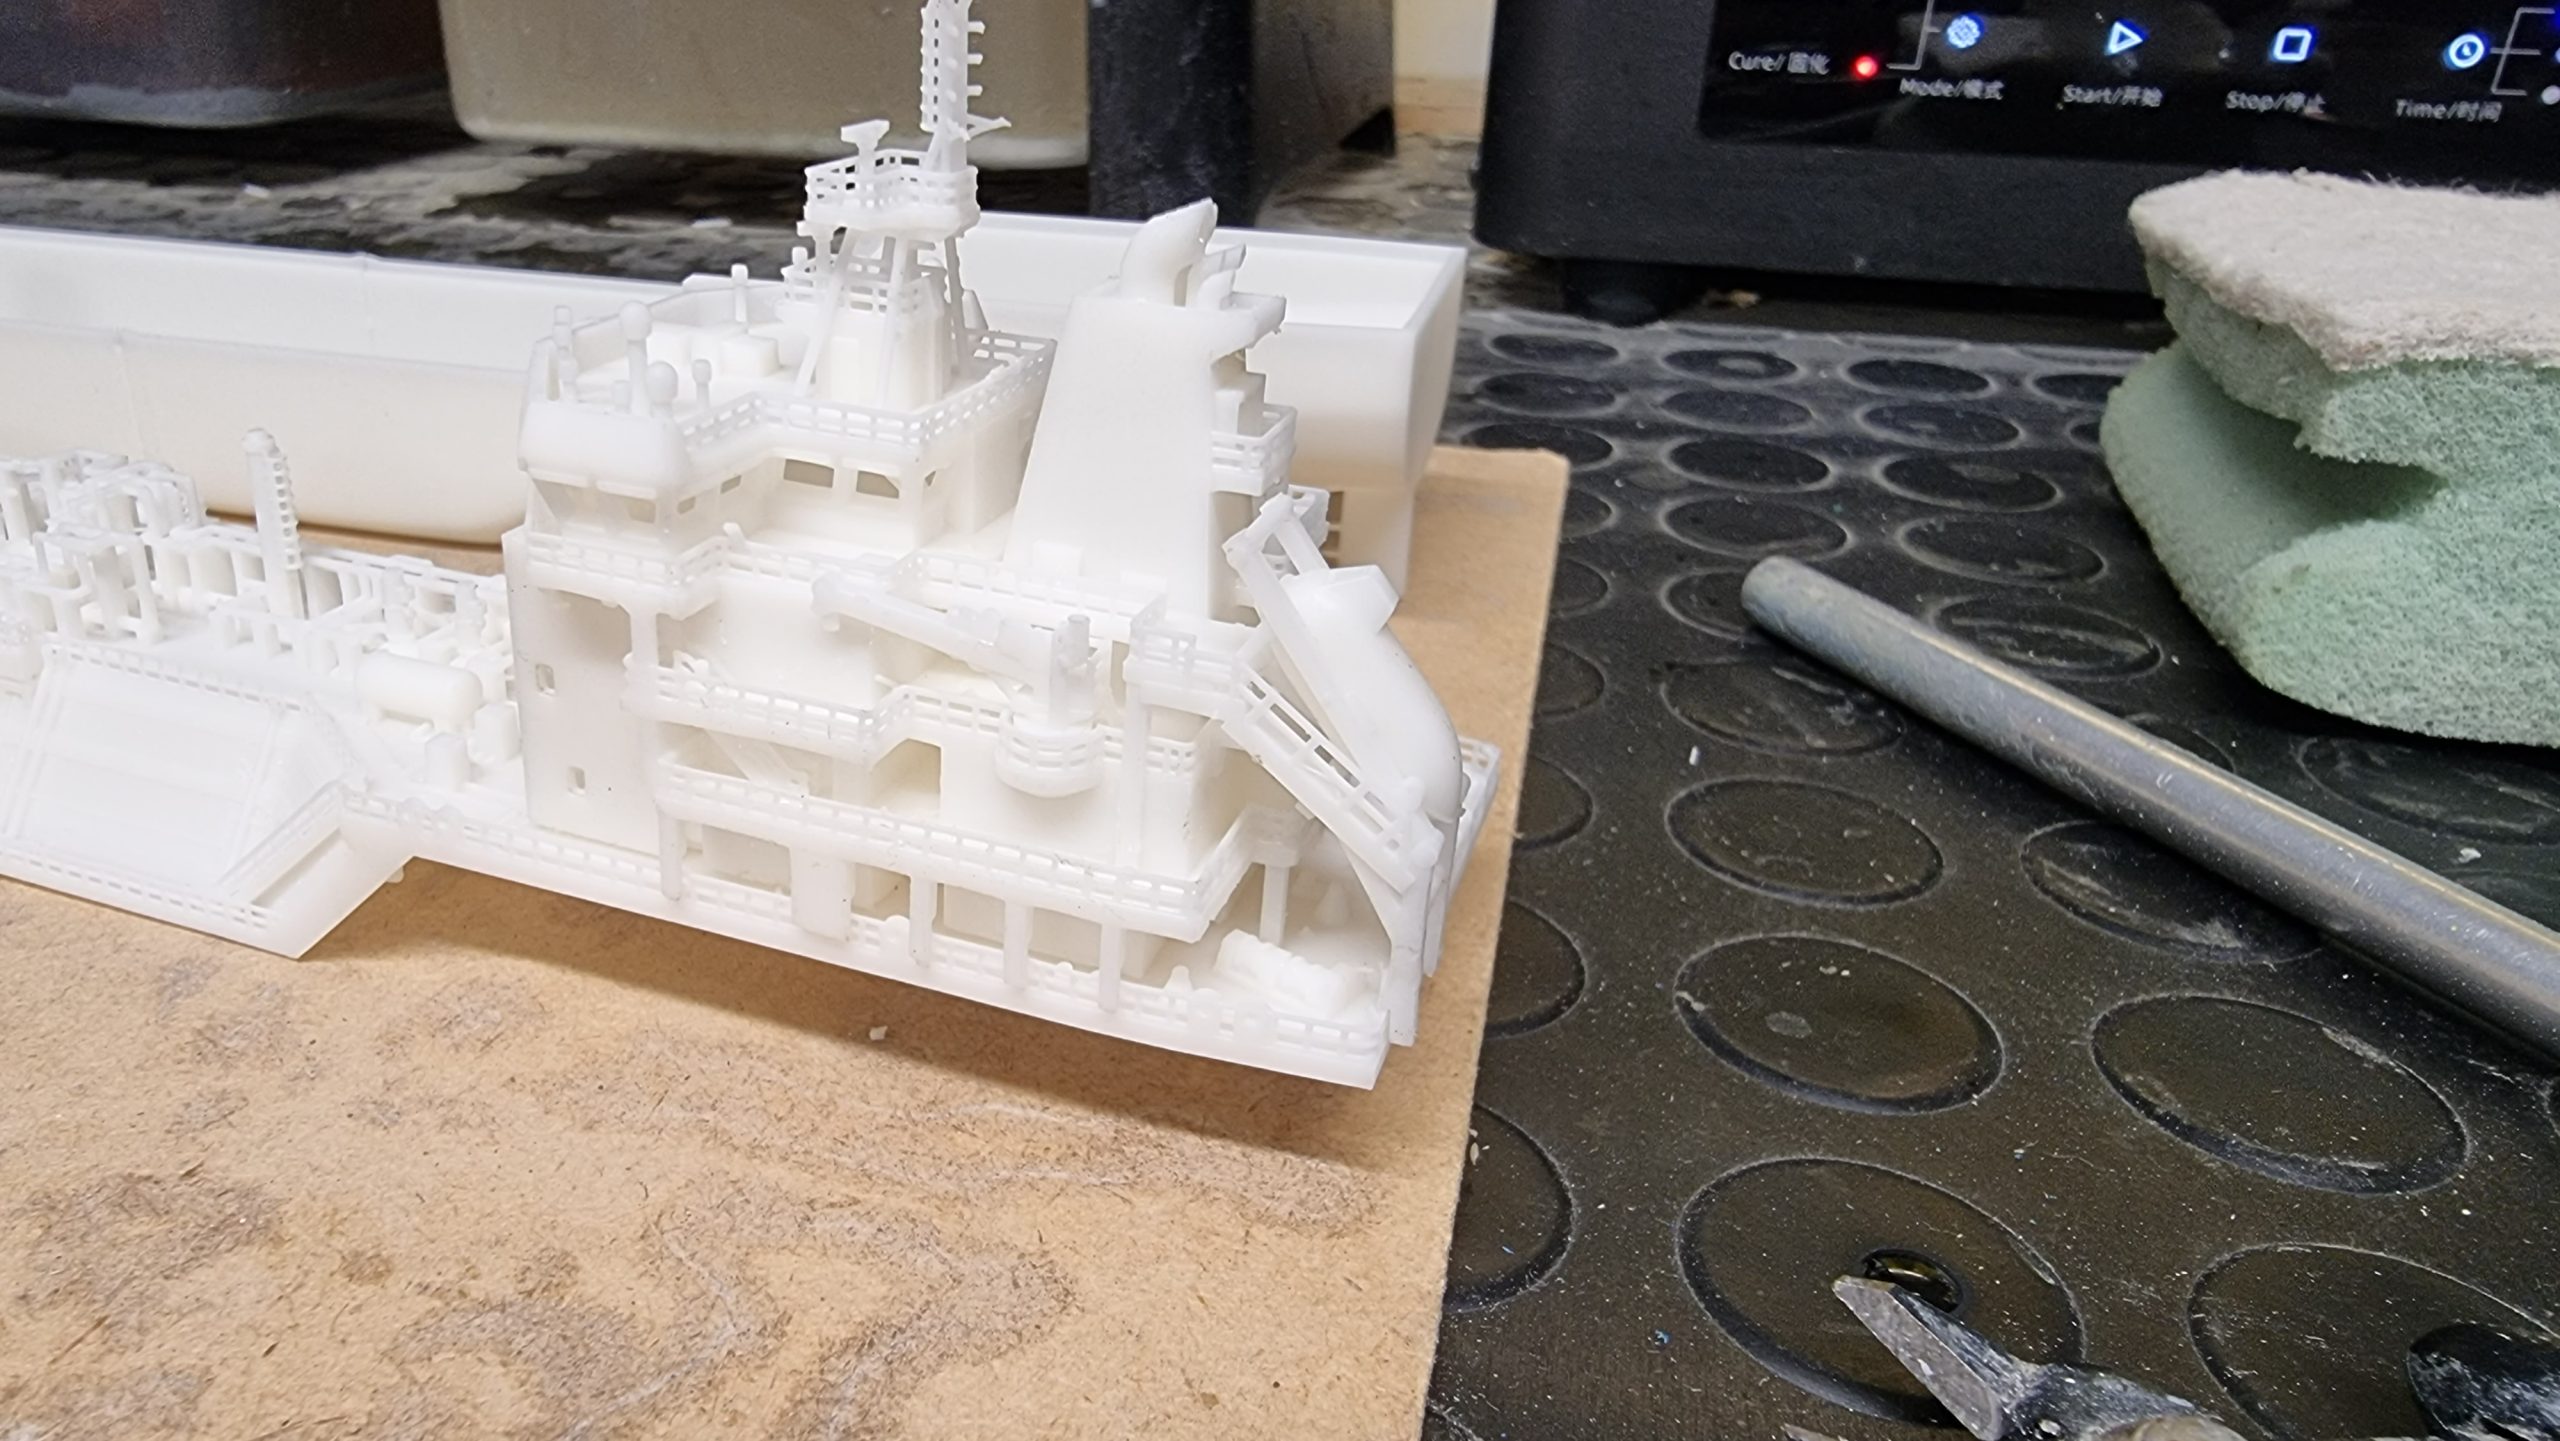
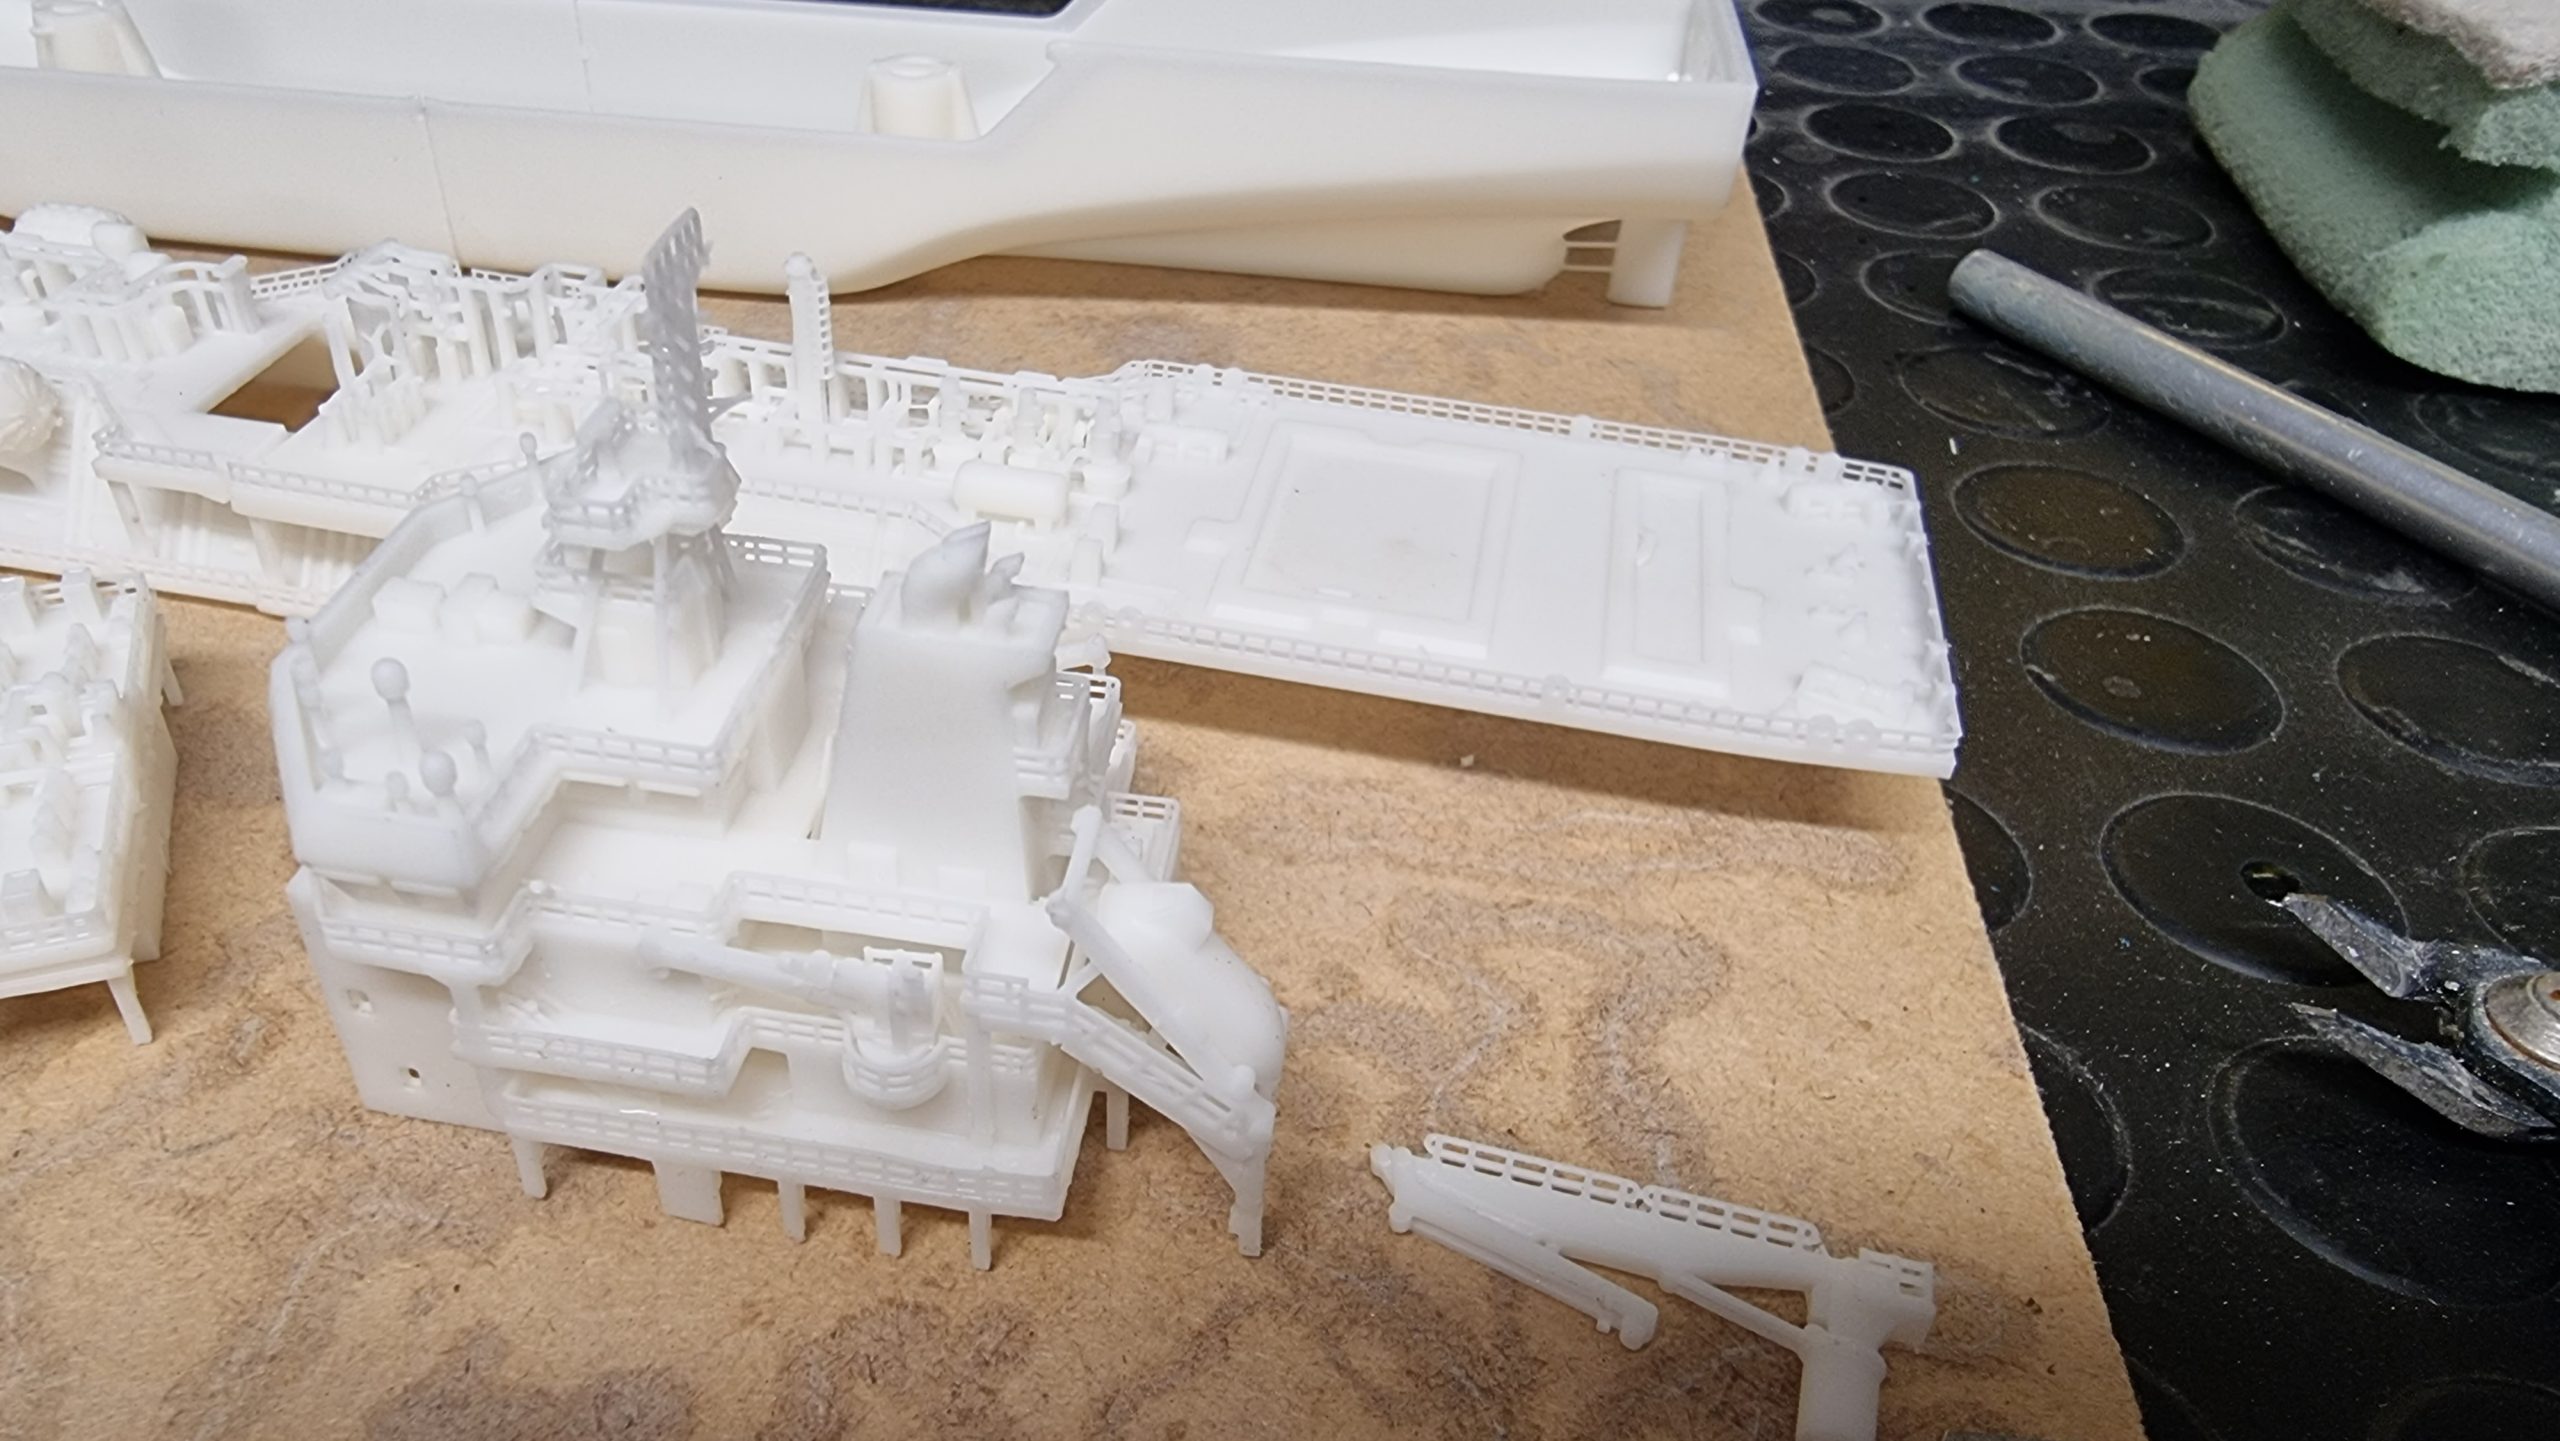
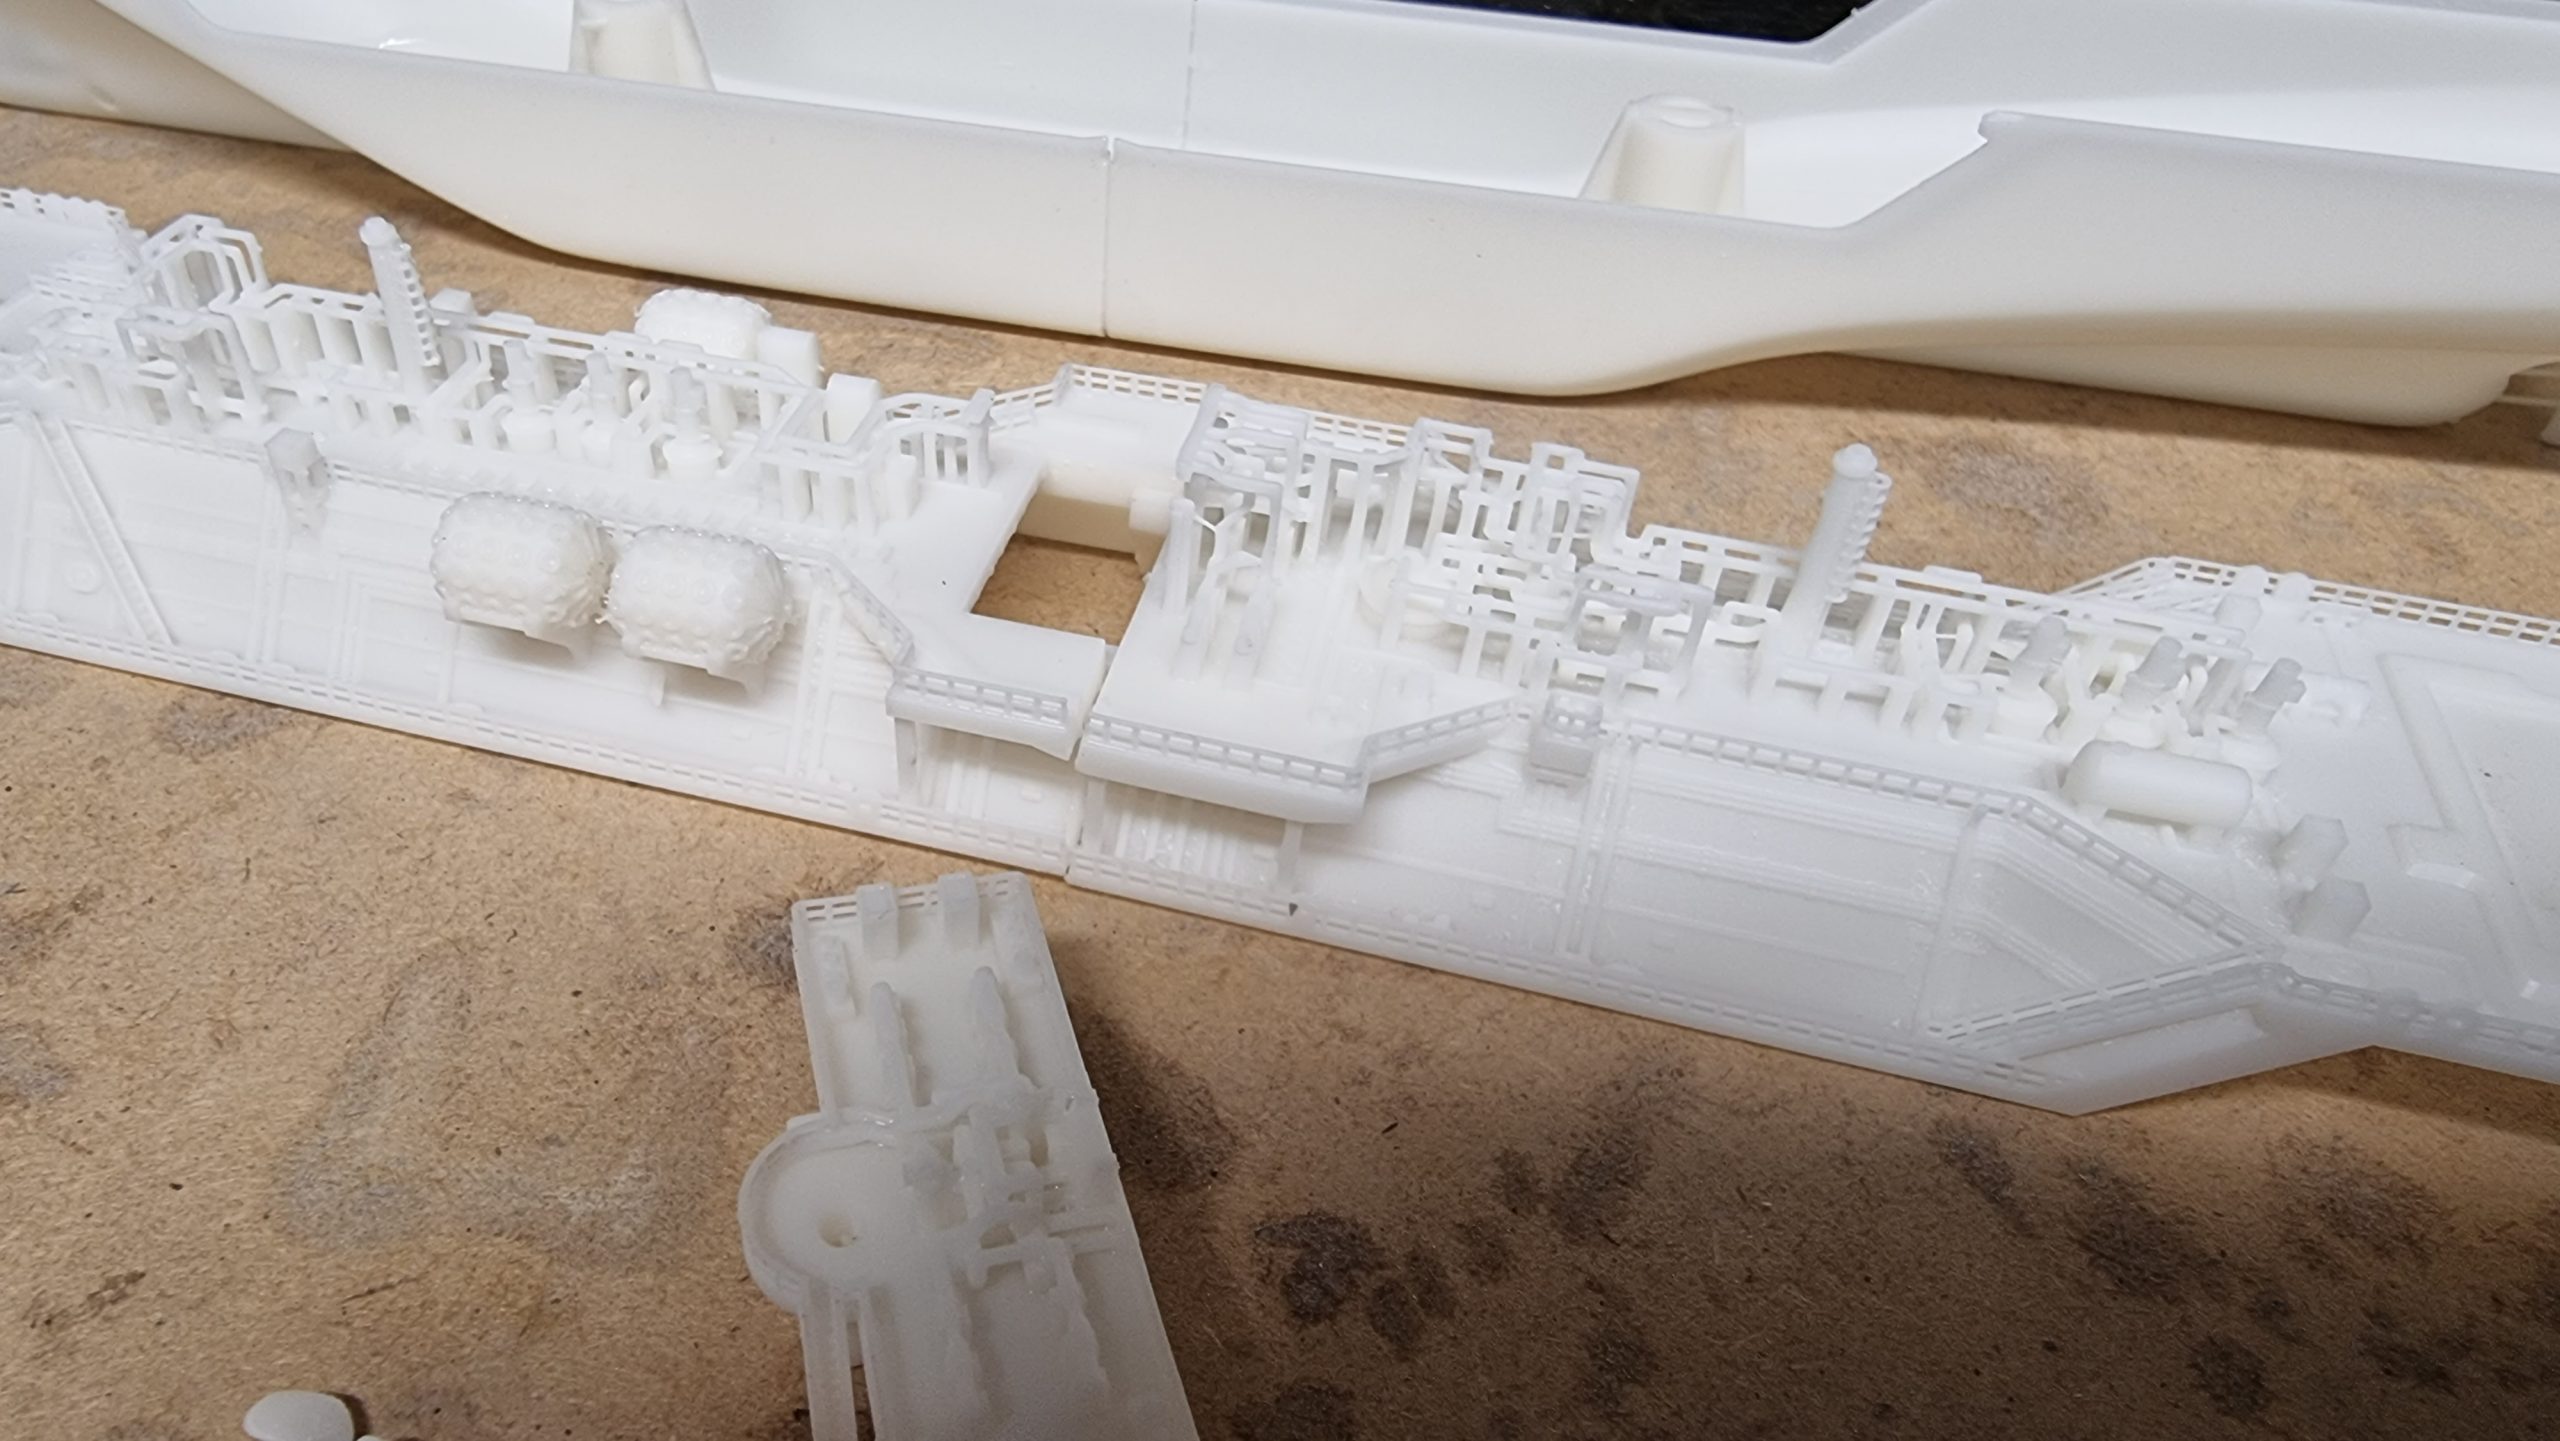
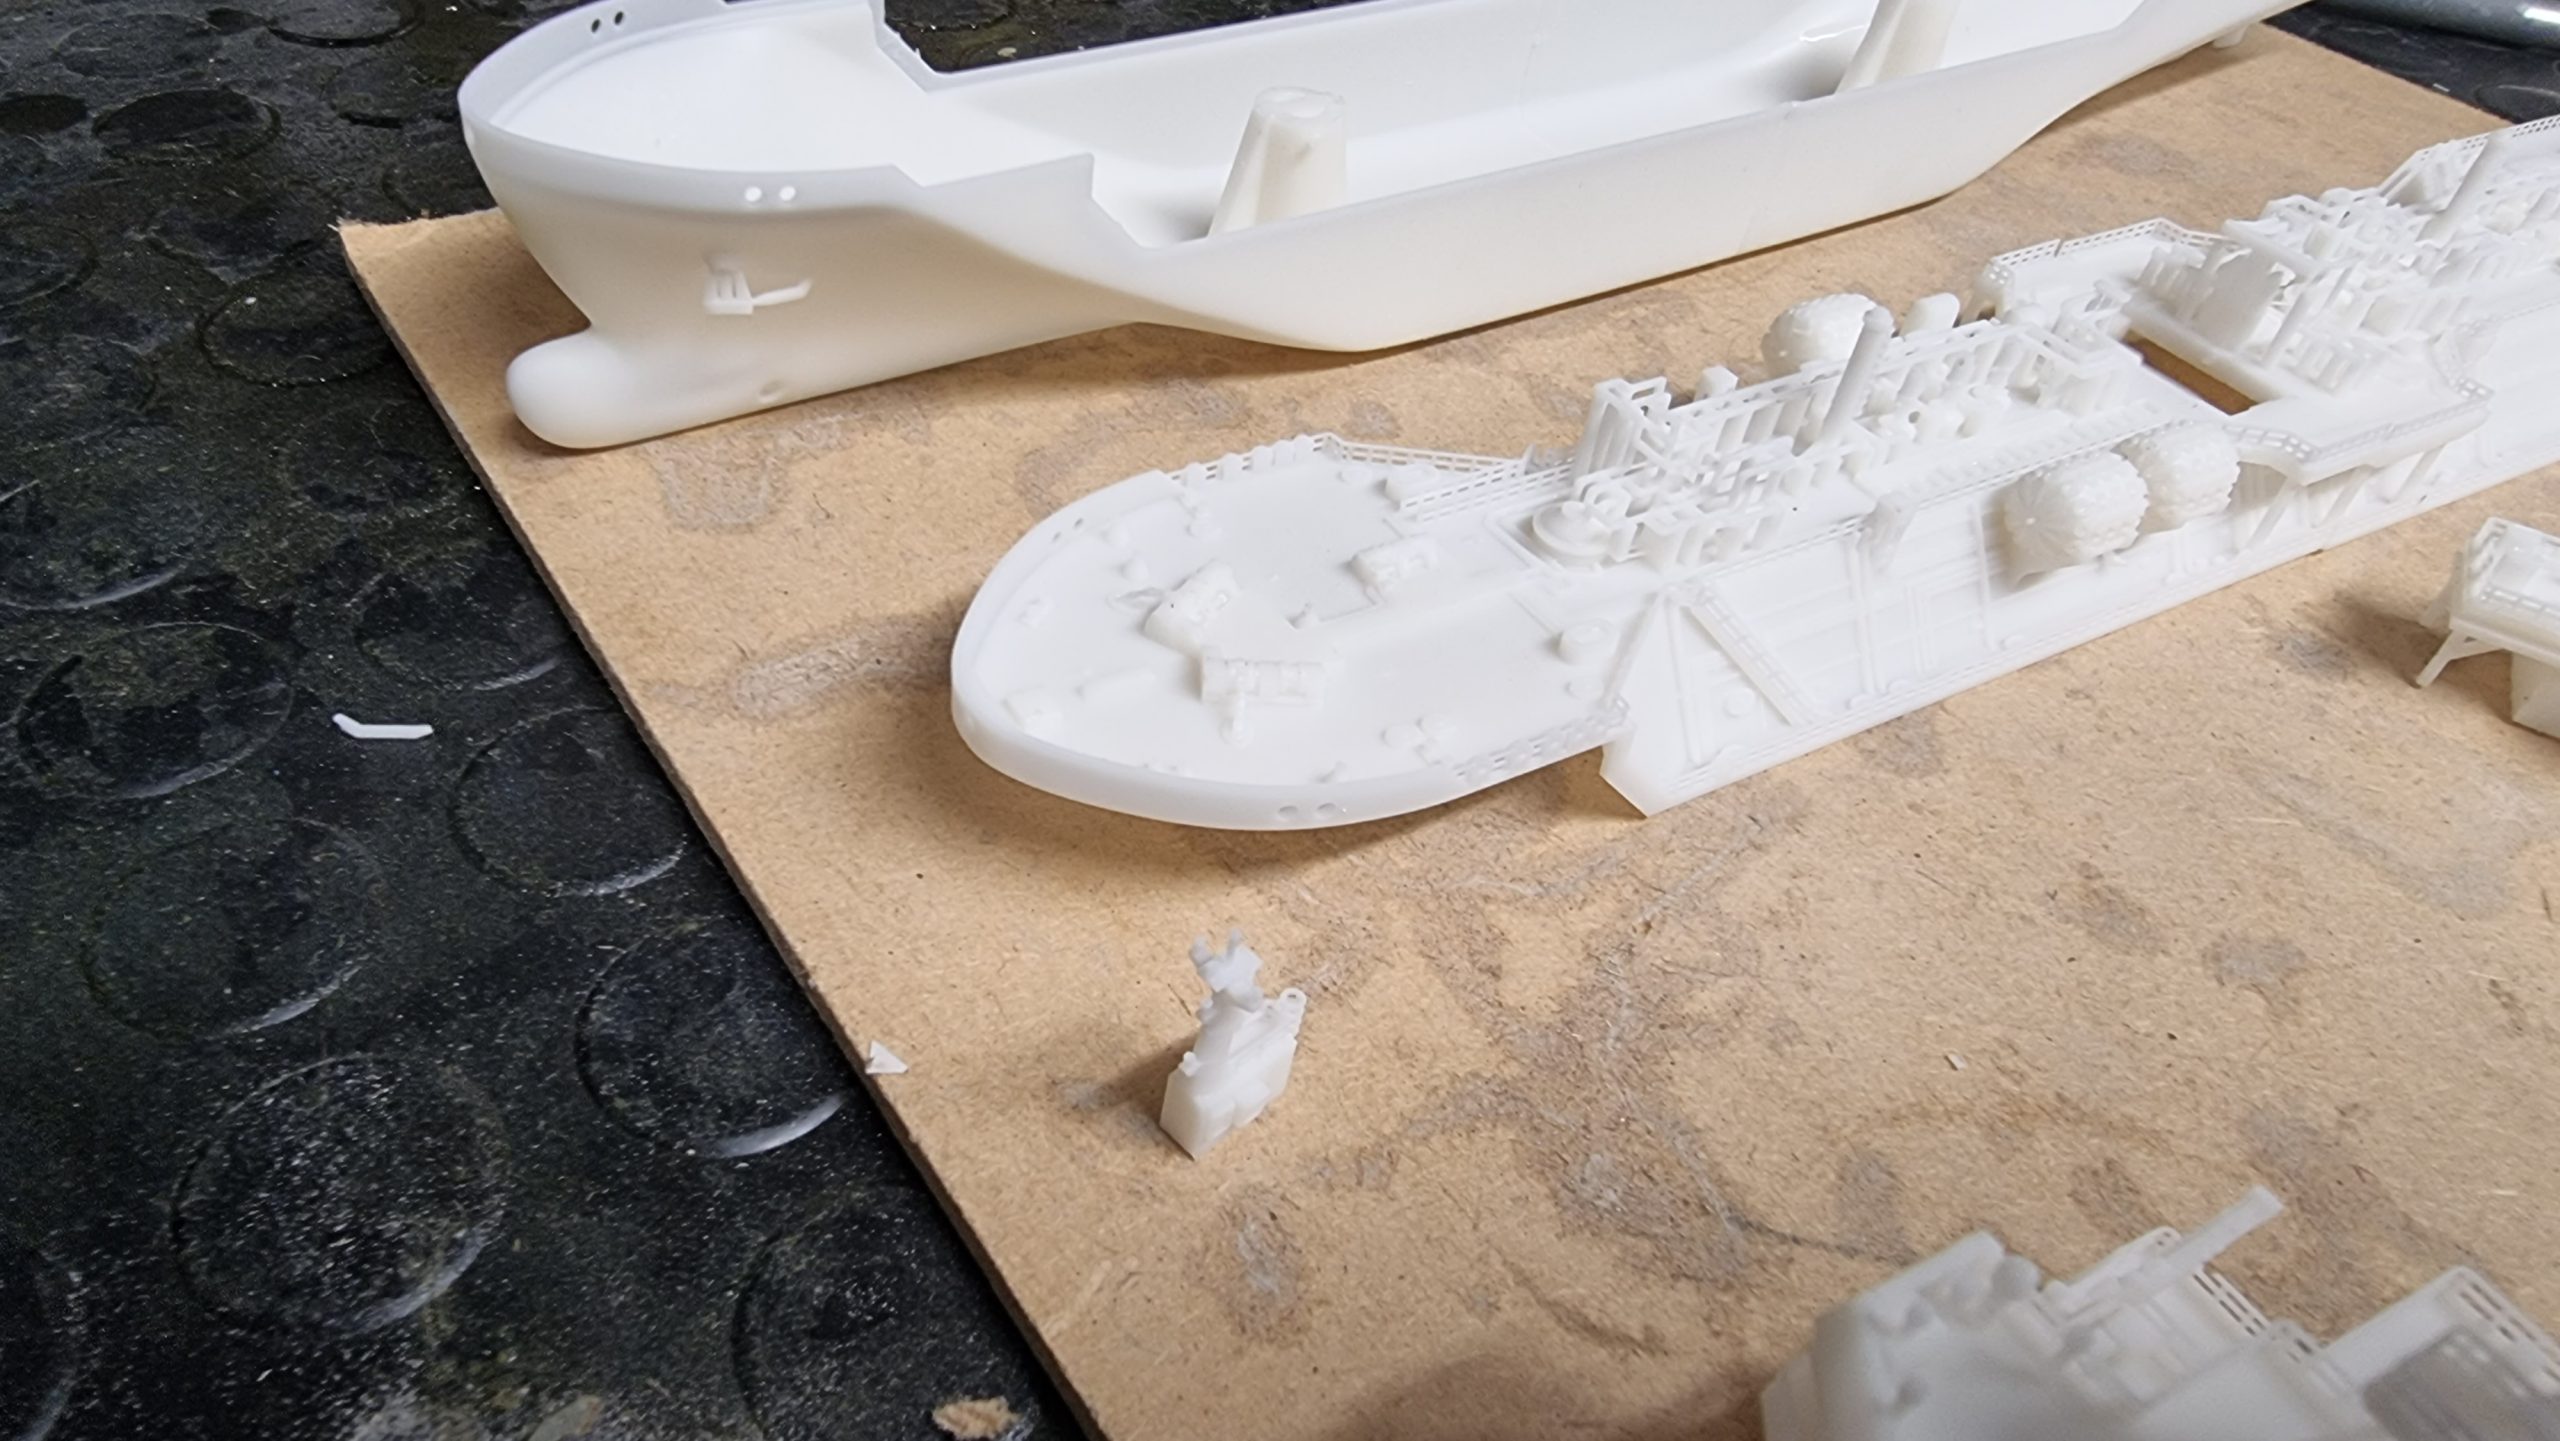
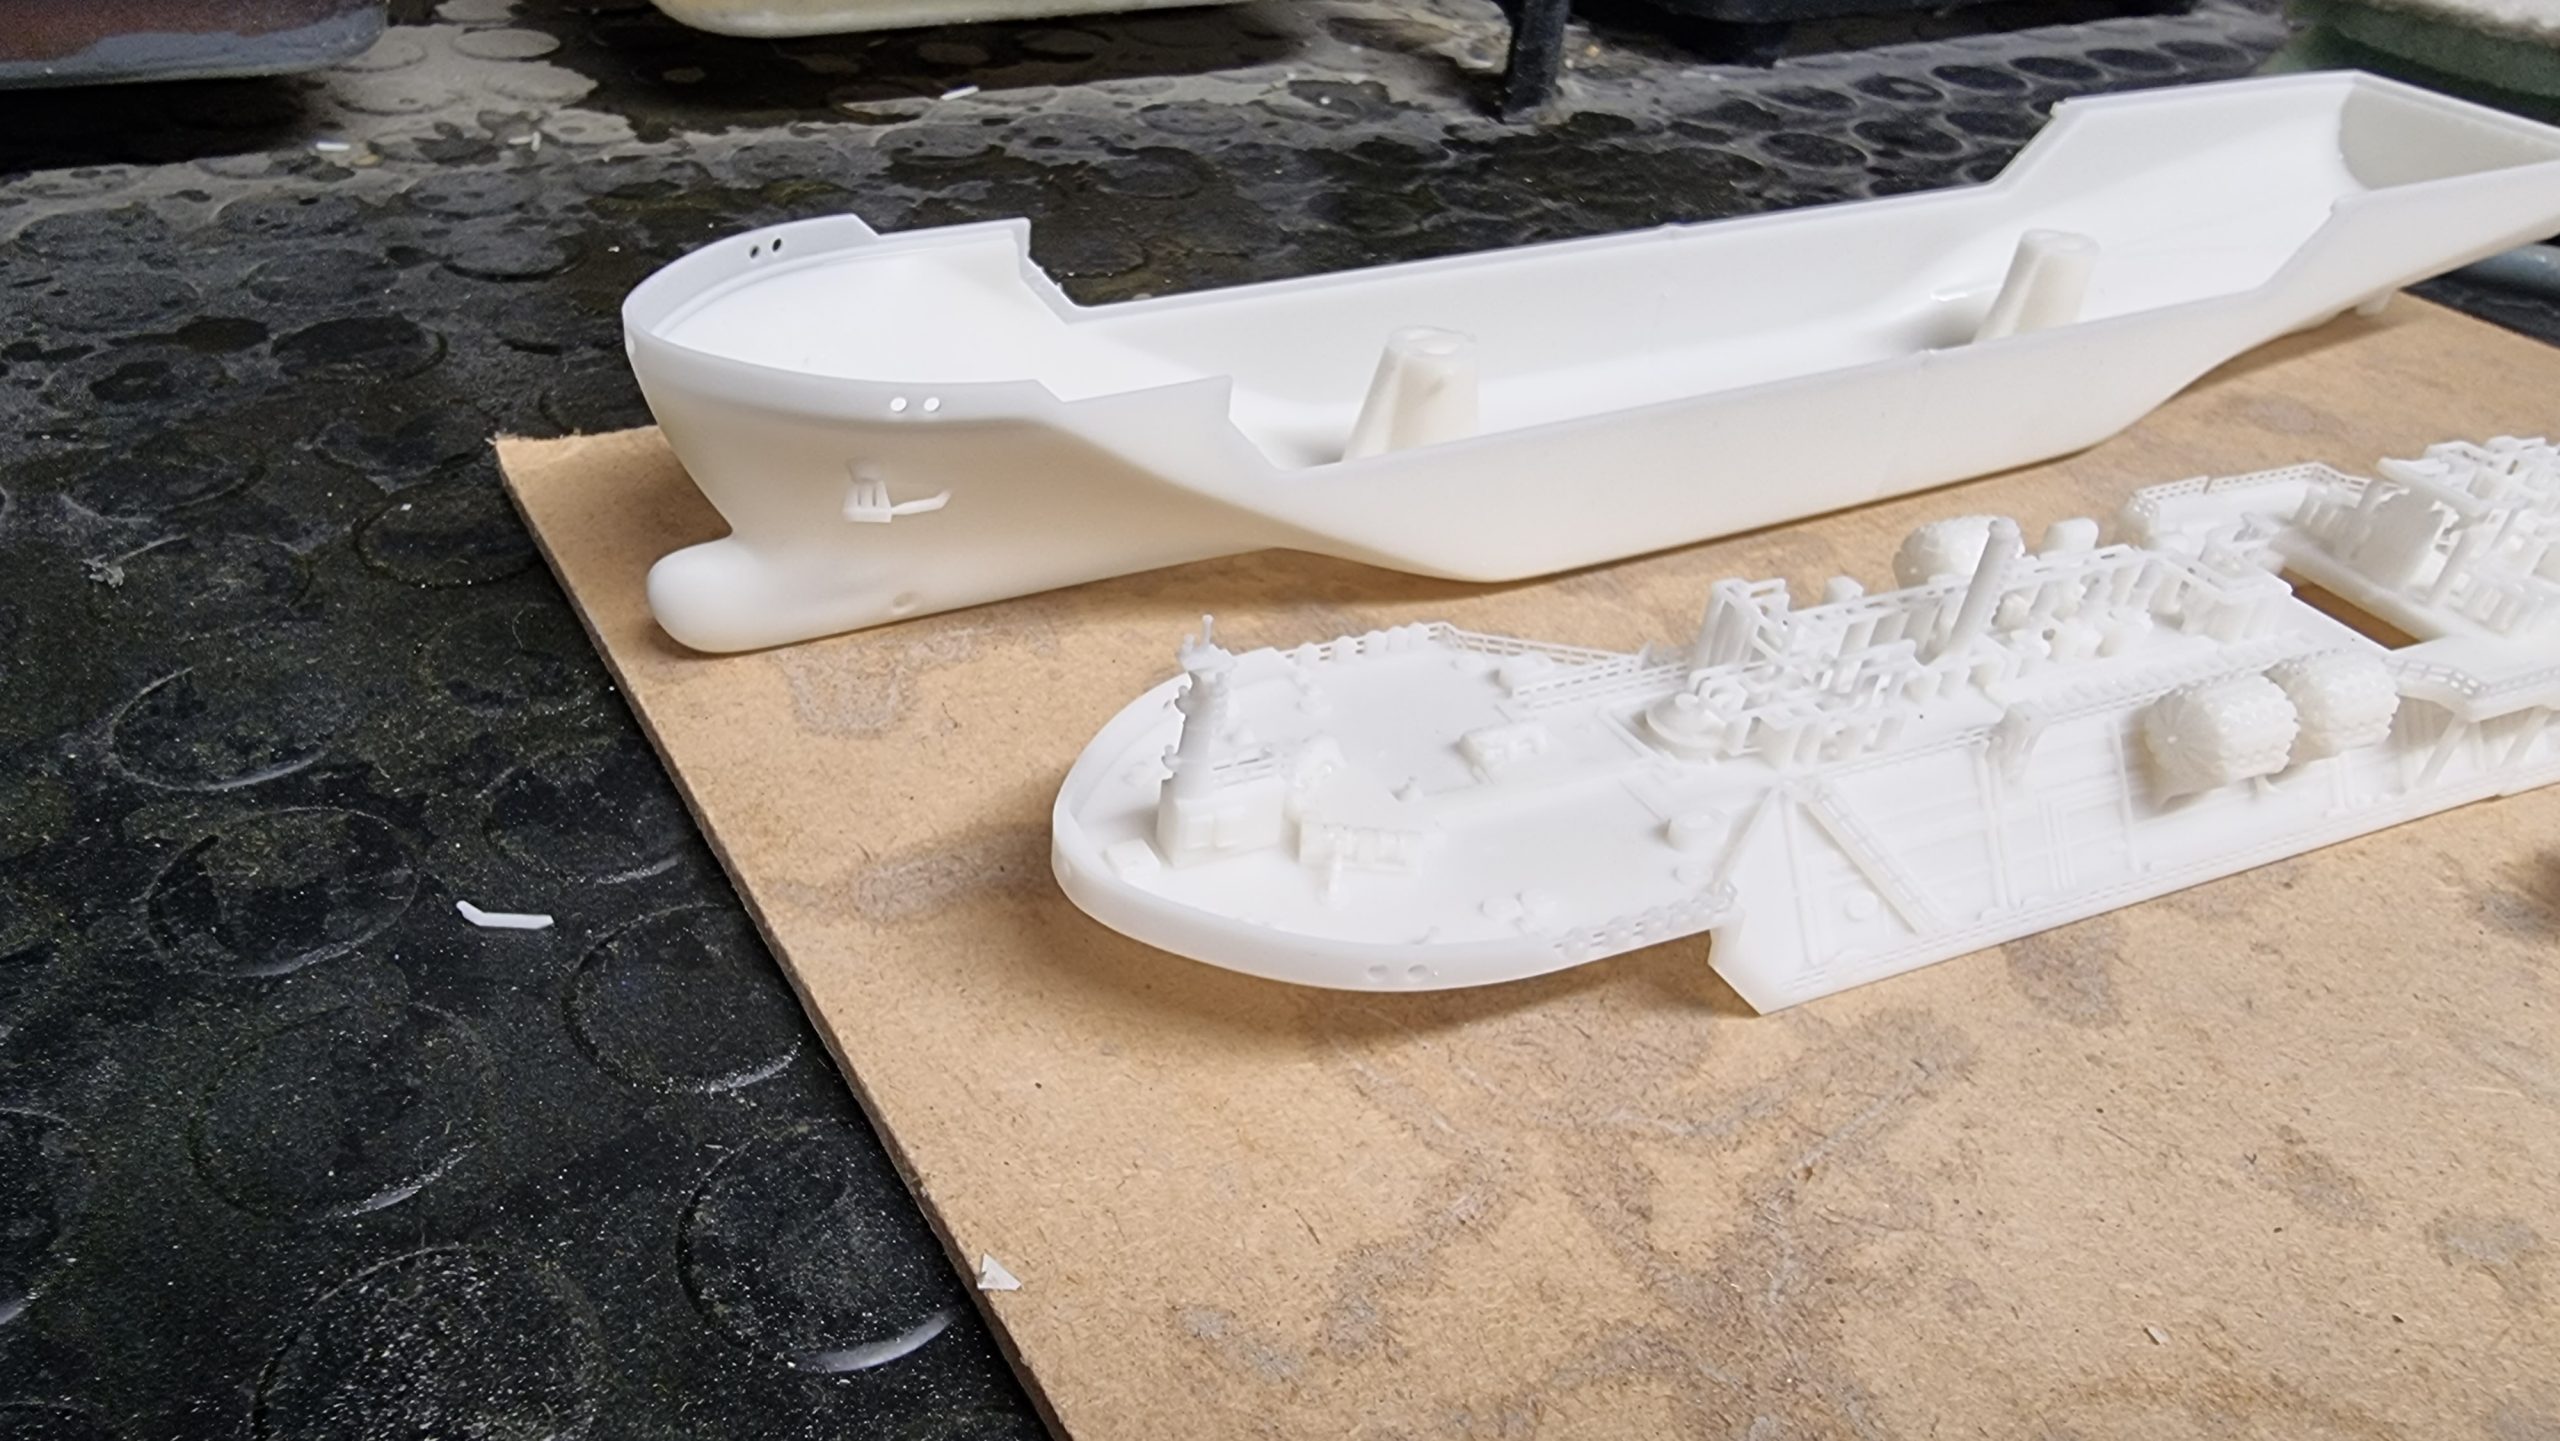
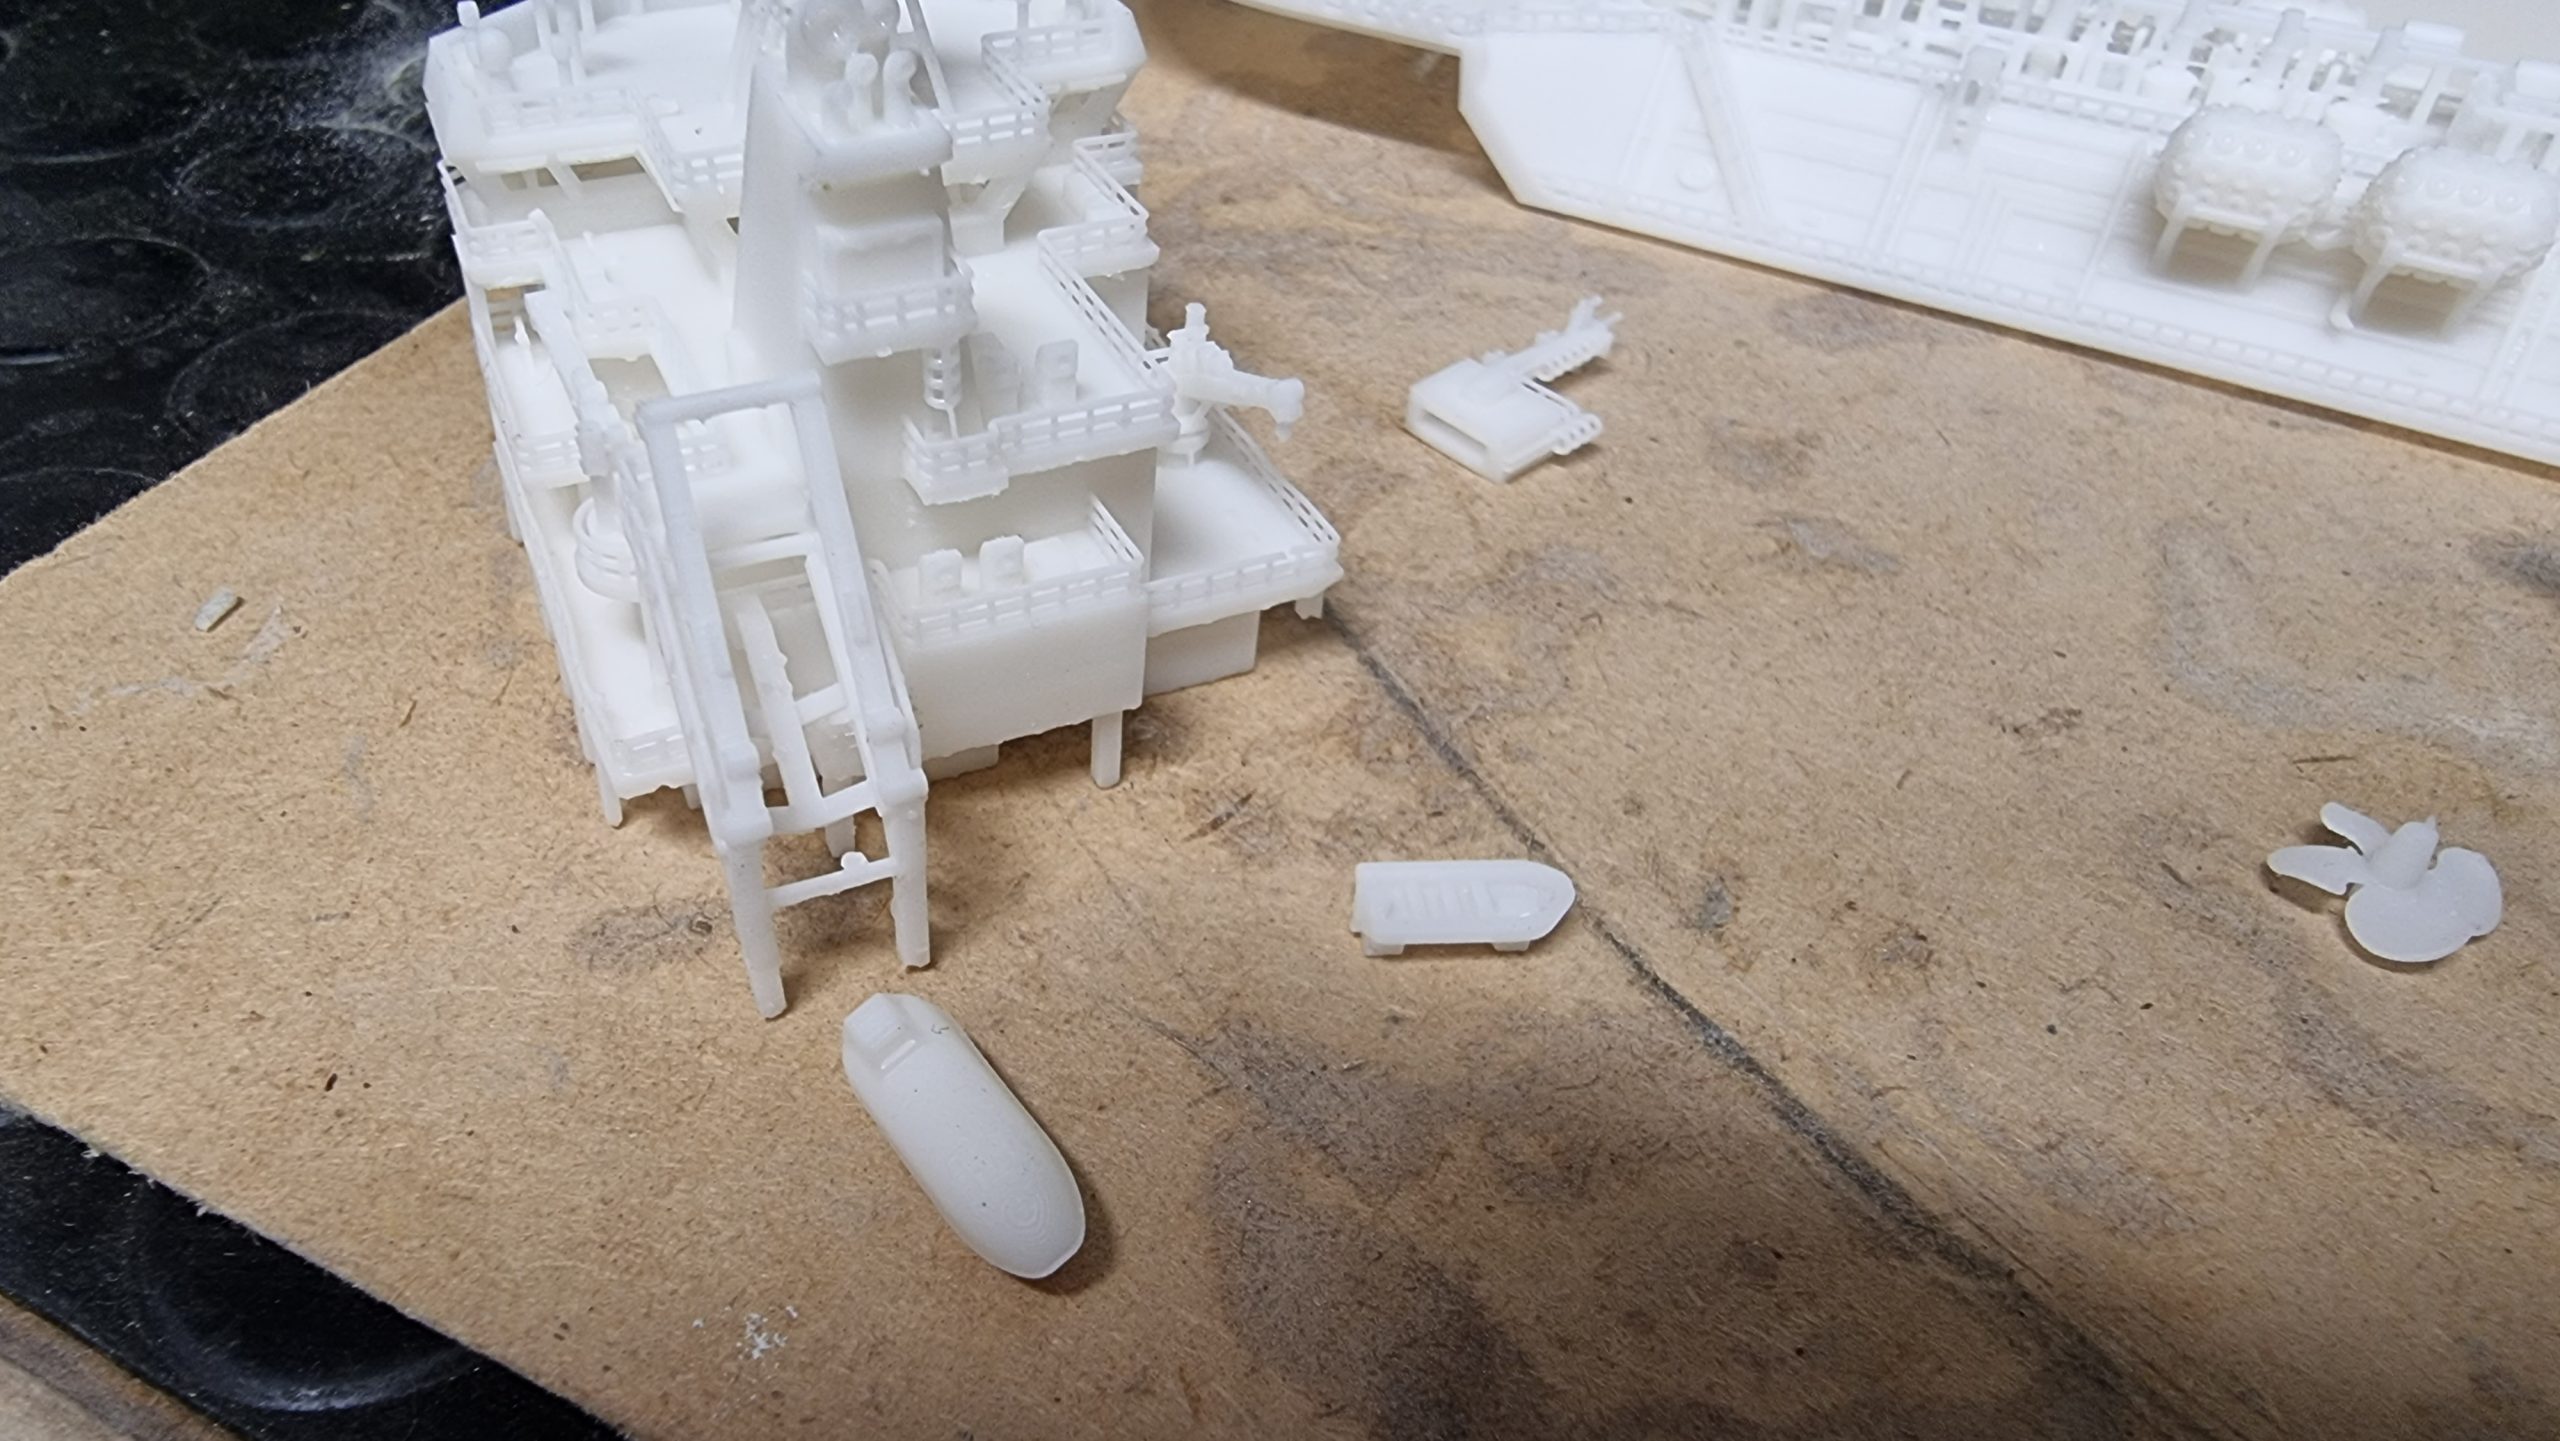
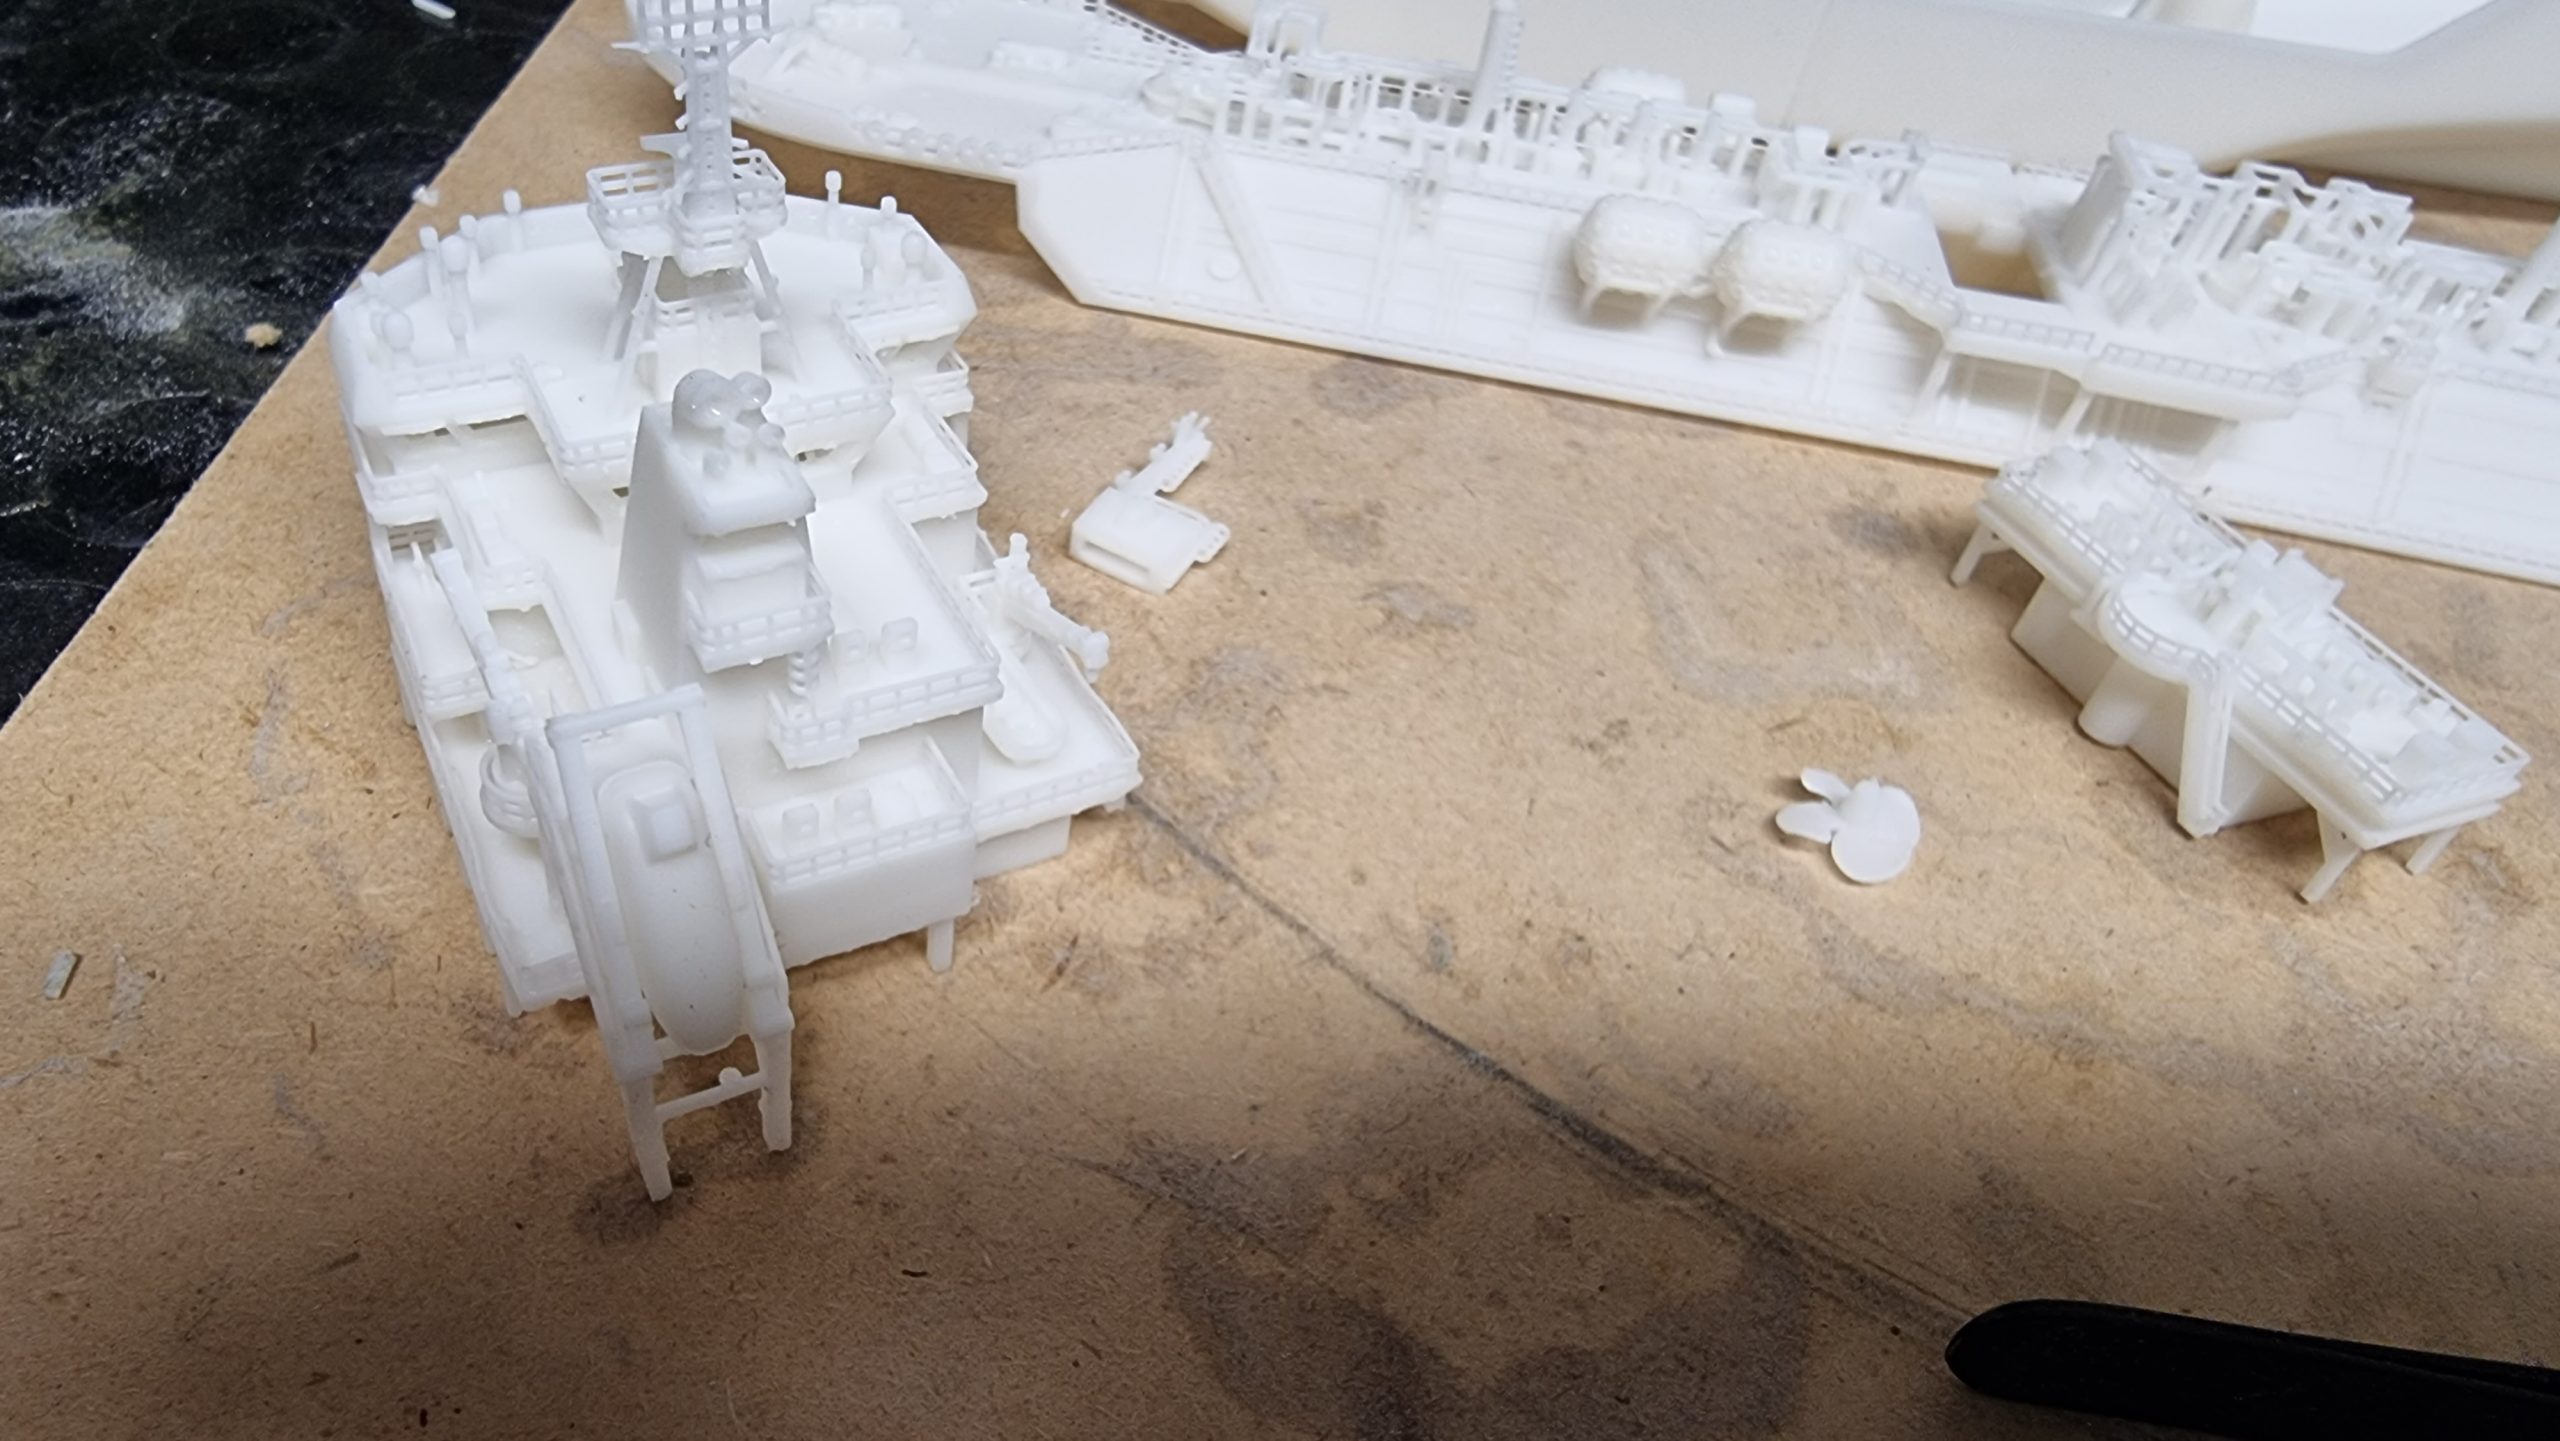
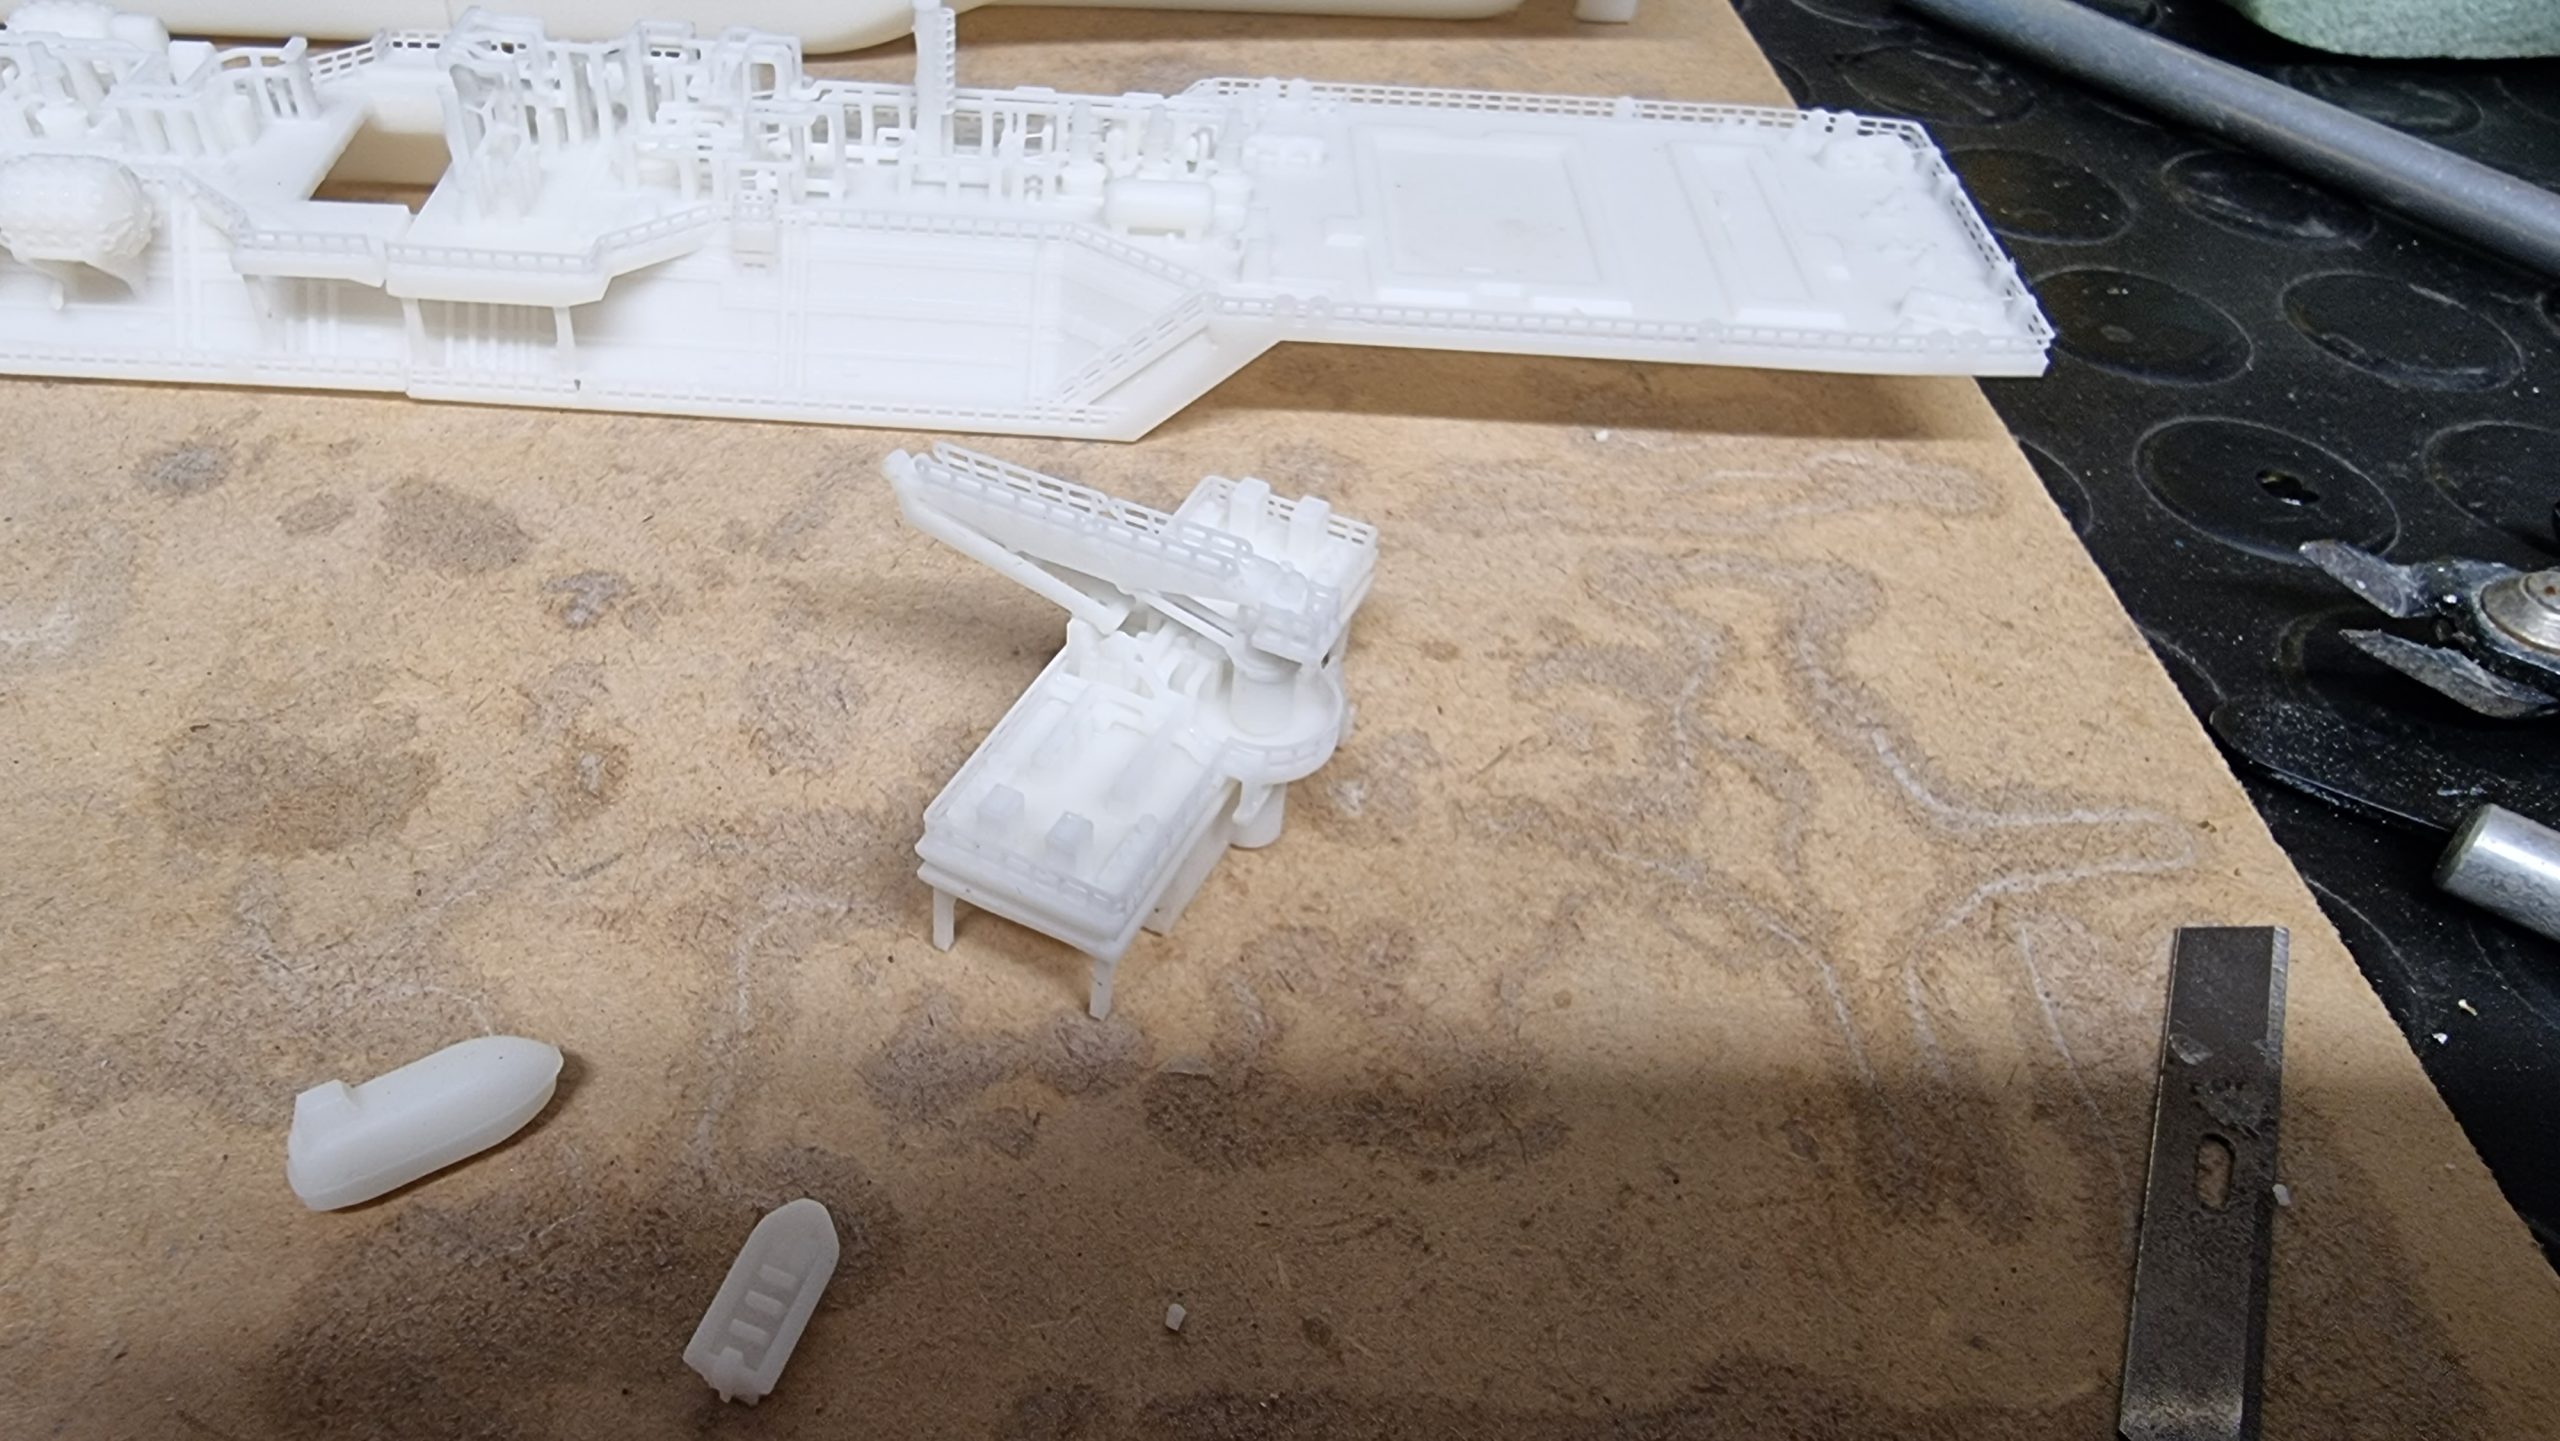
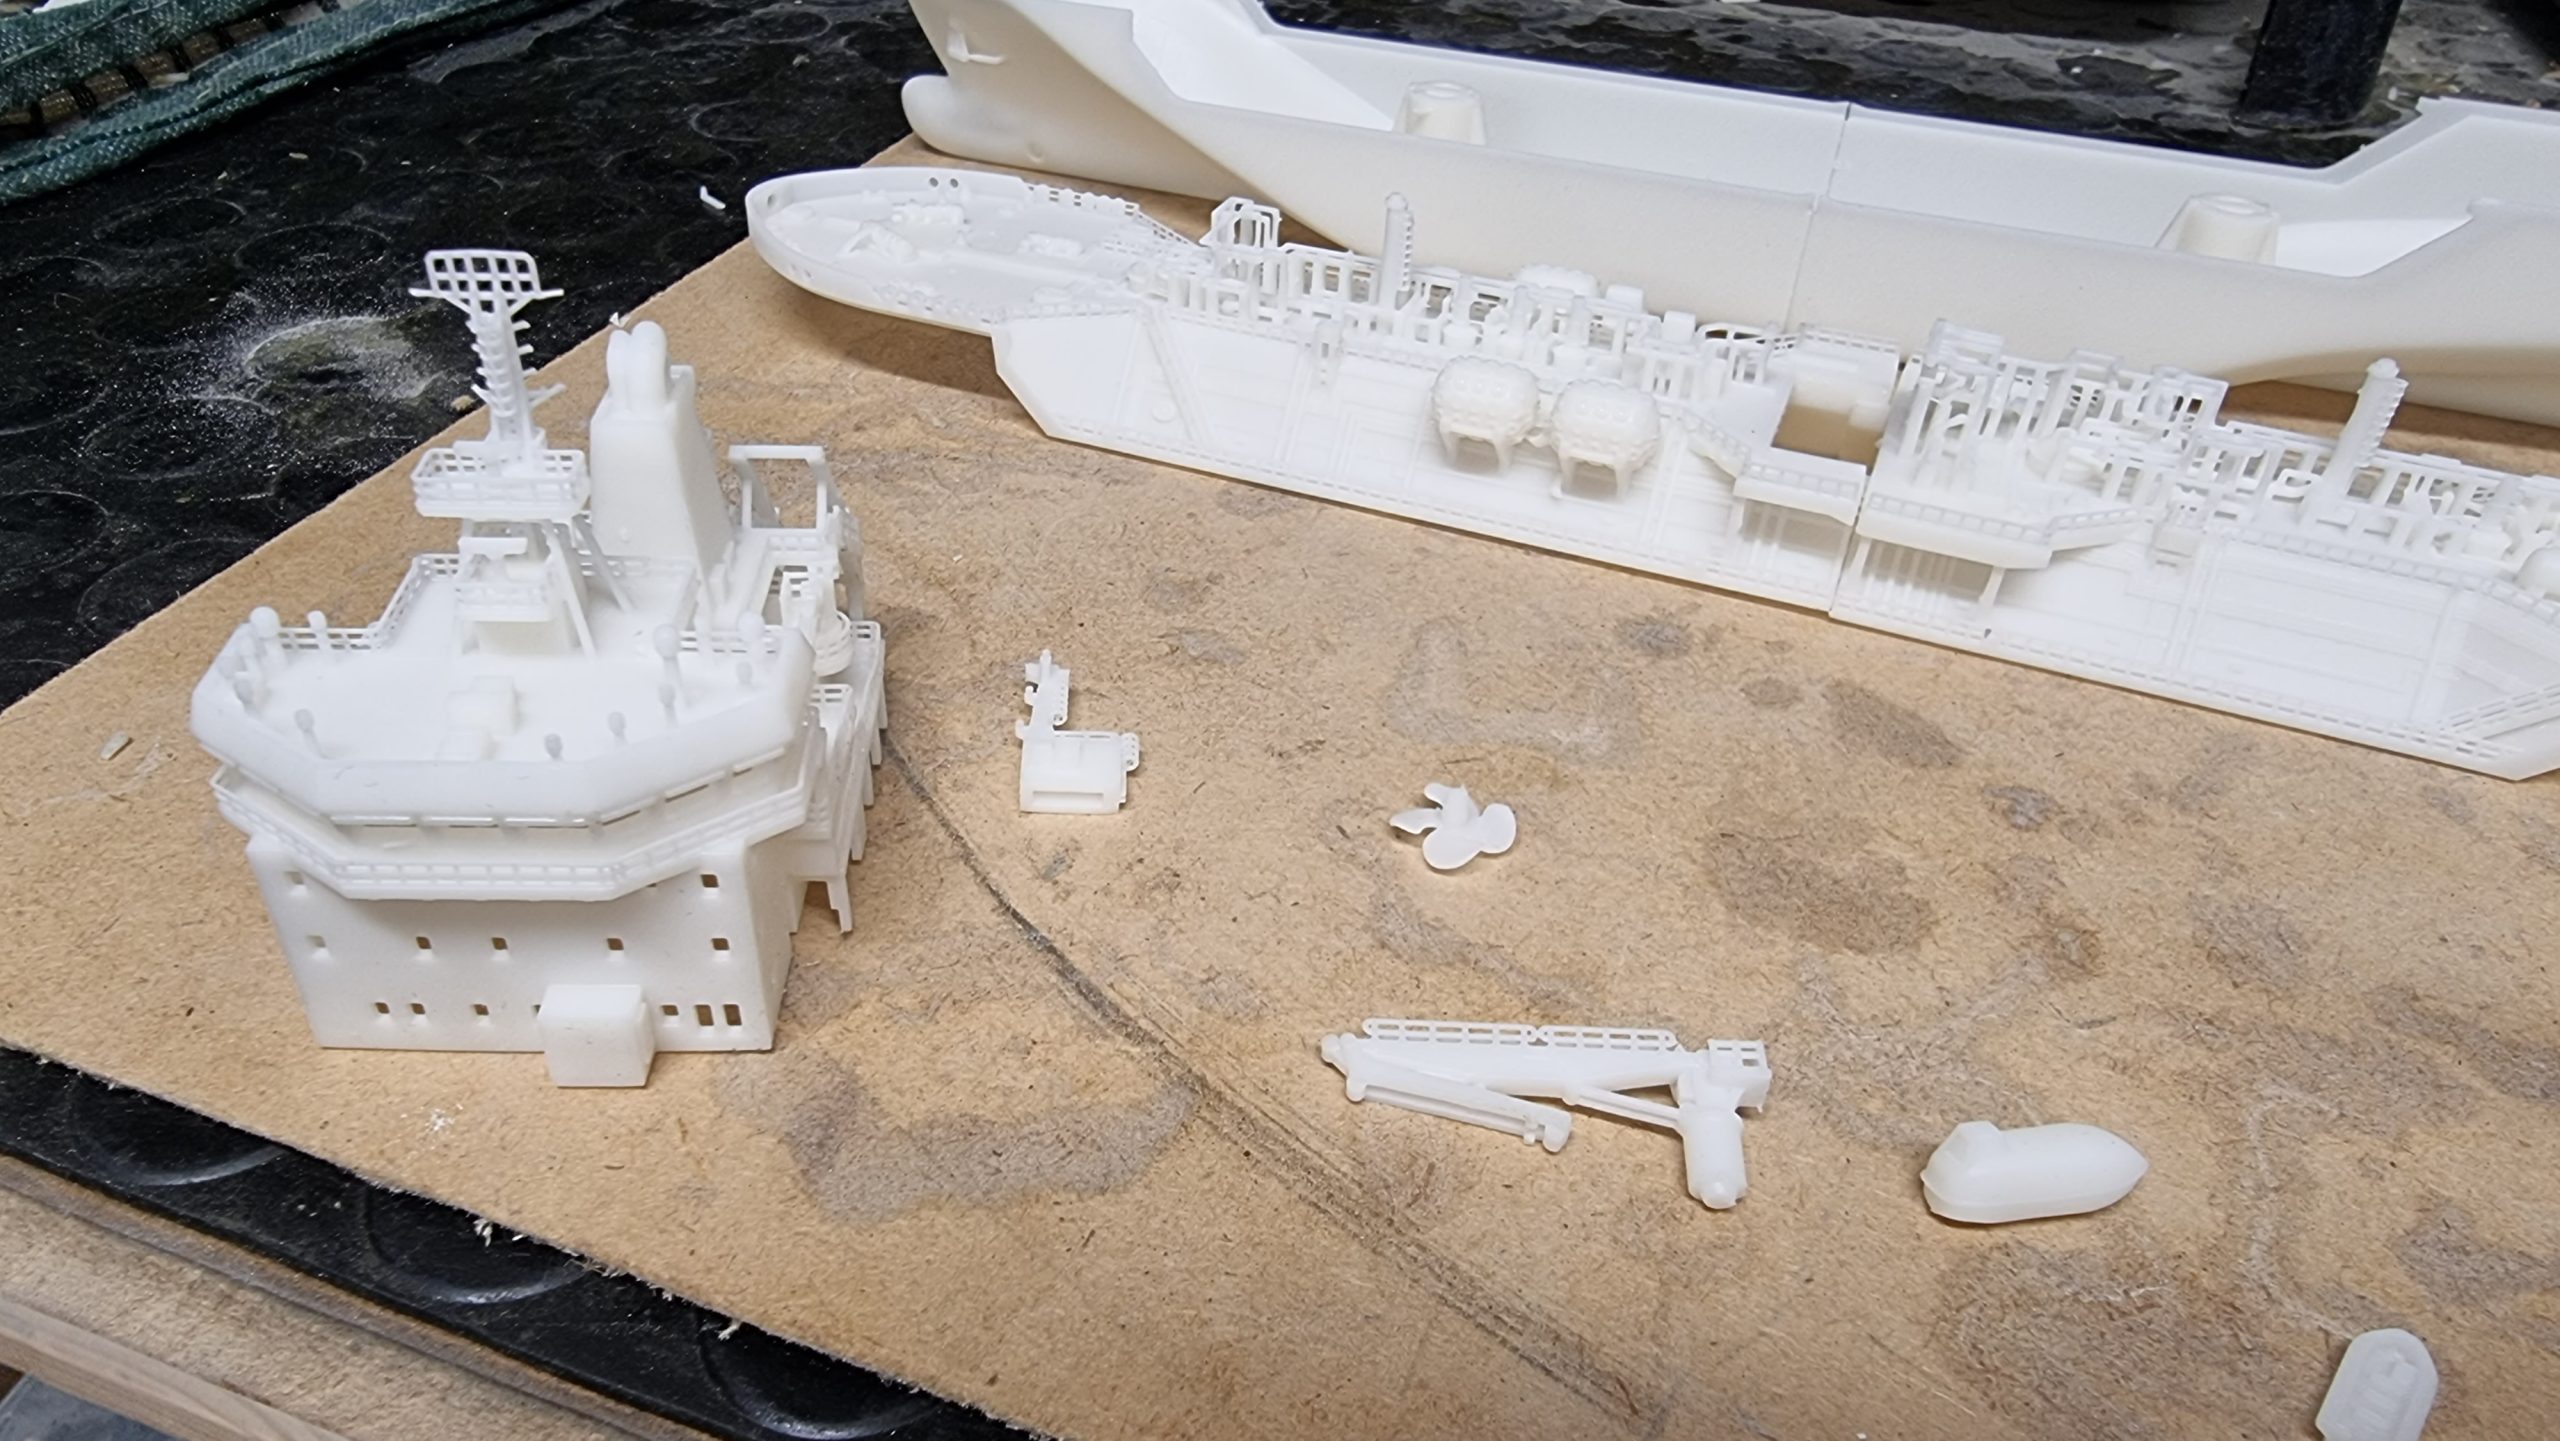
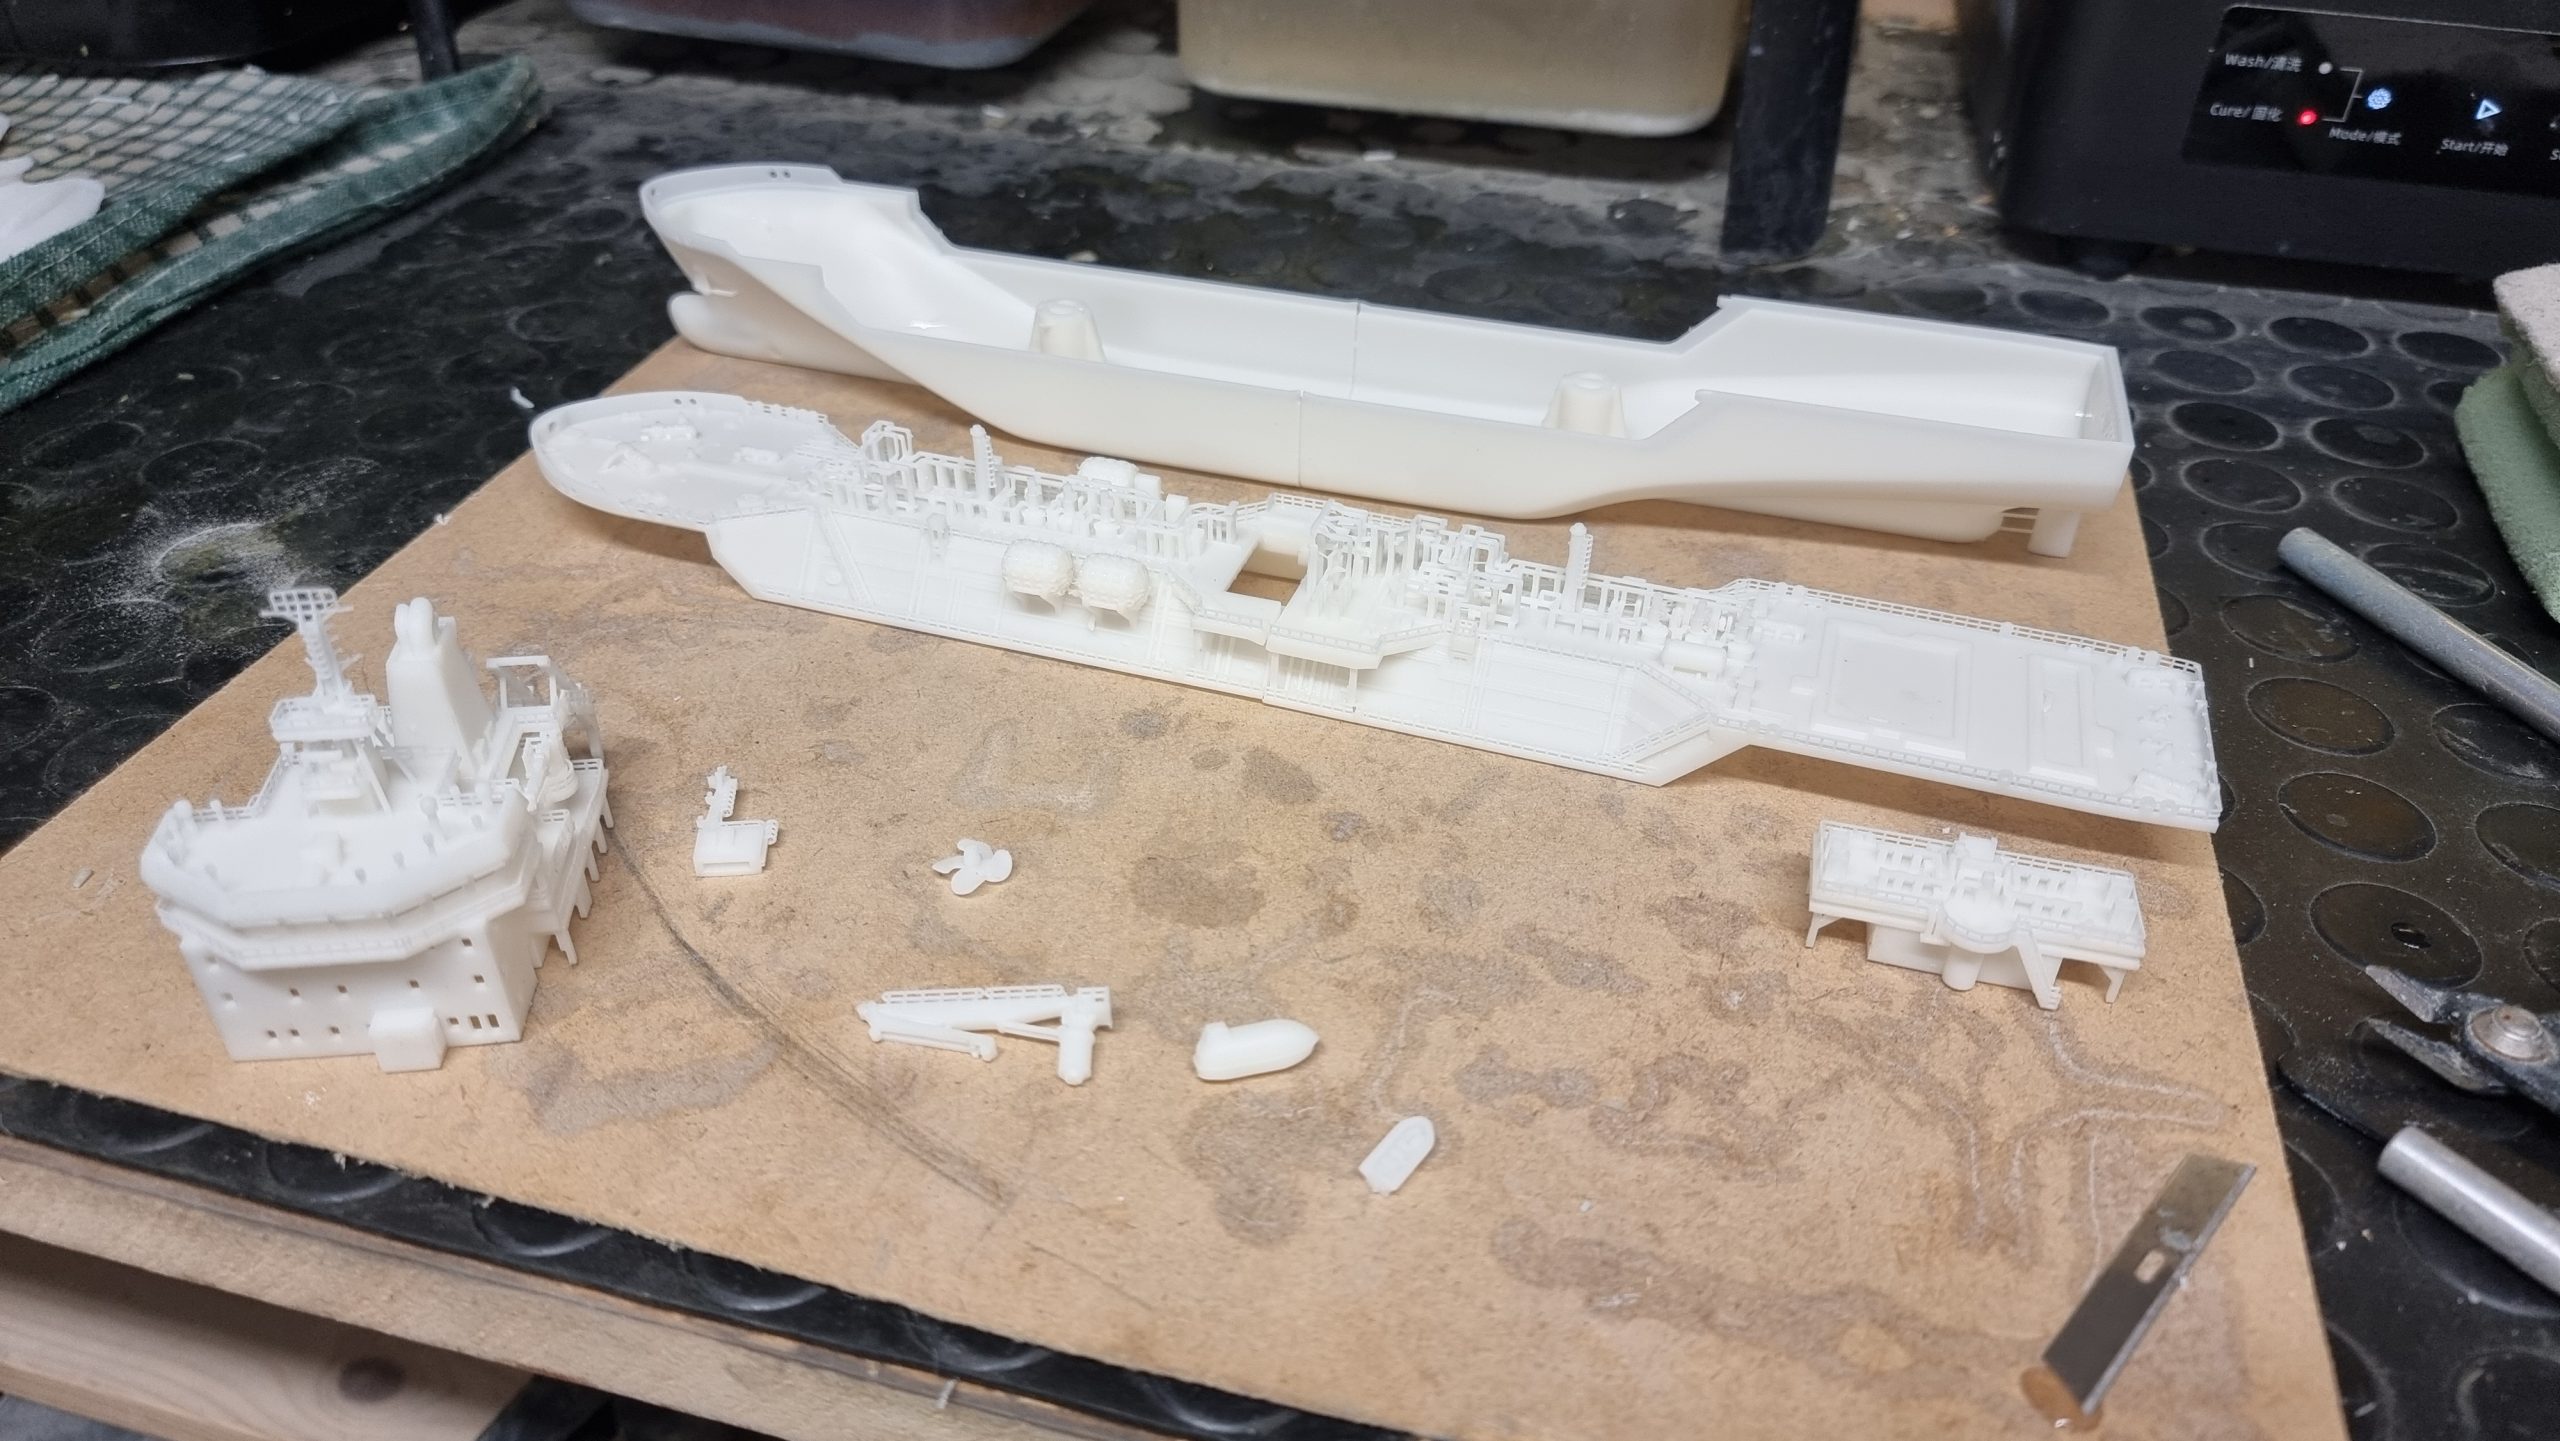
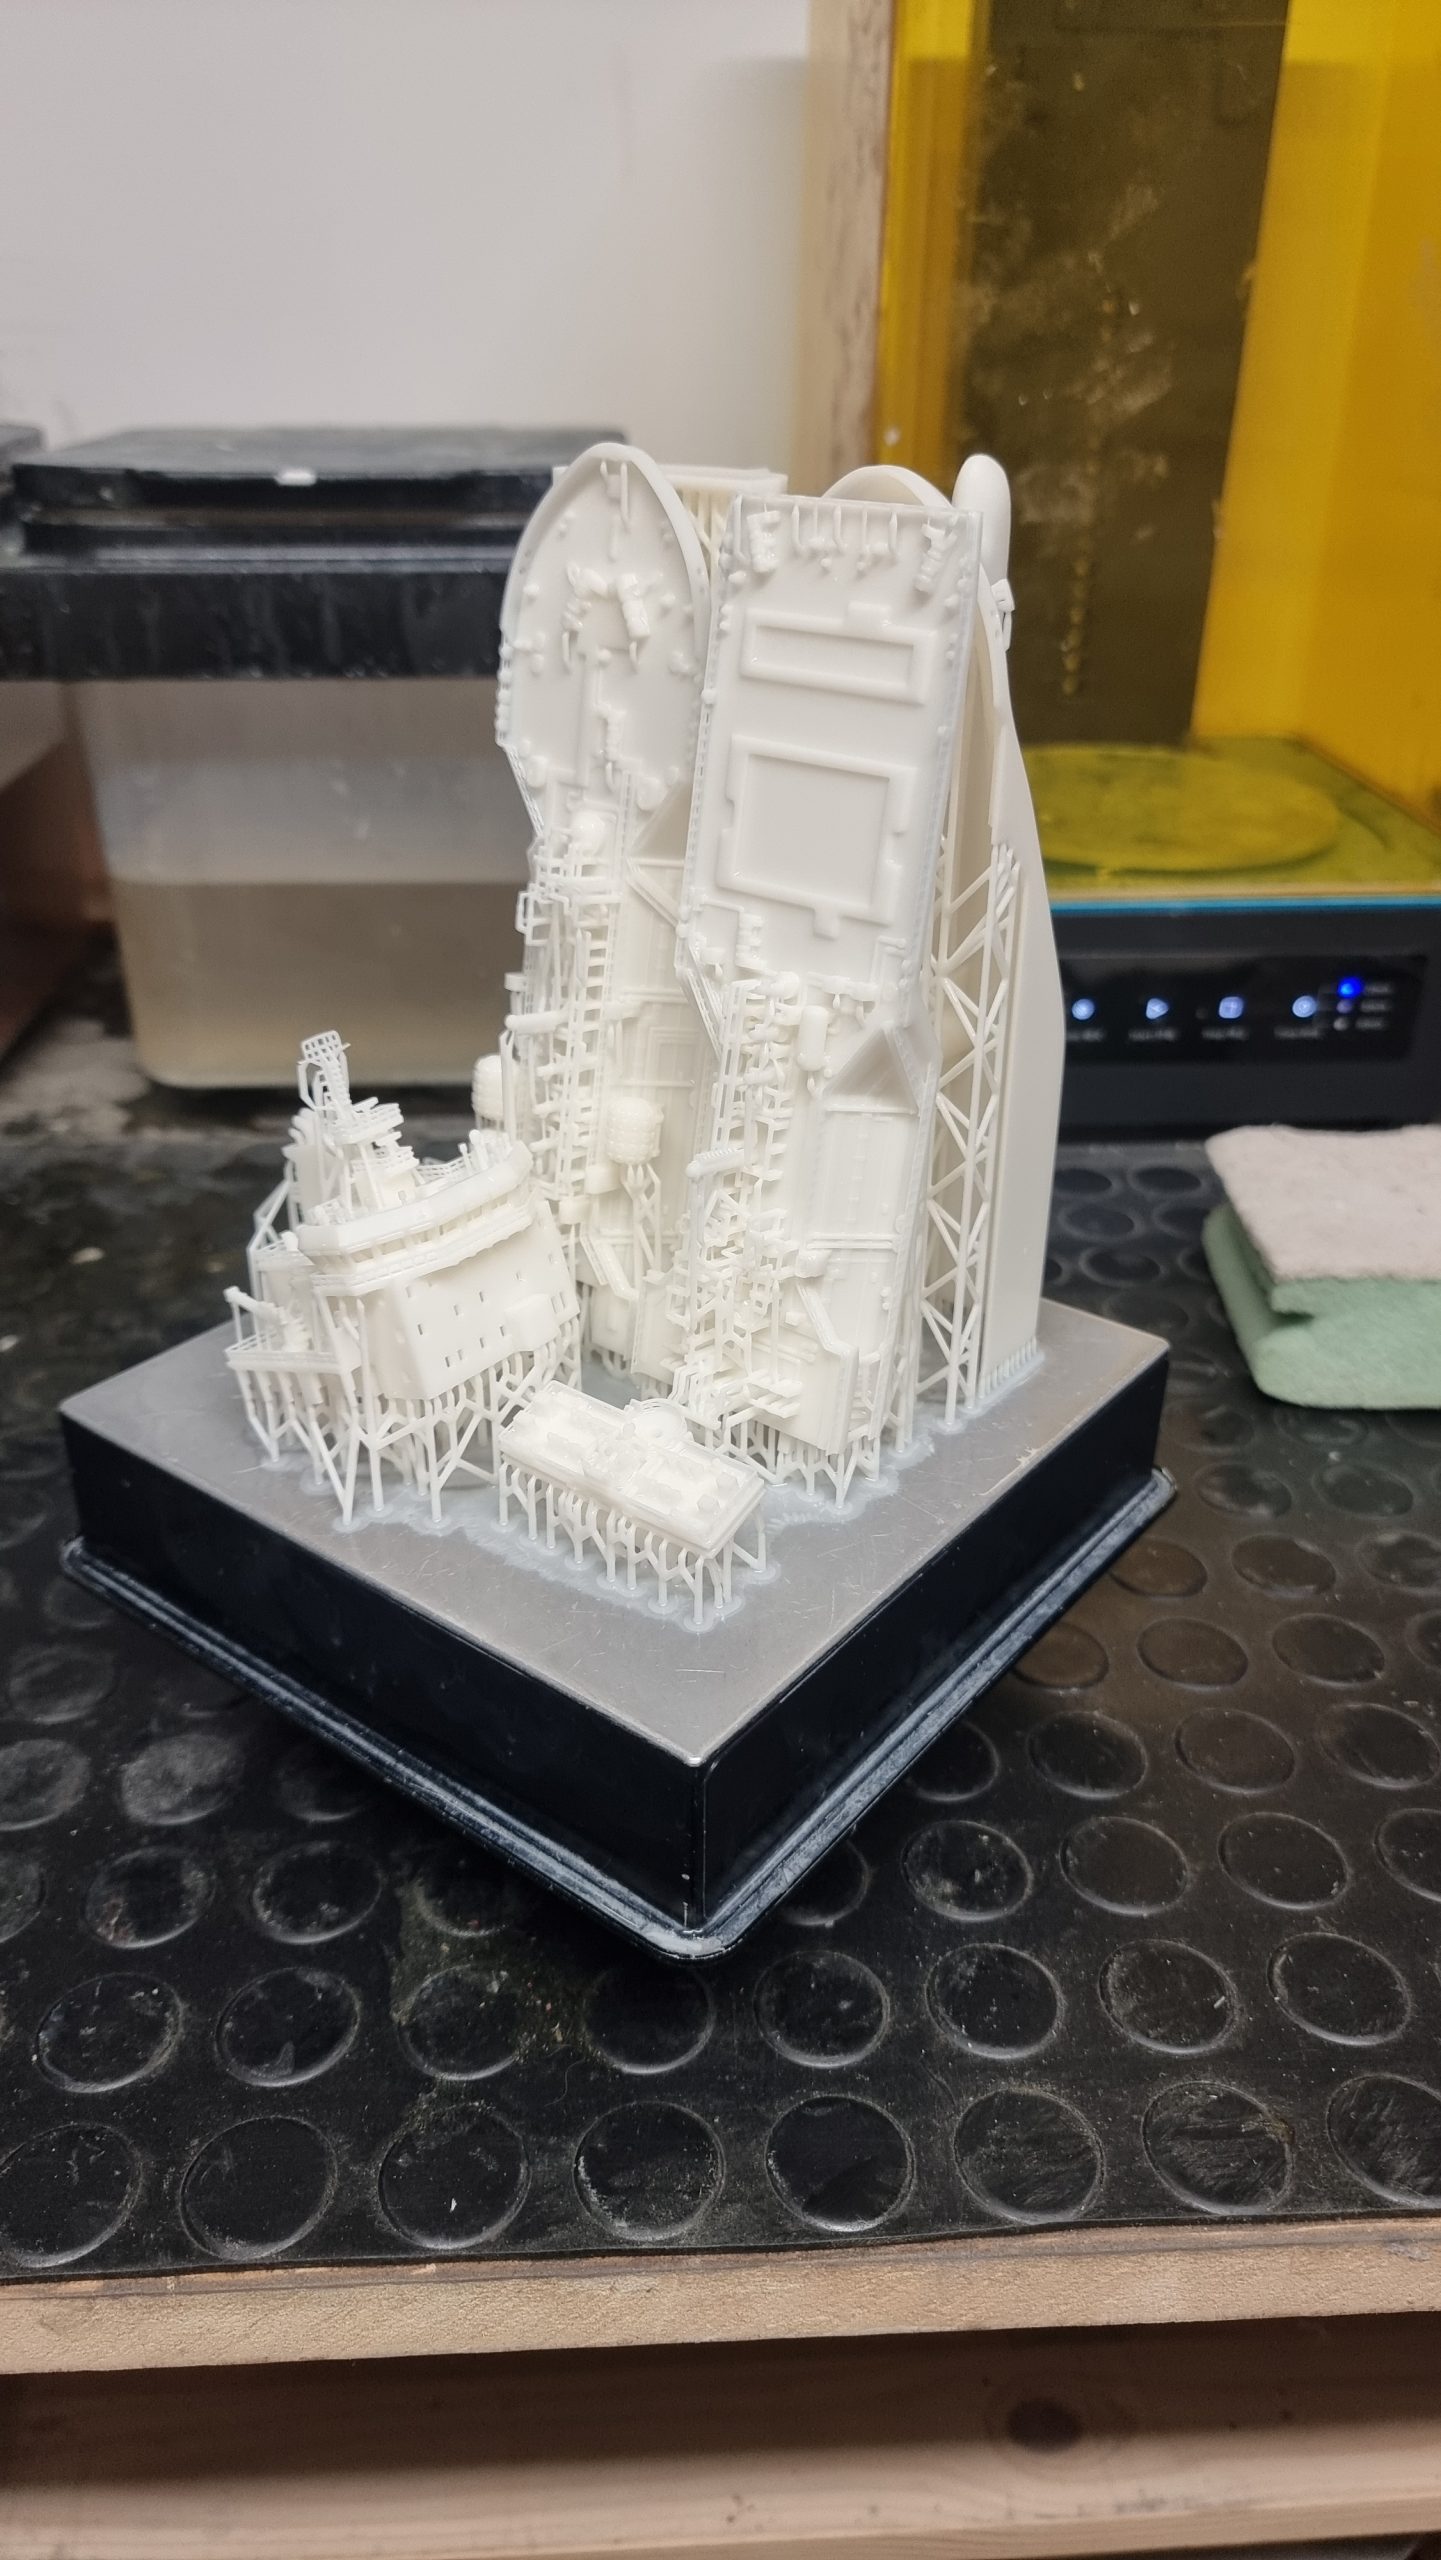
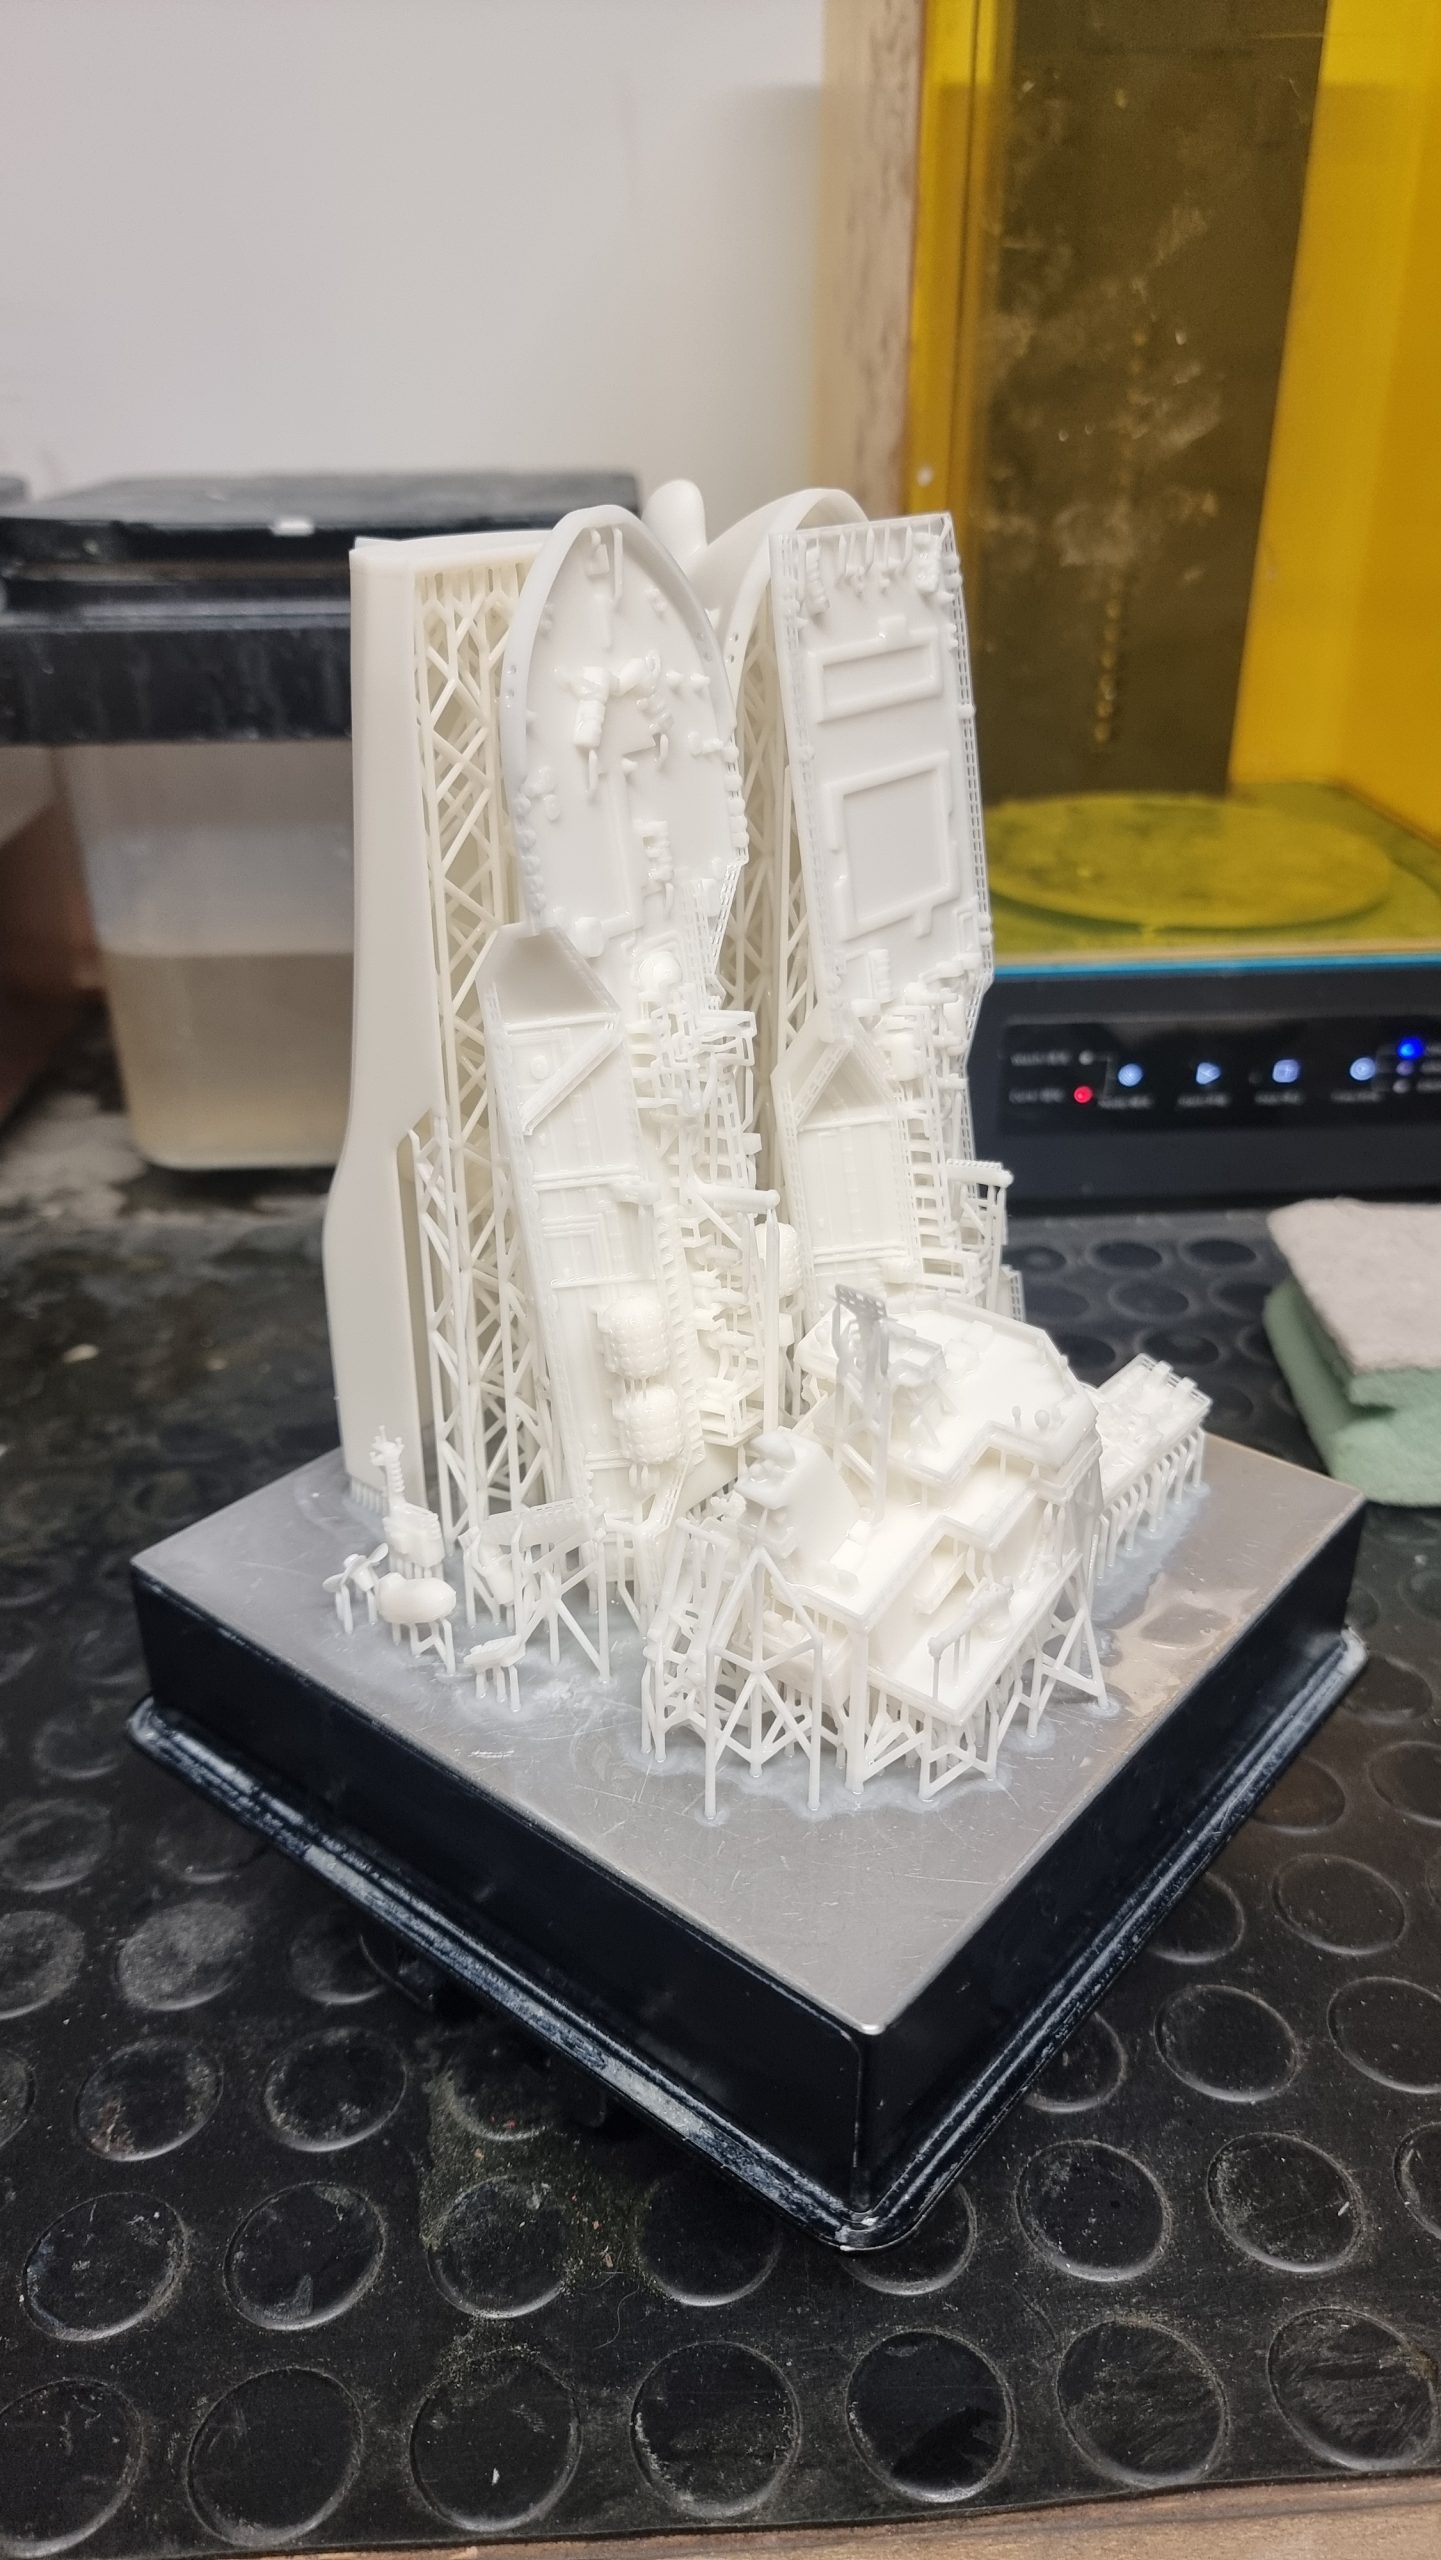
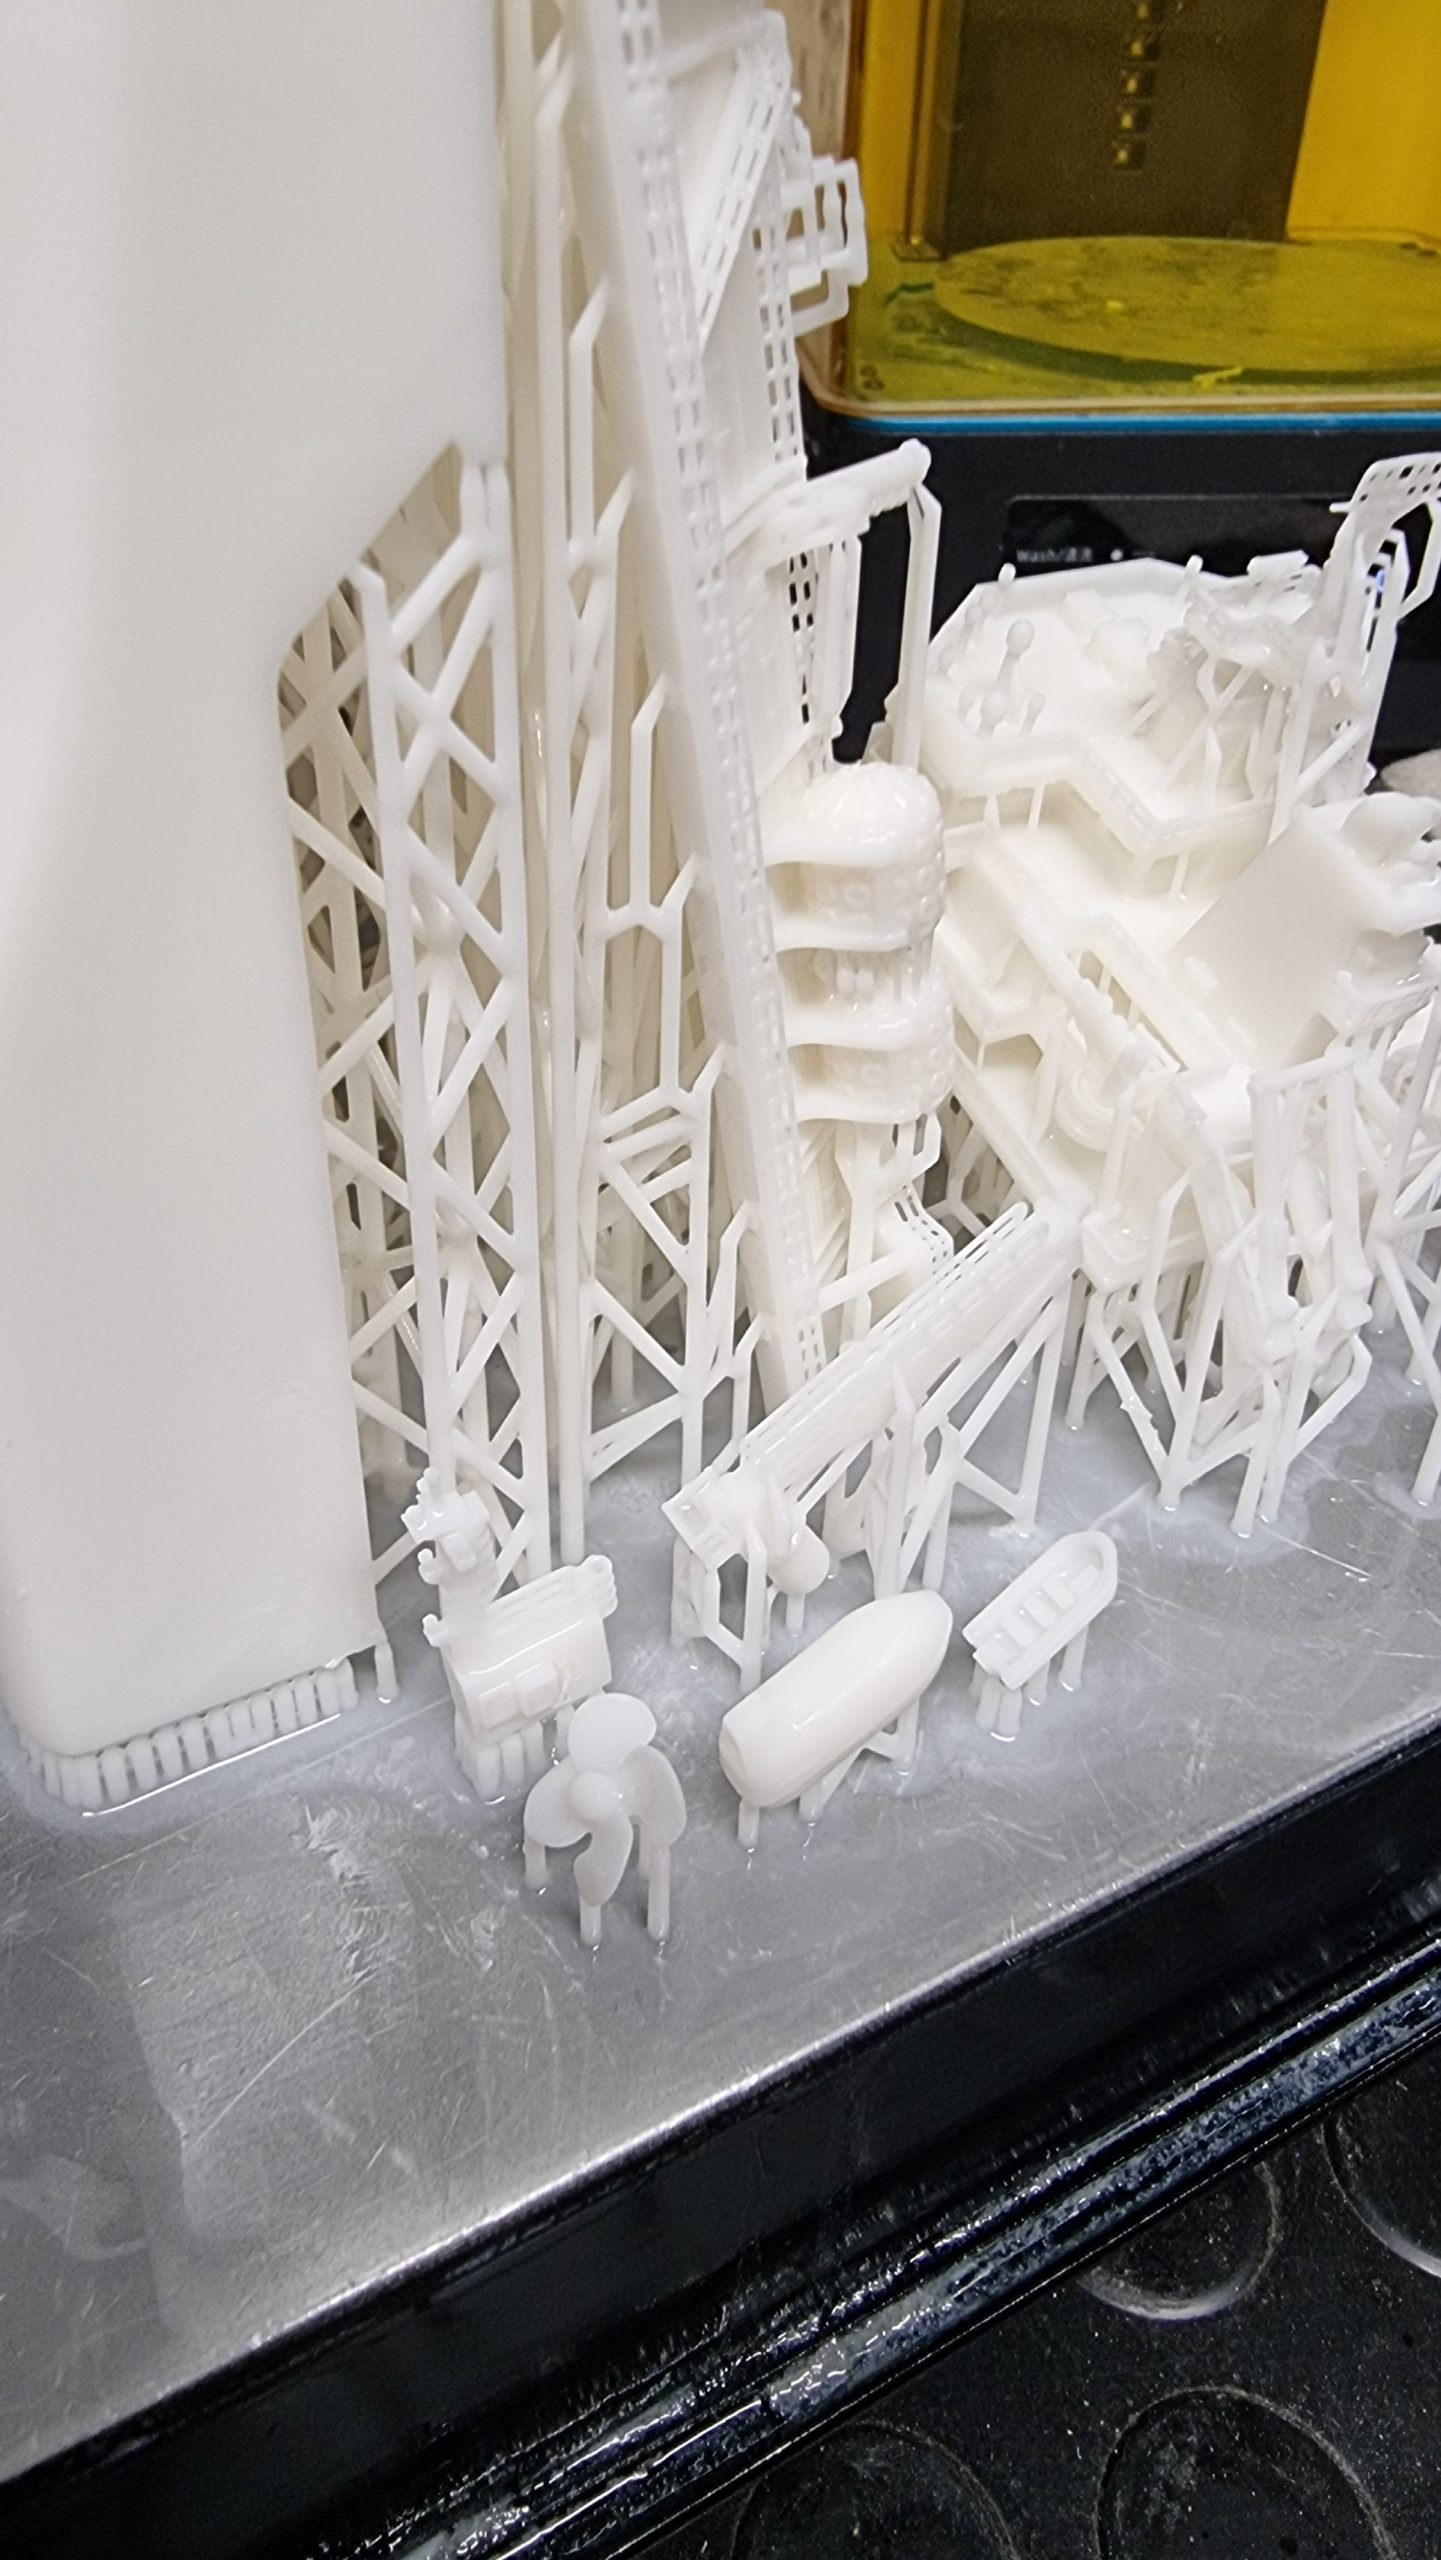
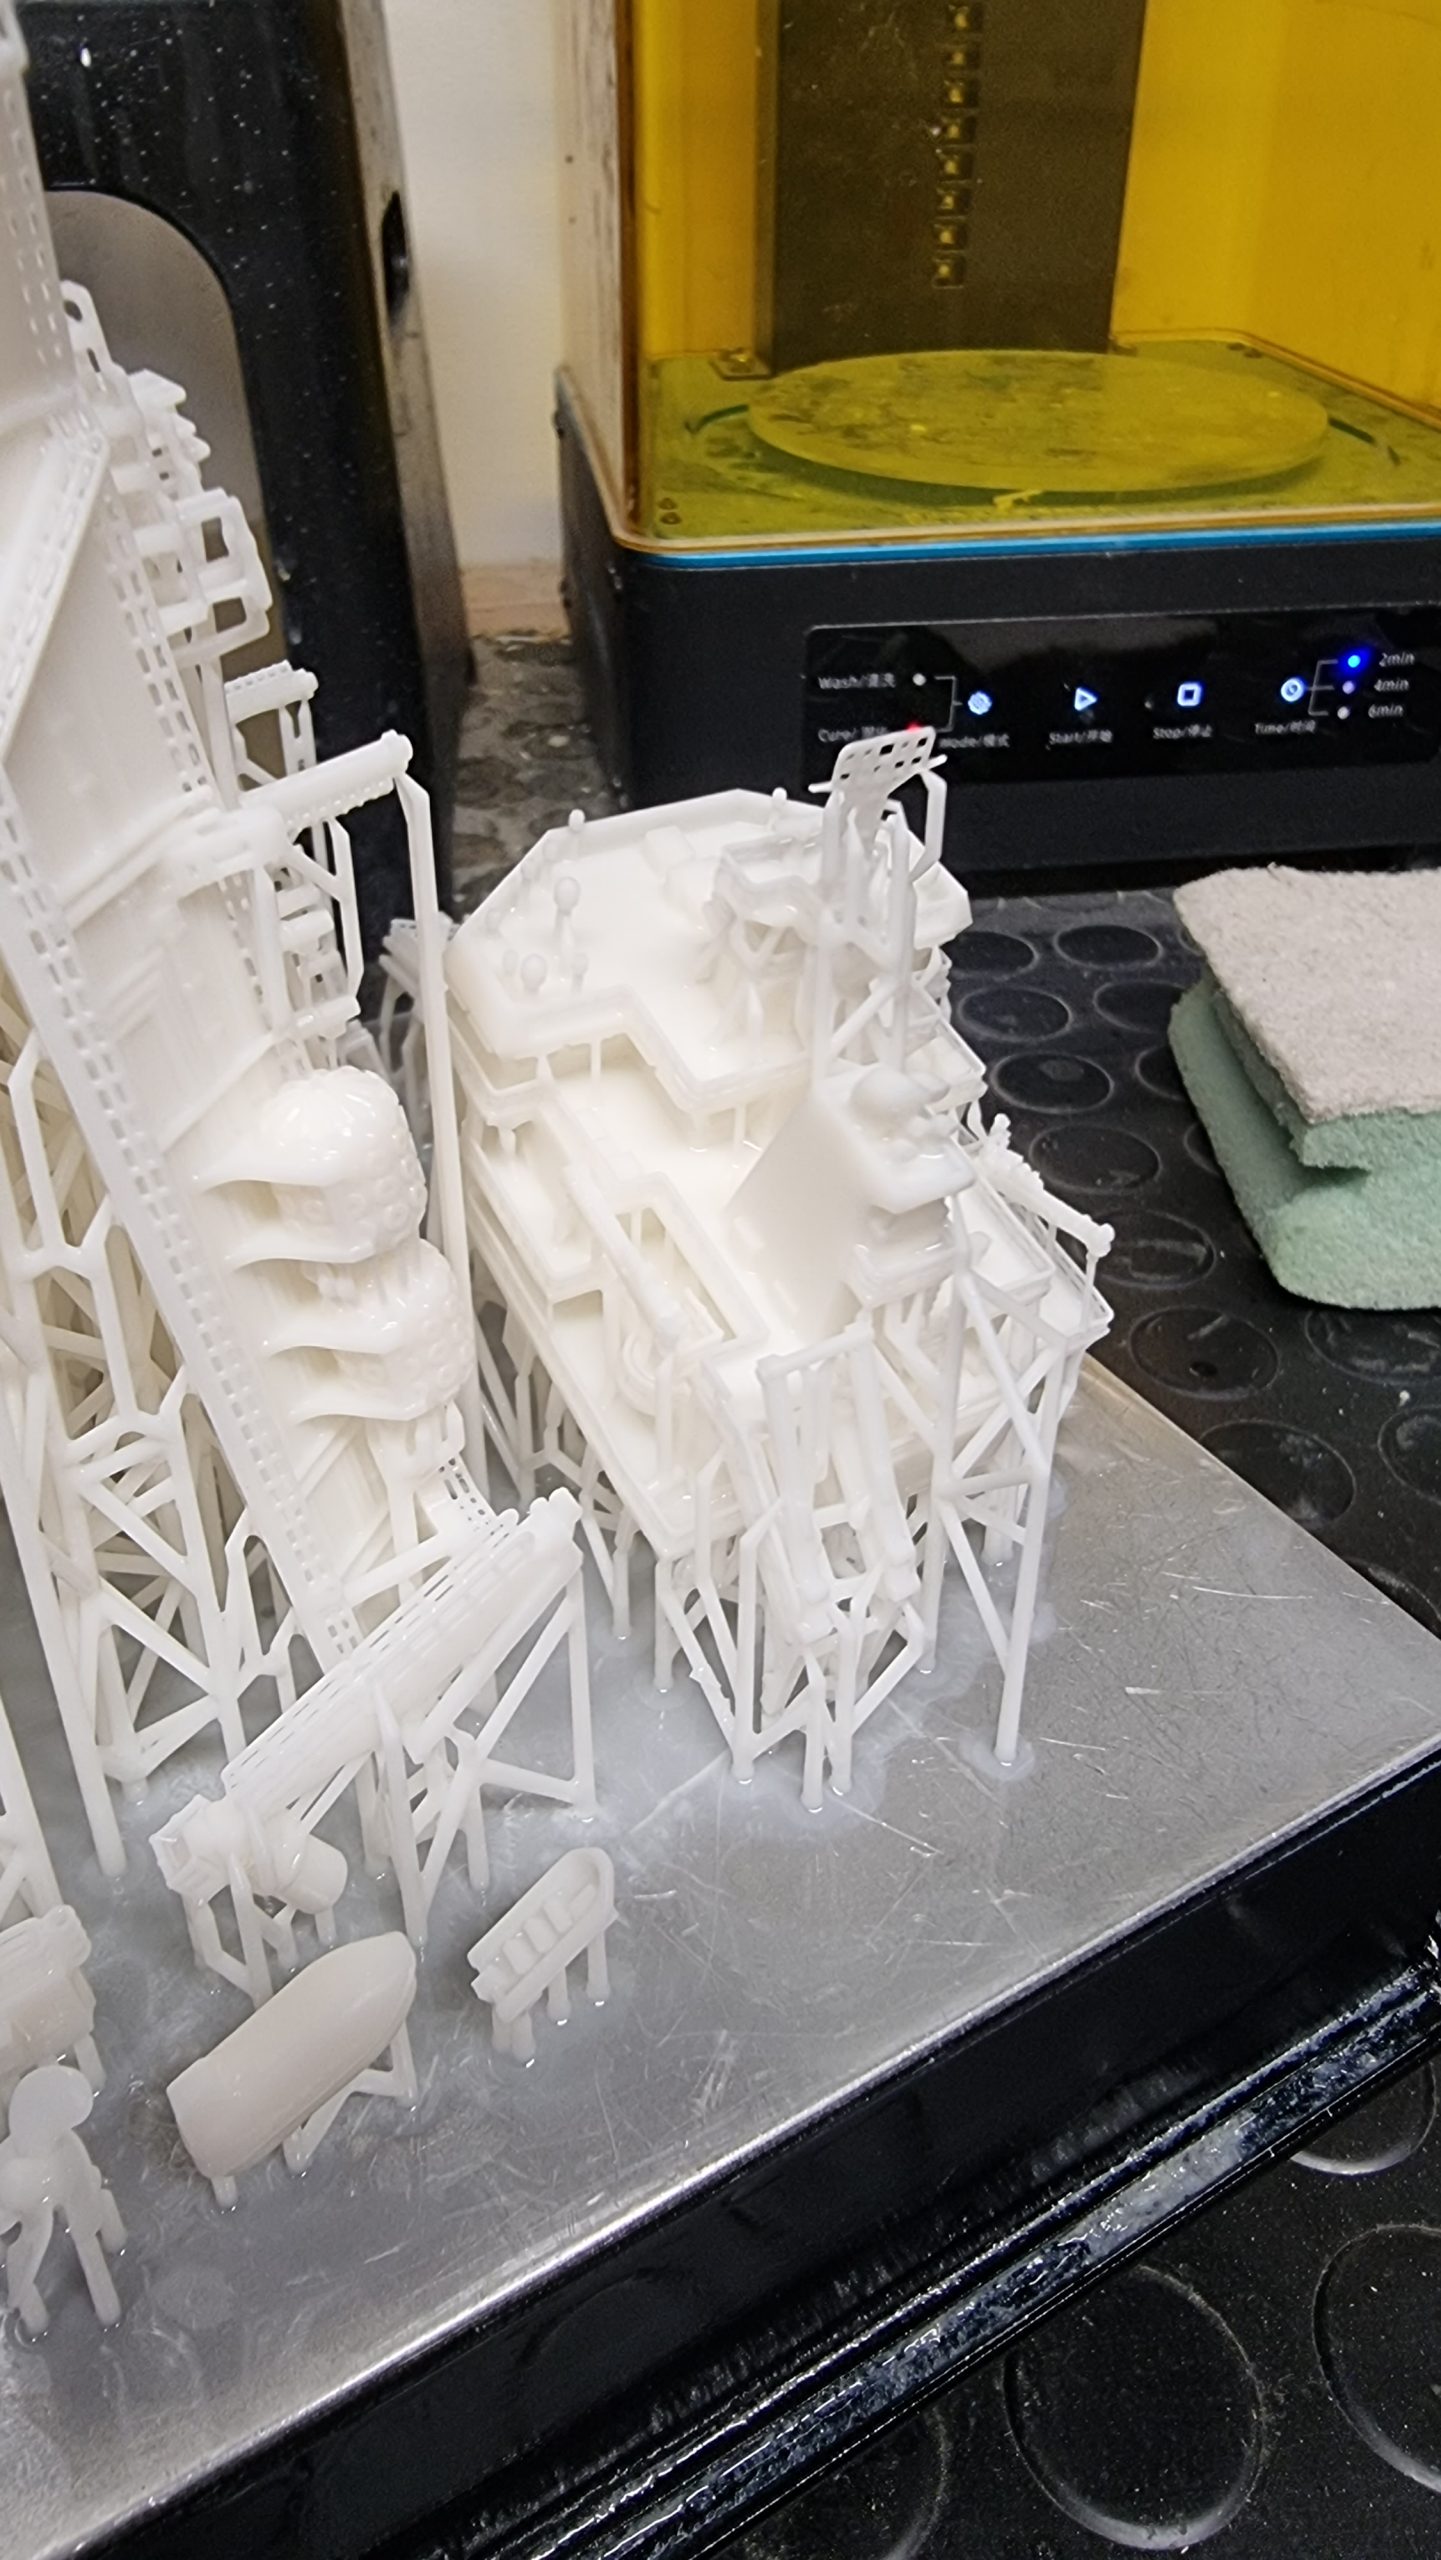
Each piece requires support, and so every chunk is printed together with its own scaffolding, in an almost lattice-like structure. These are positioned on specific parts of the units where they won’t be seen in the end product, and can be safely detached without spoiling the models themselves.
3D-printing a small unit tends to take around twenty-four hours. Once this is done, the piece will come out on a platform. The material is fairly sticky, as it’s acrylic resin. Each piece is also usually quite hot and fragile, and so they must be cleaned carefully. They come out on a tray, and after this, the tray is placed in an IPA solution, which is effectively 99% pure alcohol. There is a rotor at the base of this machine, which agitates the IPA solution and guarantees that all surfaces of the piece on the tray are evenly covered. The tray and all of the attached pieces remain in the IPA solution for about thirty minutes, before being taken out and left to dry naturally. It can take up to two whole days for the unit to dry completely, but this is vital in retaining the strength and rigidity of each piece.
Once the unit has naturally dried, our 3D-modeller will then take it and place it in a UV curing machine, which grants the piece with an extra layer of hardness. Then the lattice structure can be removed (however, it’s important to note that this particular step can actually happen at any time, depending on the piece). The unit is usually left for a further two days to completely dry, and when you have enough pieces, assembly can begin.
In the case of Avenir, the ships didn’t require an internal structure. This is due to the fact that the parts were fairly small, and so the resin was more than capable of holding everything together. However, if an internal-support was a requirement, our 3D-modeller would have constructed a skeleton of plywood to support the foundations of the ship, and retain its structural integrity.
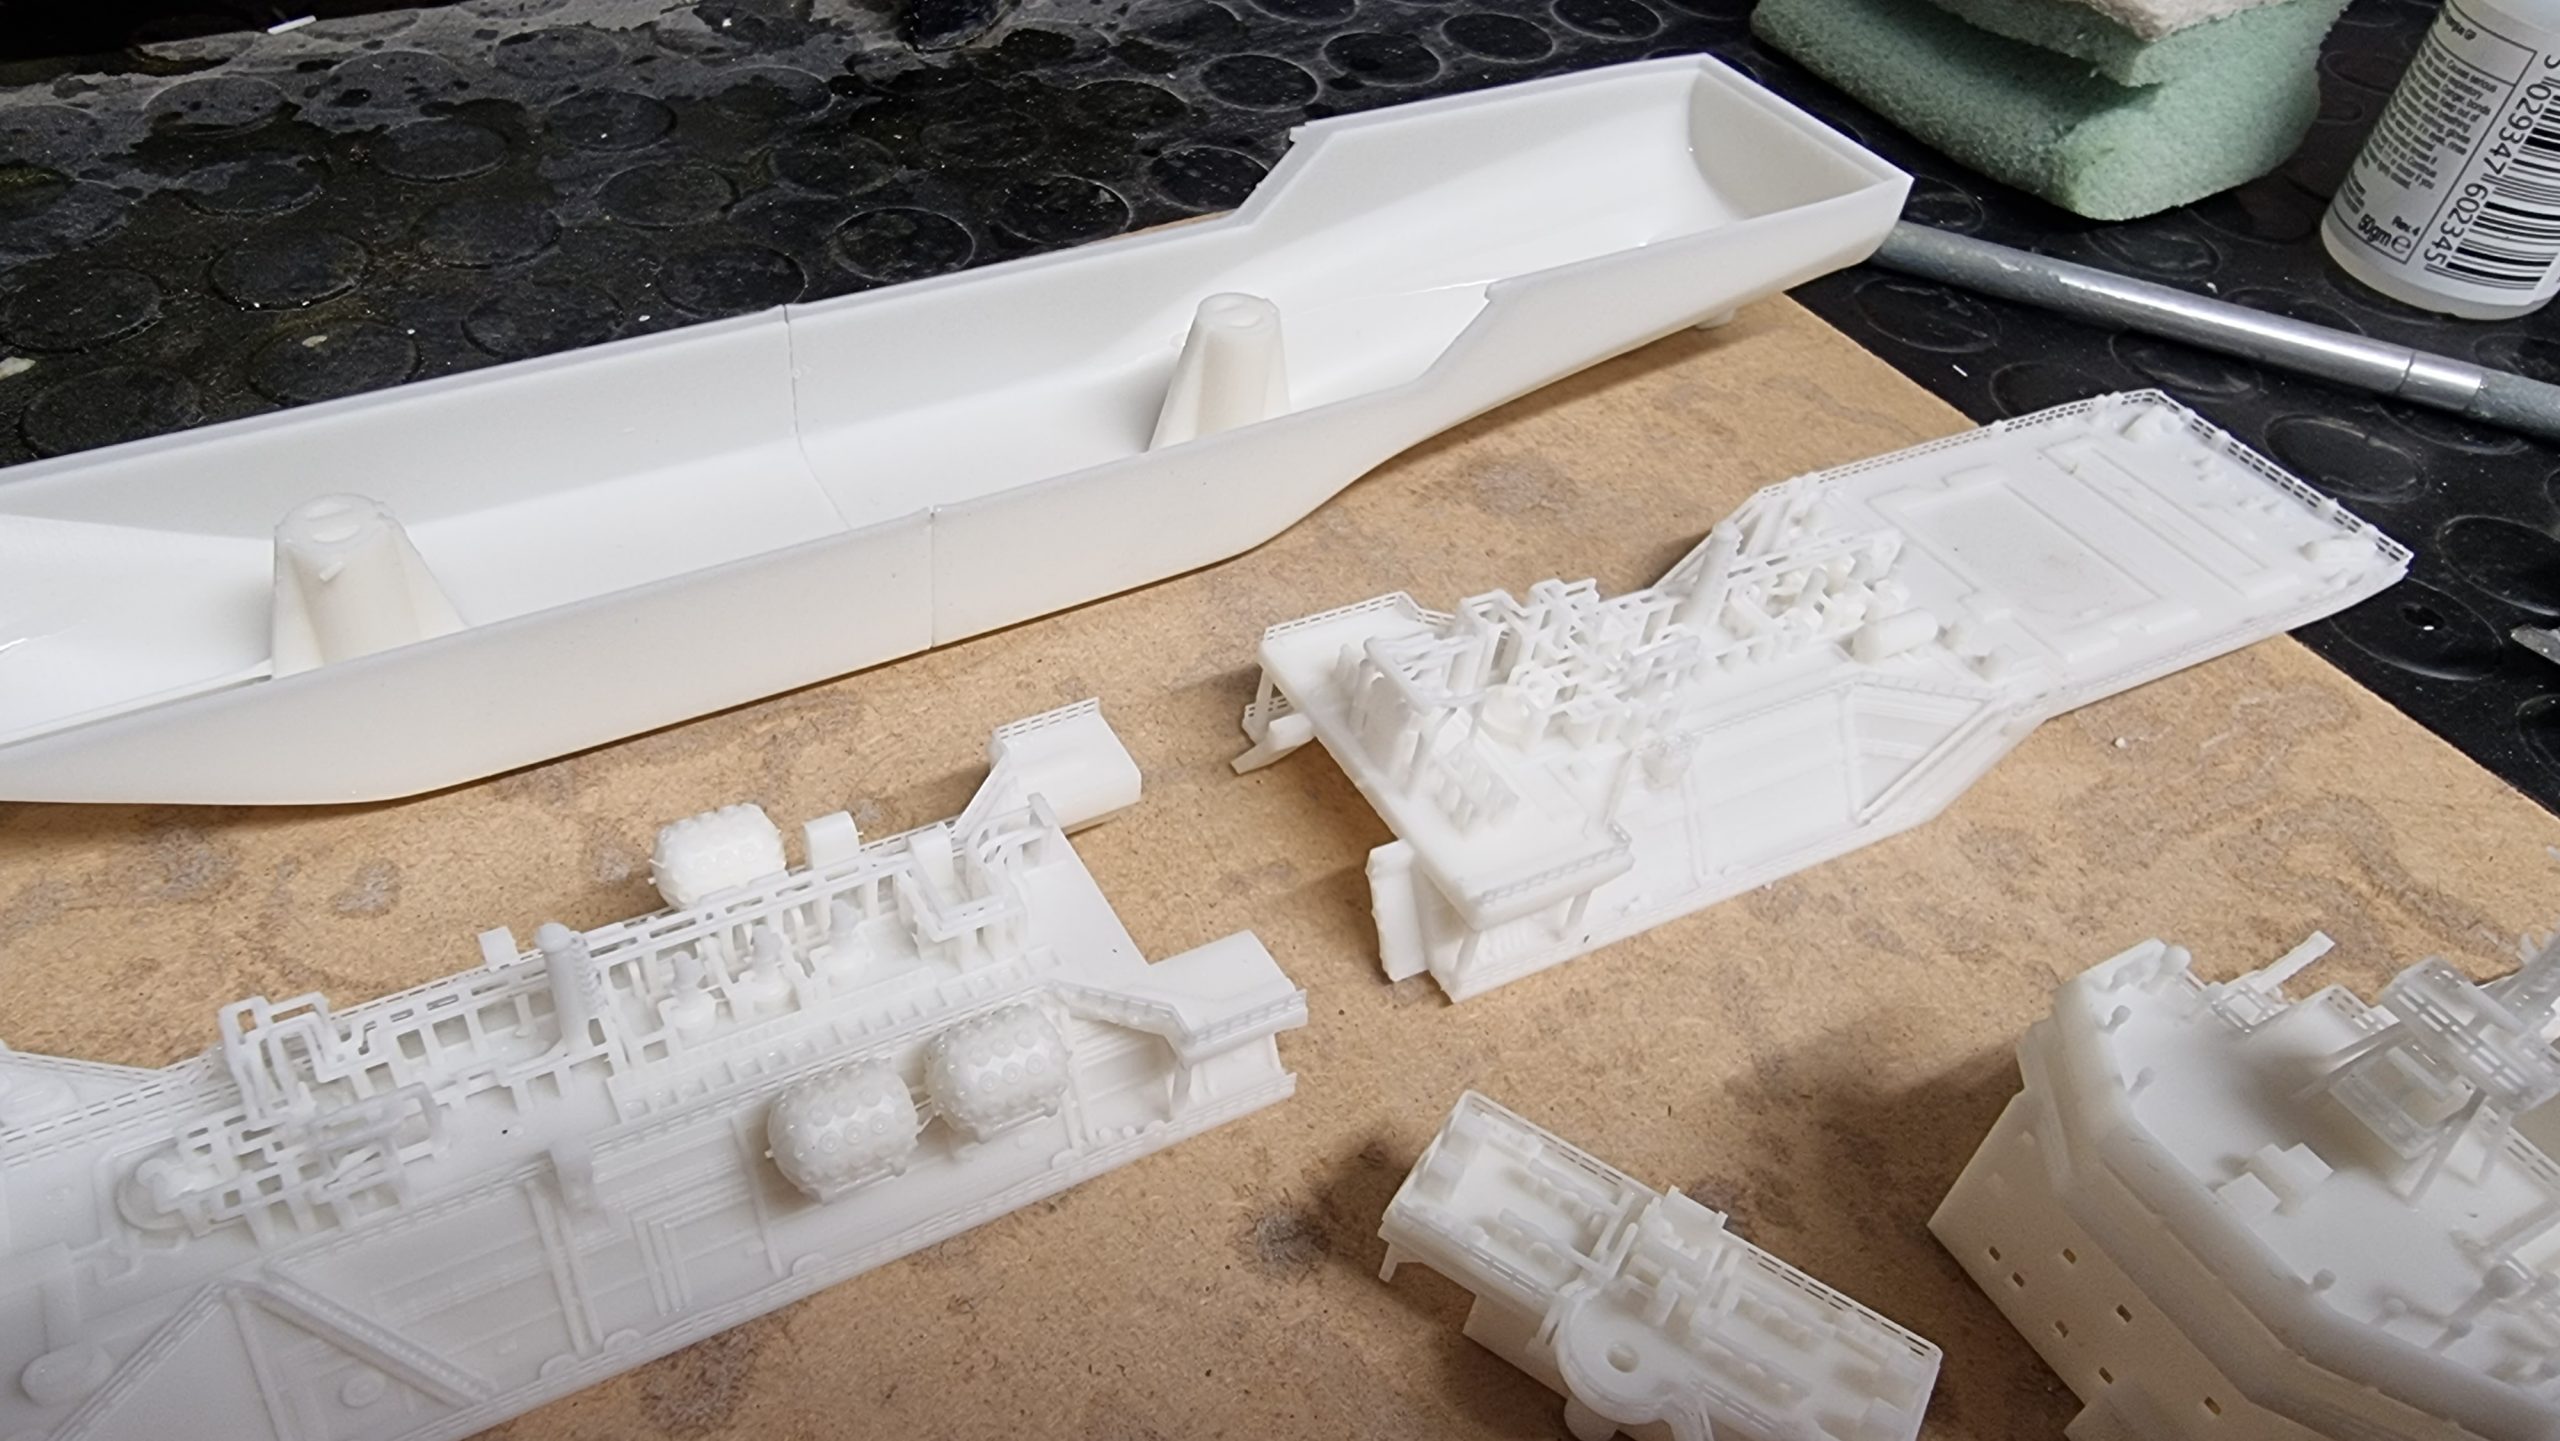
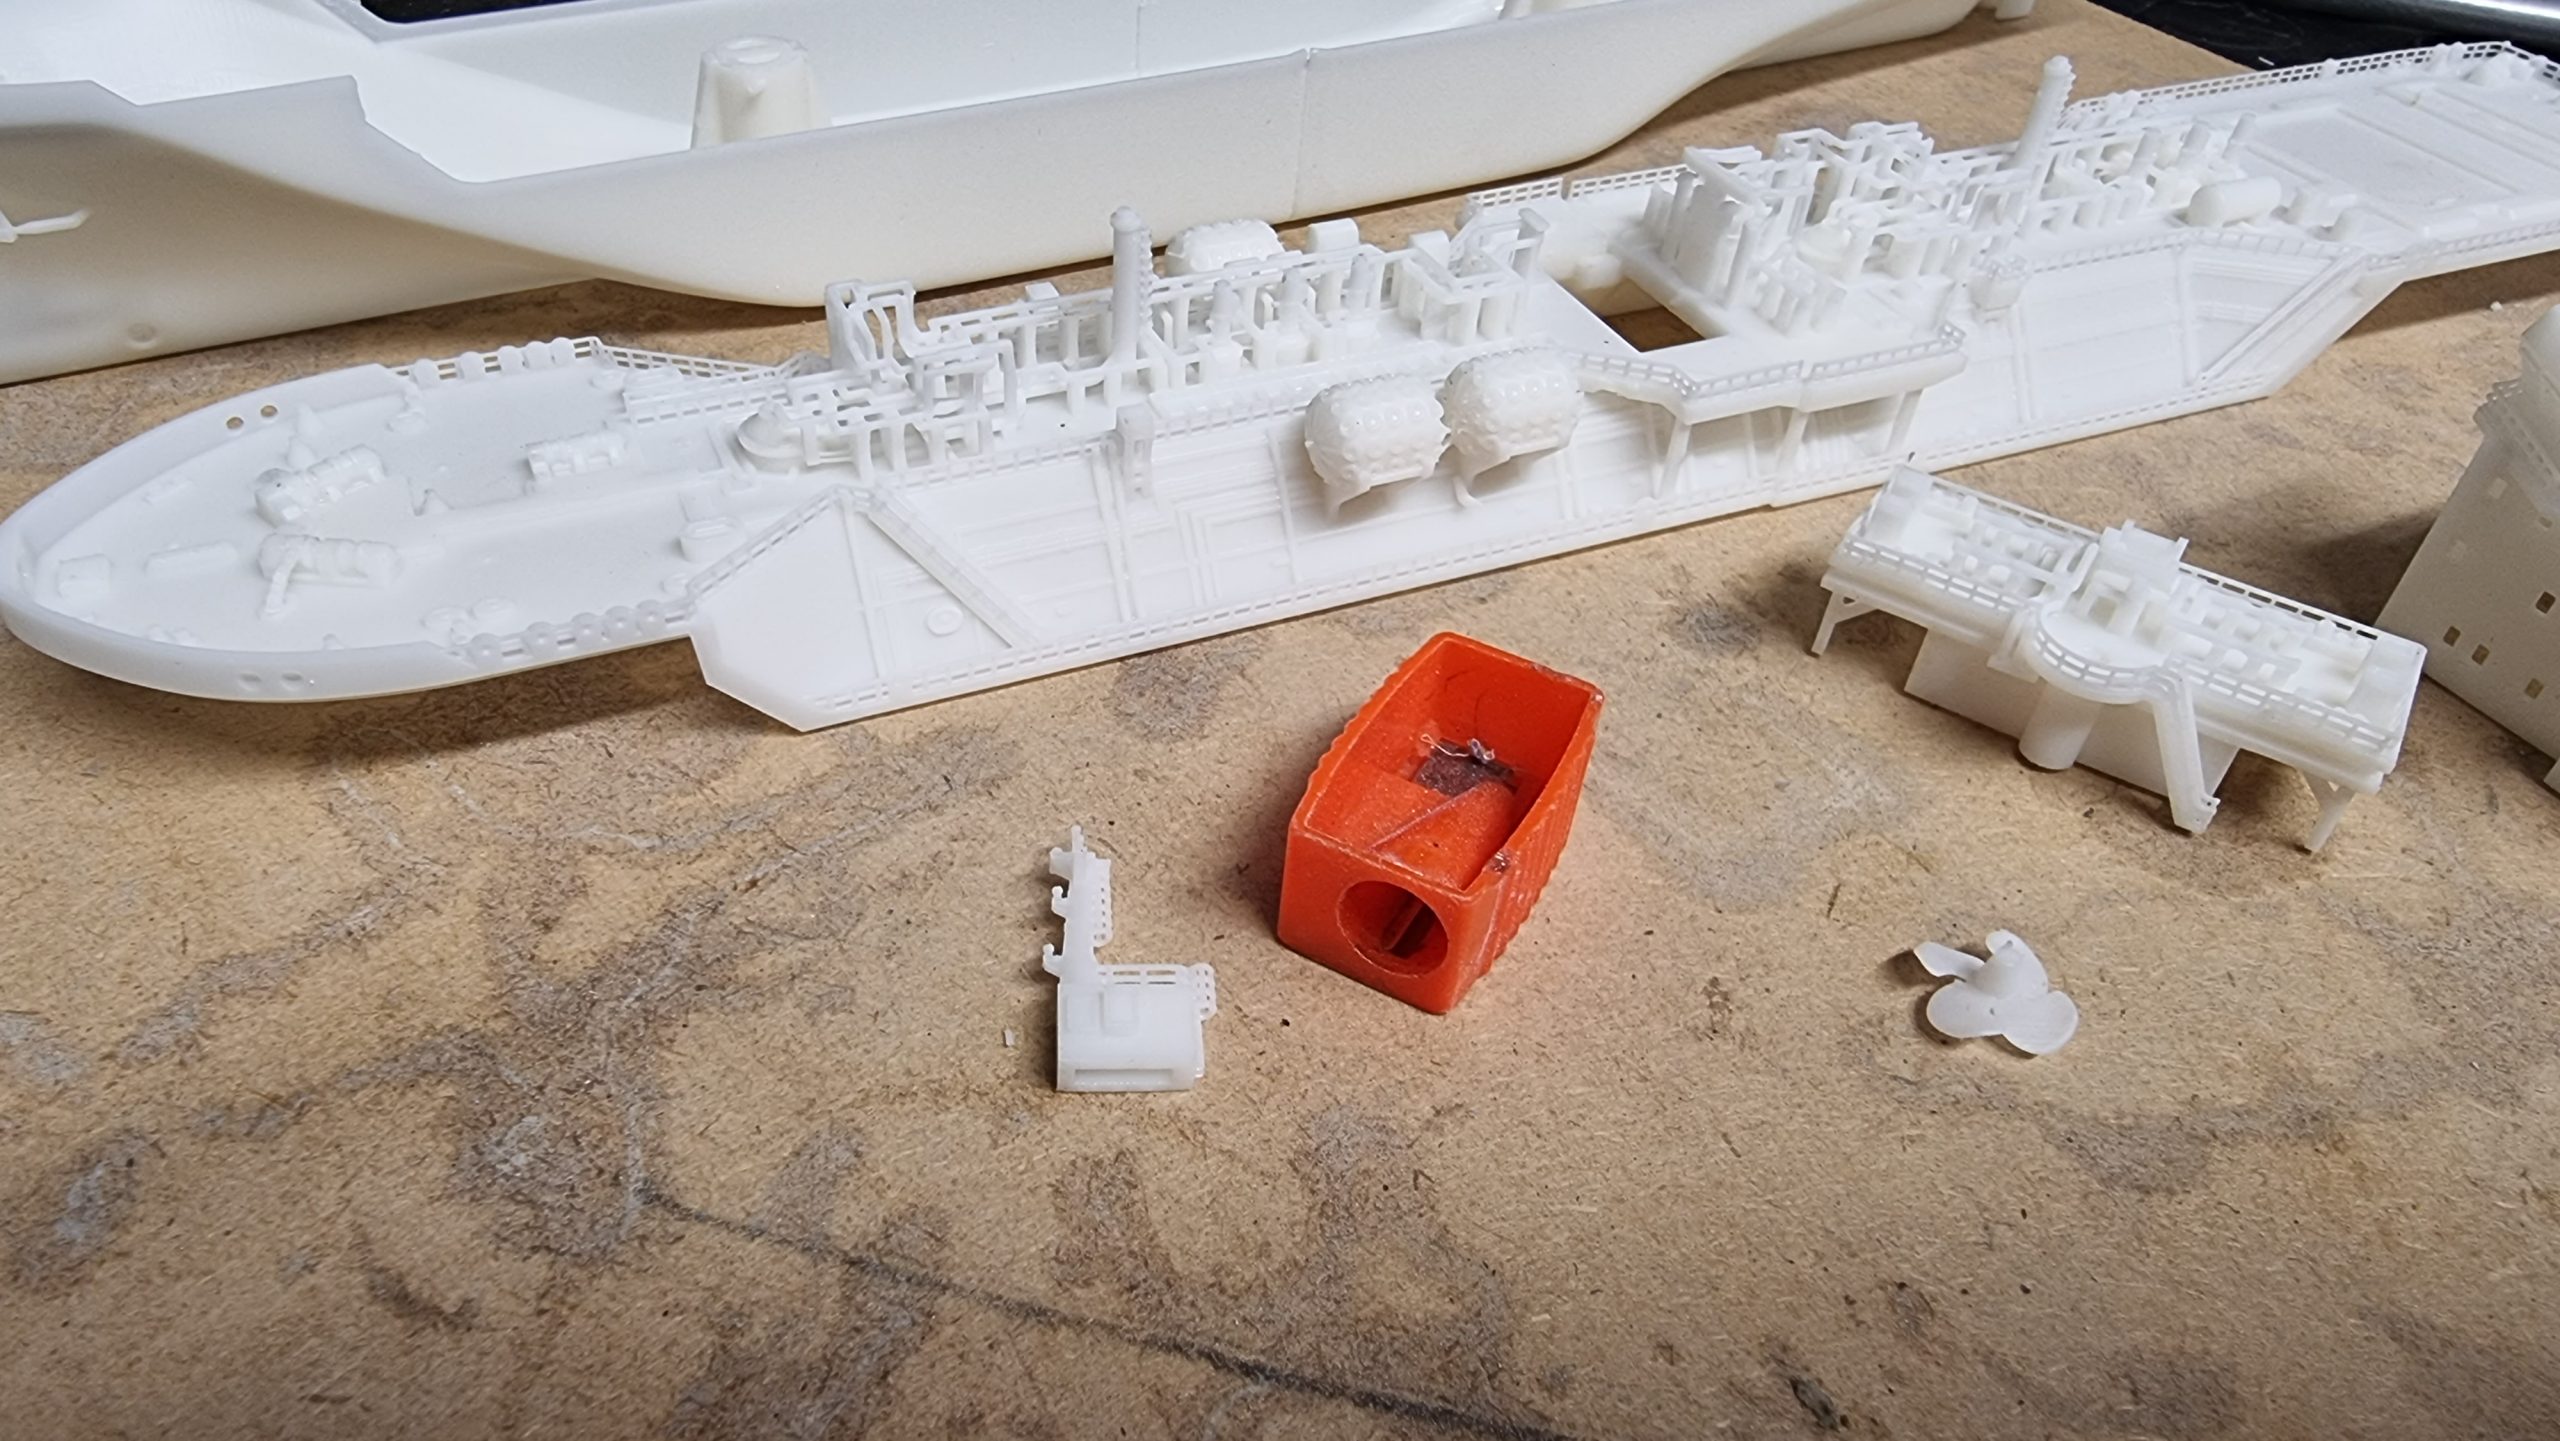
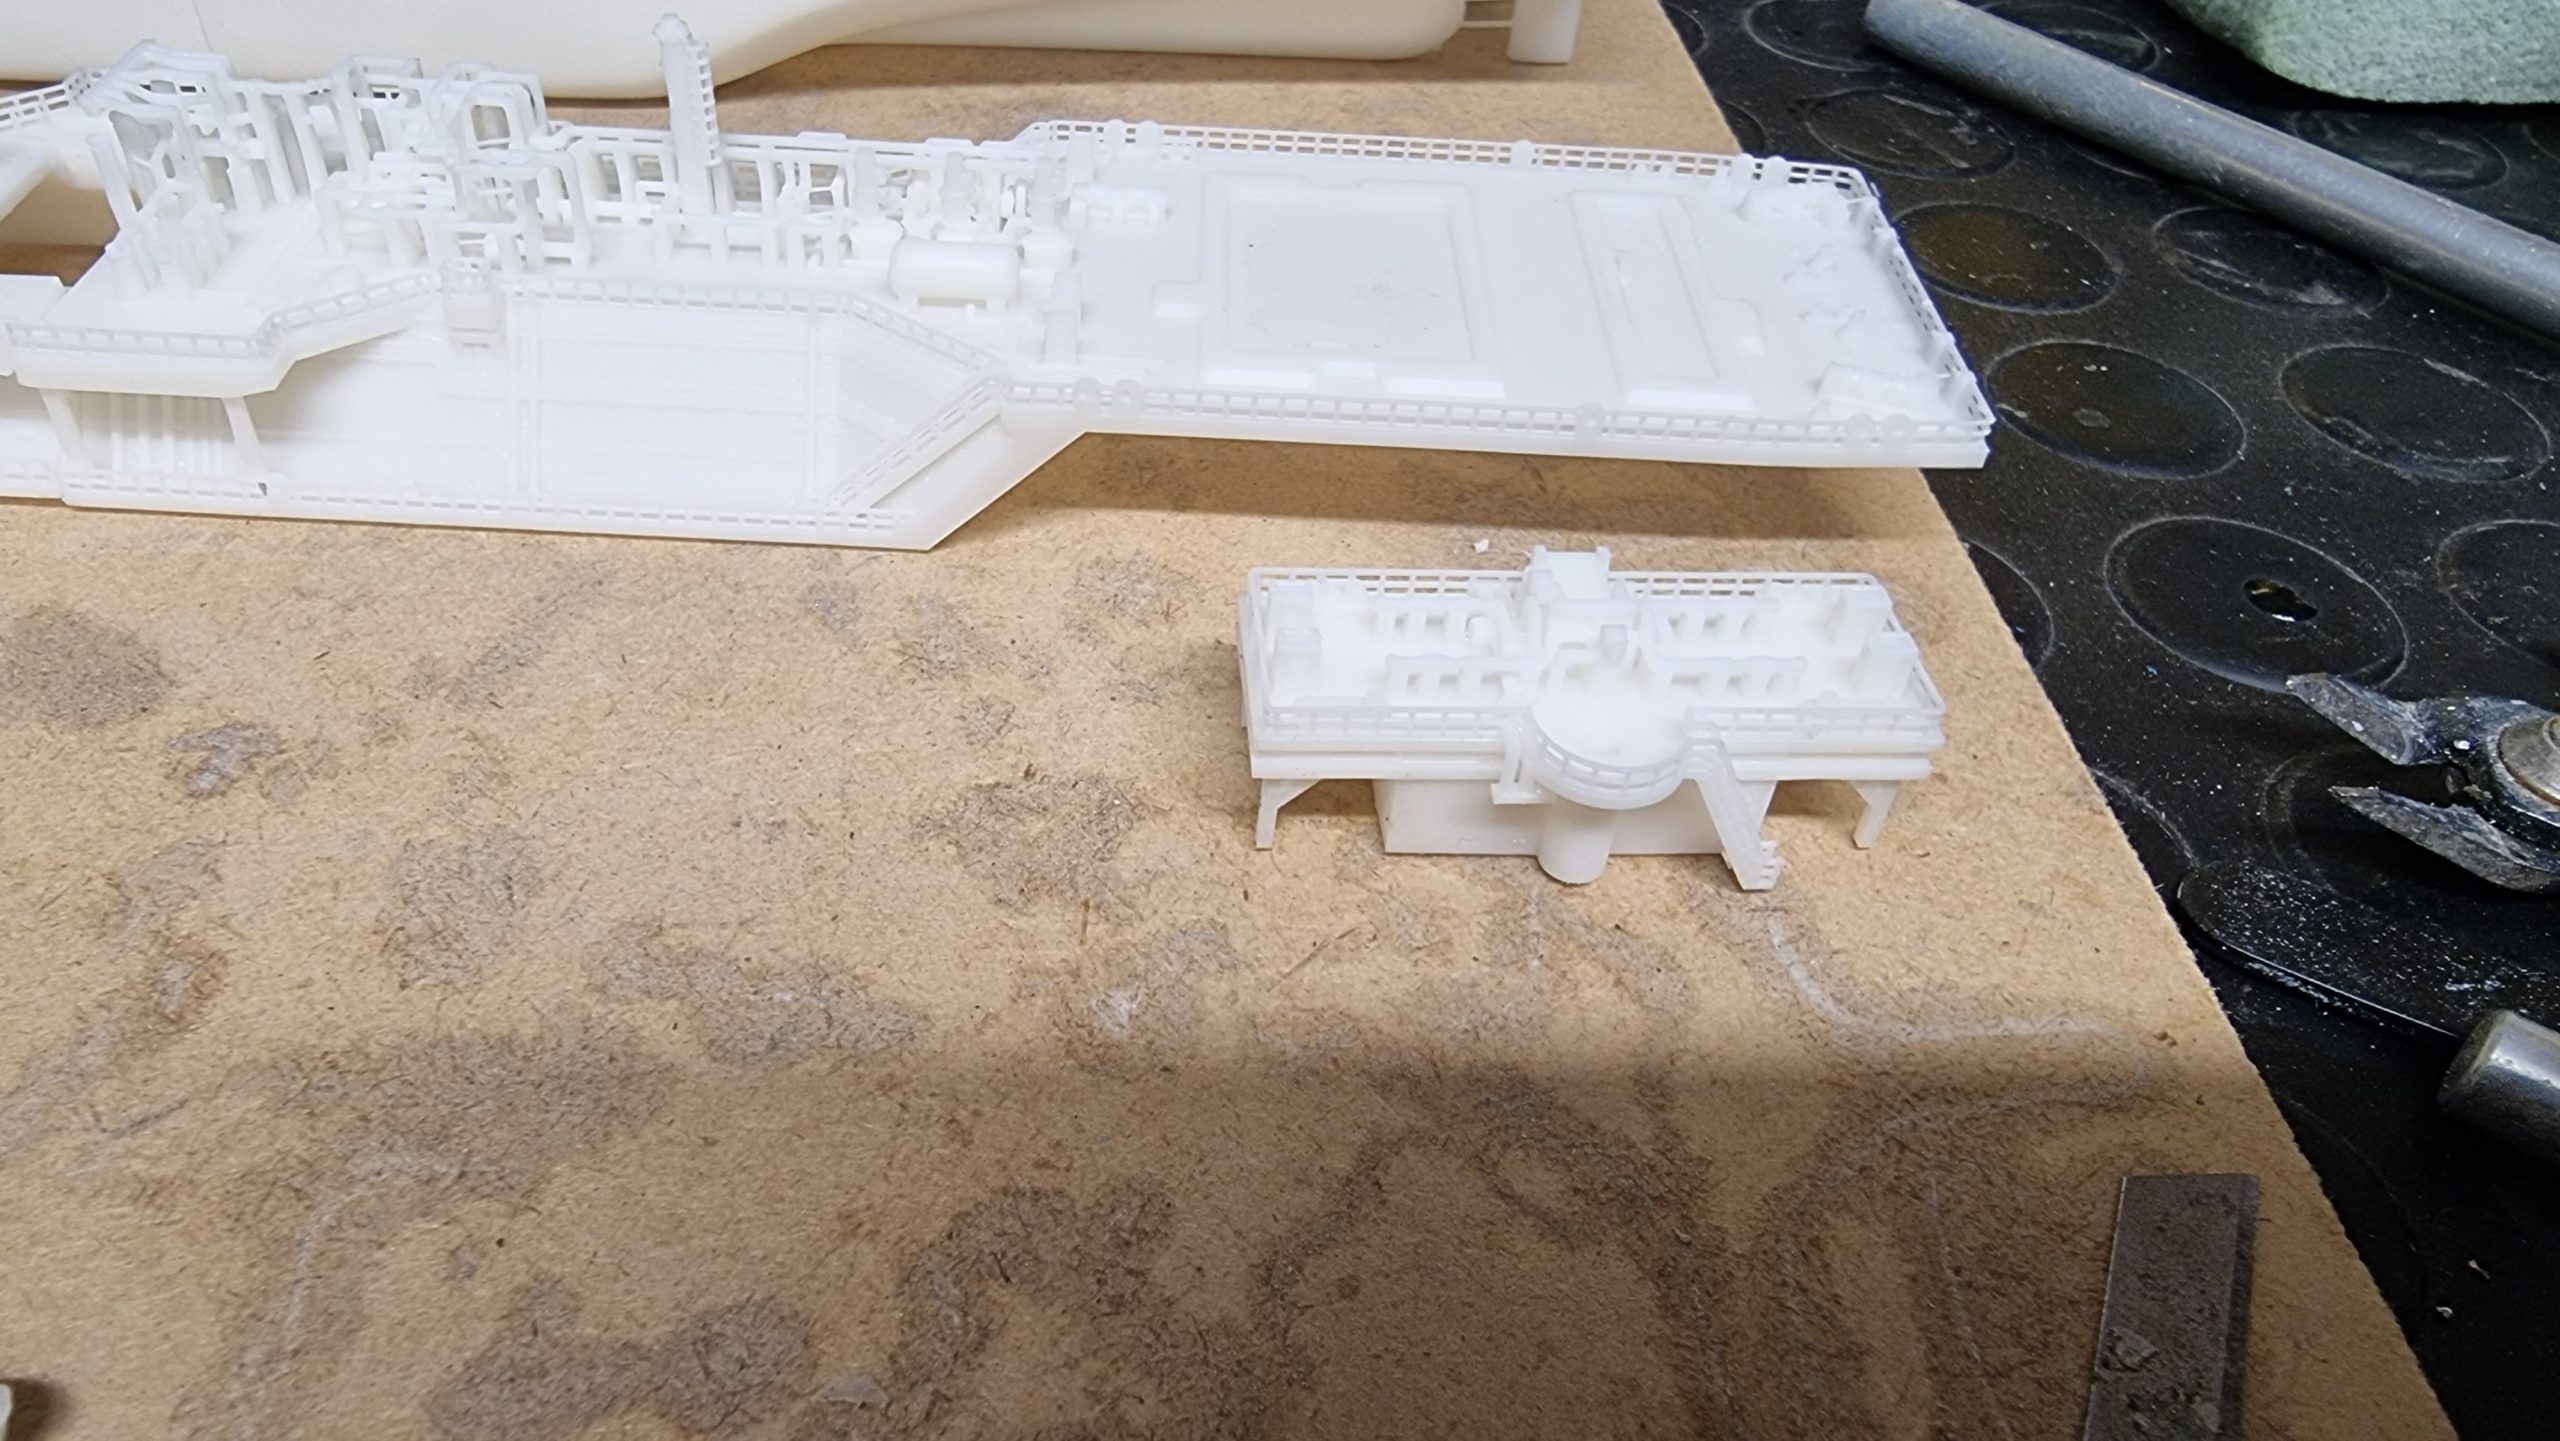
Now that all the parts are out of the printer, they can begin being merged together to form the models in their entirety. Of course, the assembly itself will take a little bit of time, and so our 3D-modeller usually continues printing other pieces as he begins the build for a separate model. This was extremely convenient when it came to this particular model, as they had been ordered in batches anyway. What this ensures is that no time is wasted, and so the entire process is incredibly efficient.
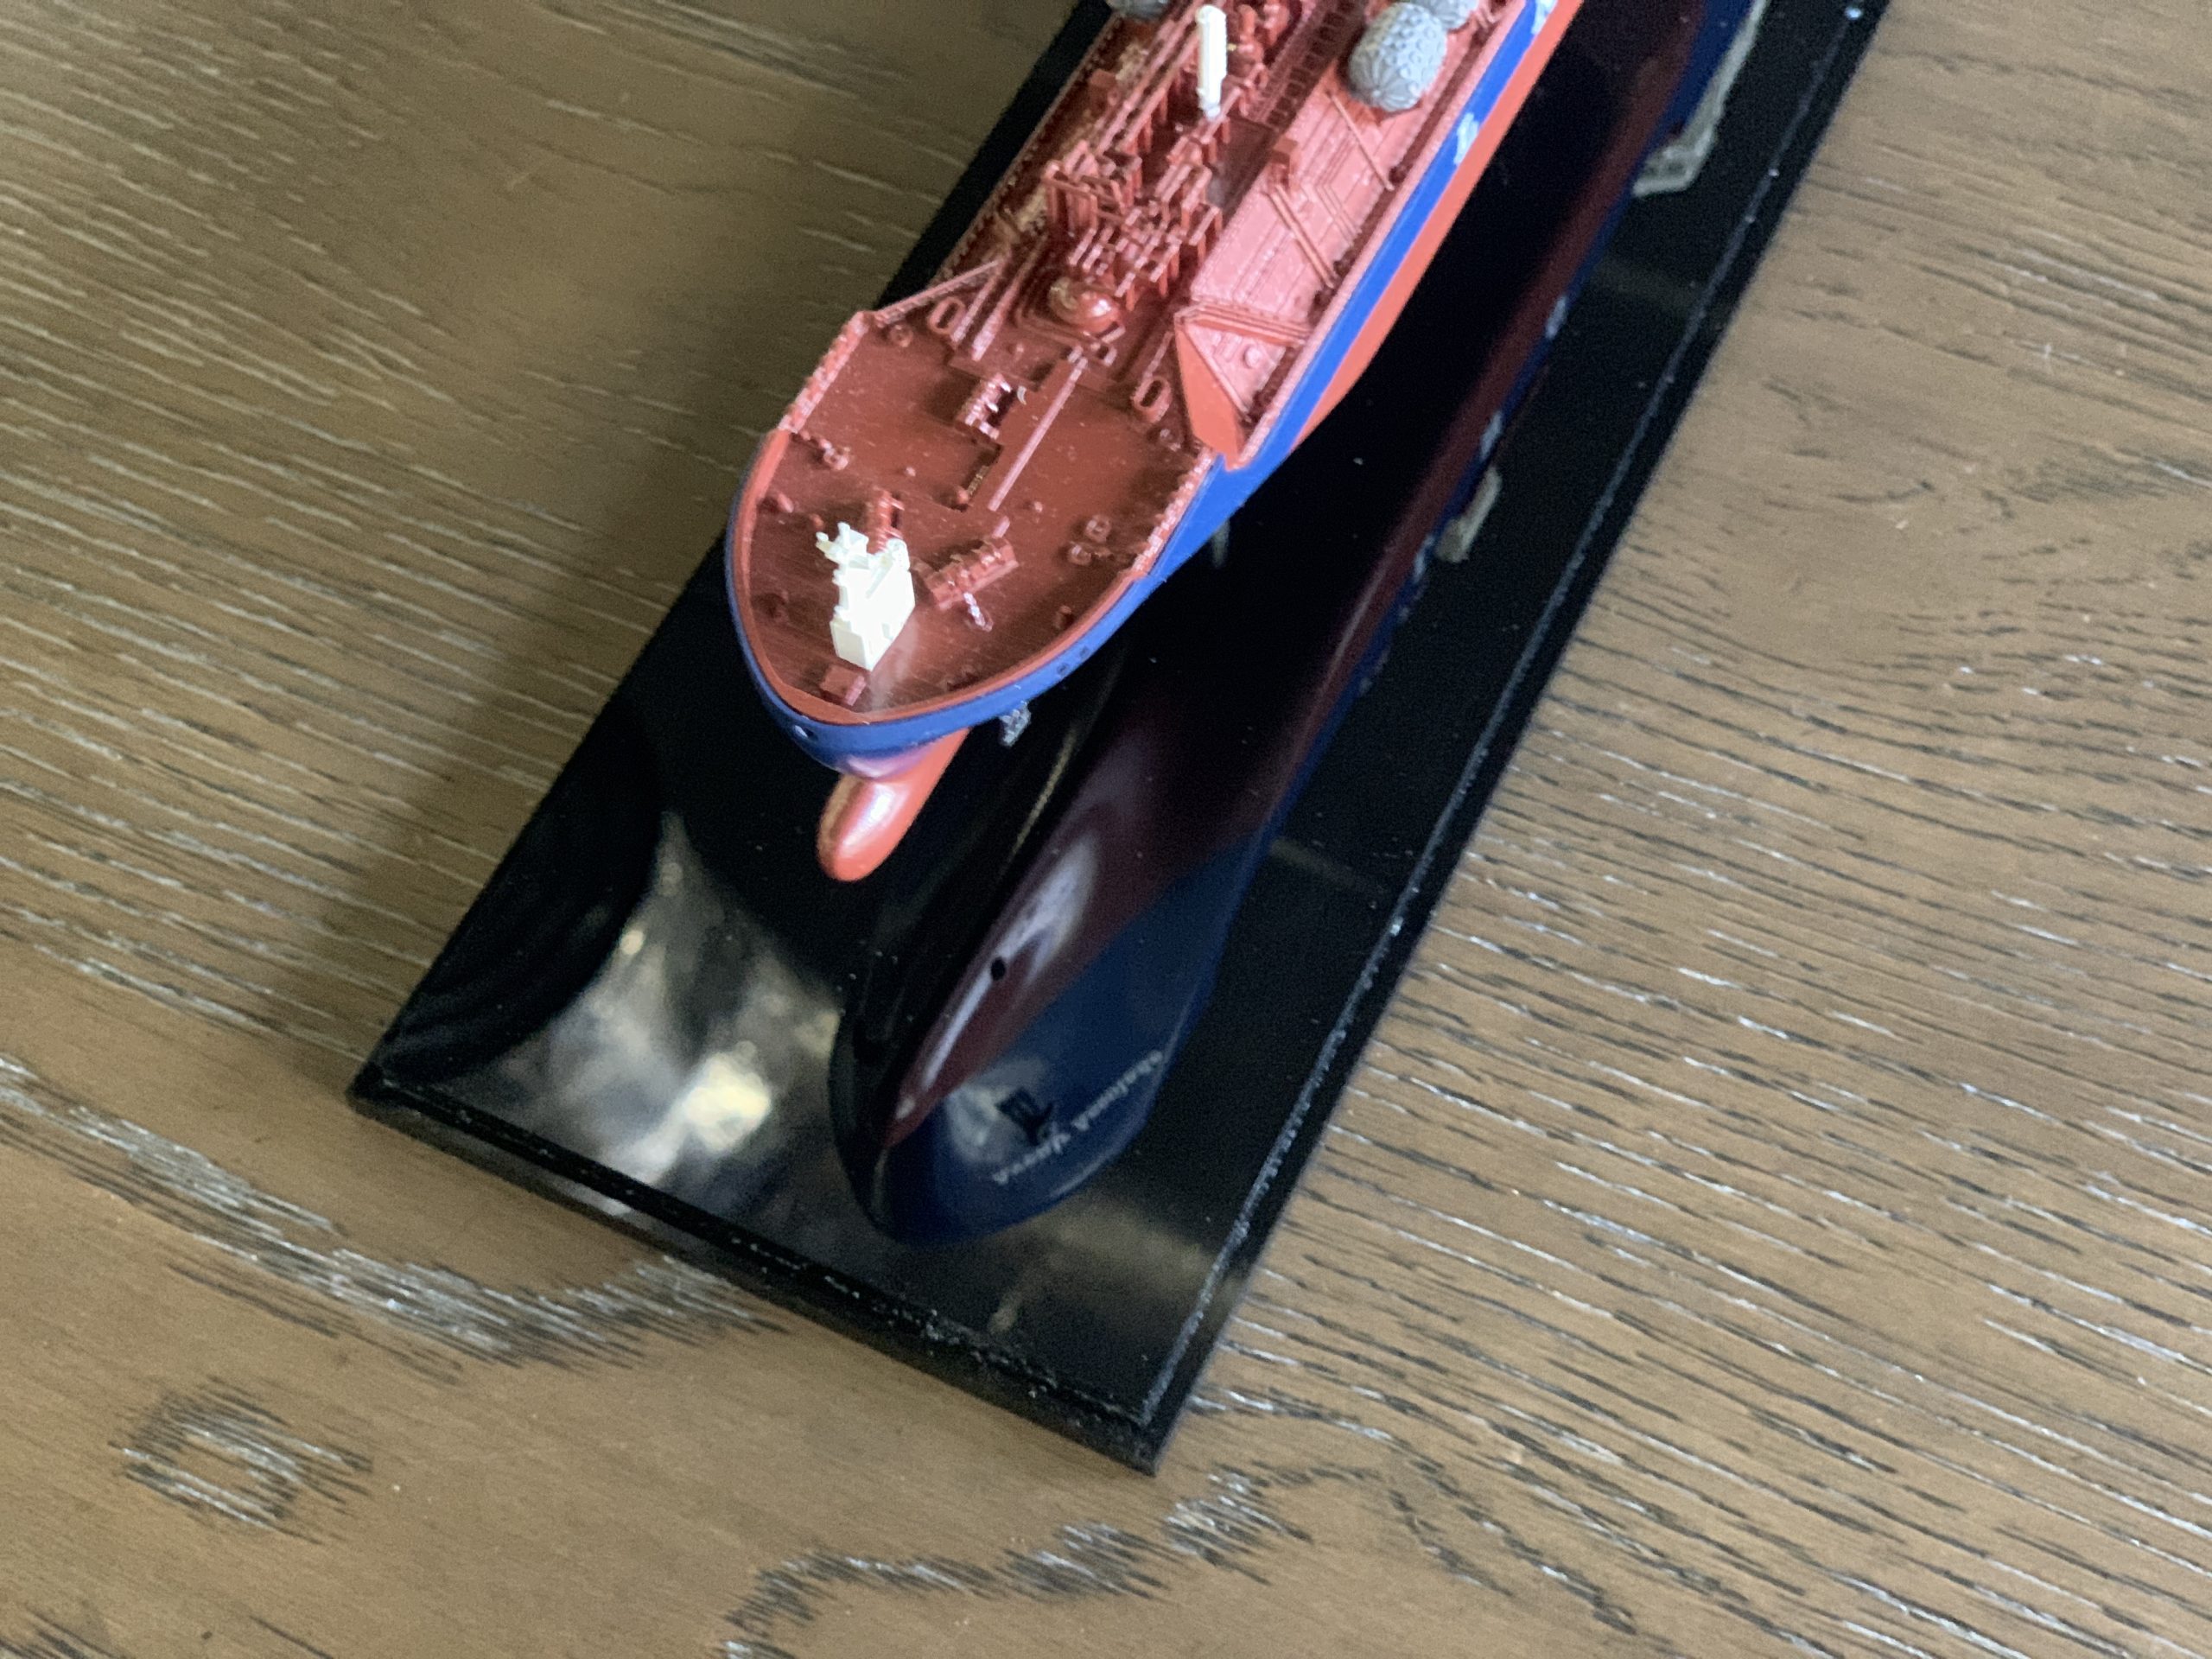
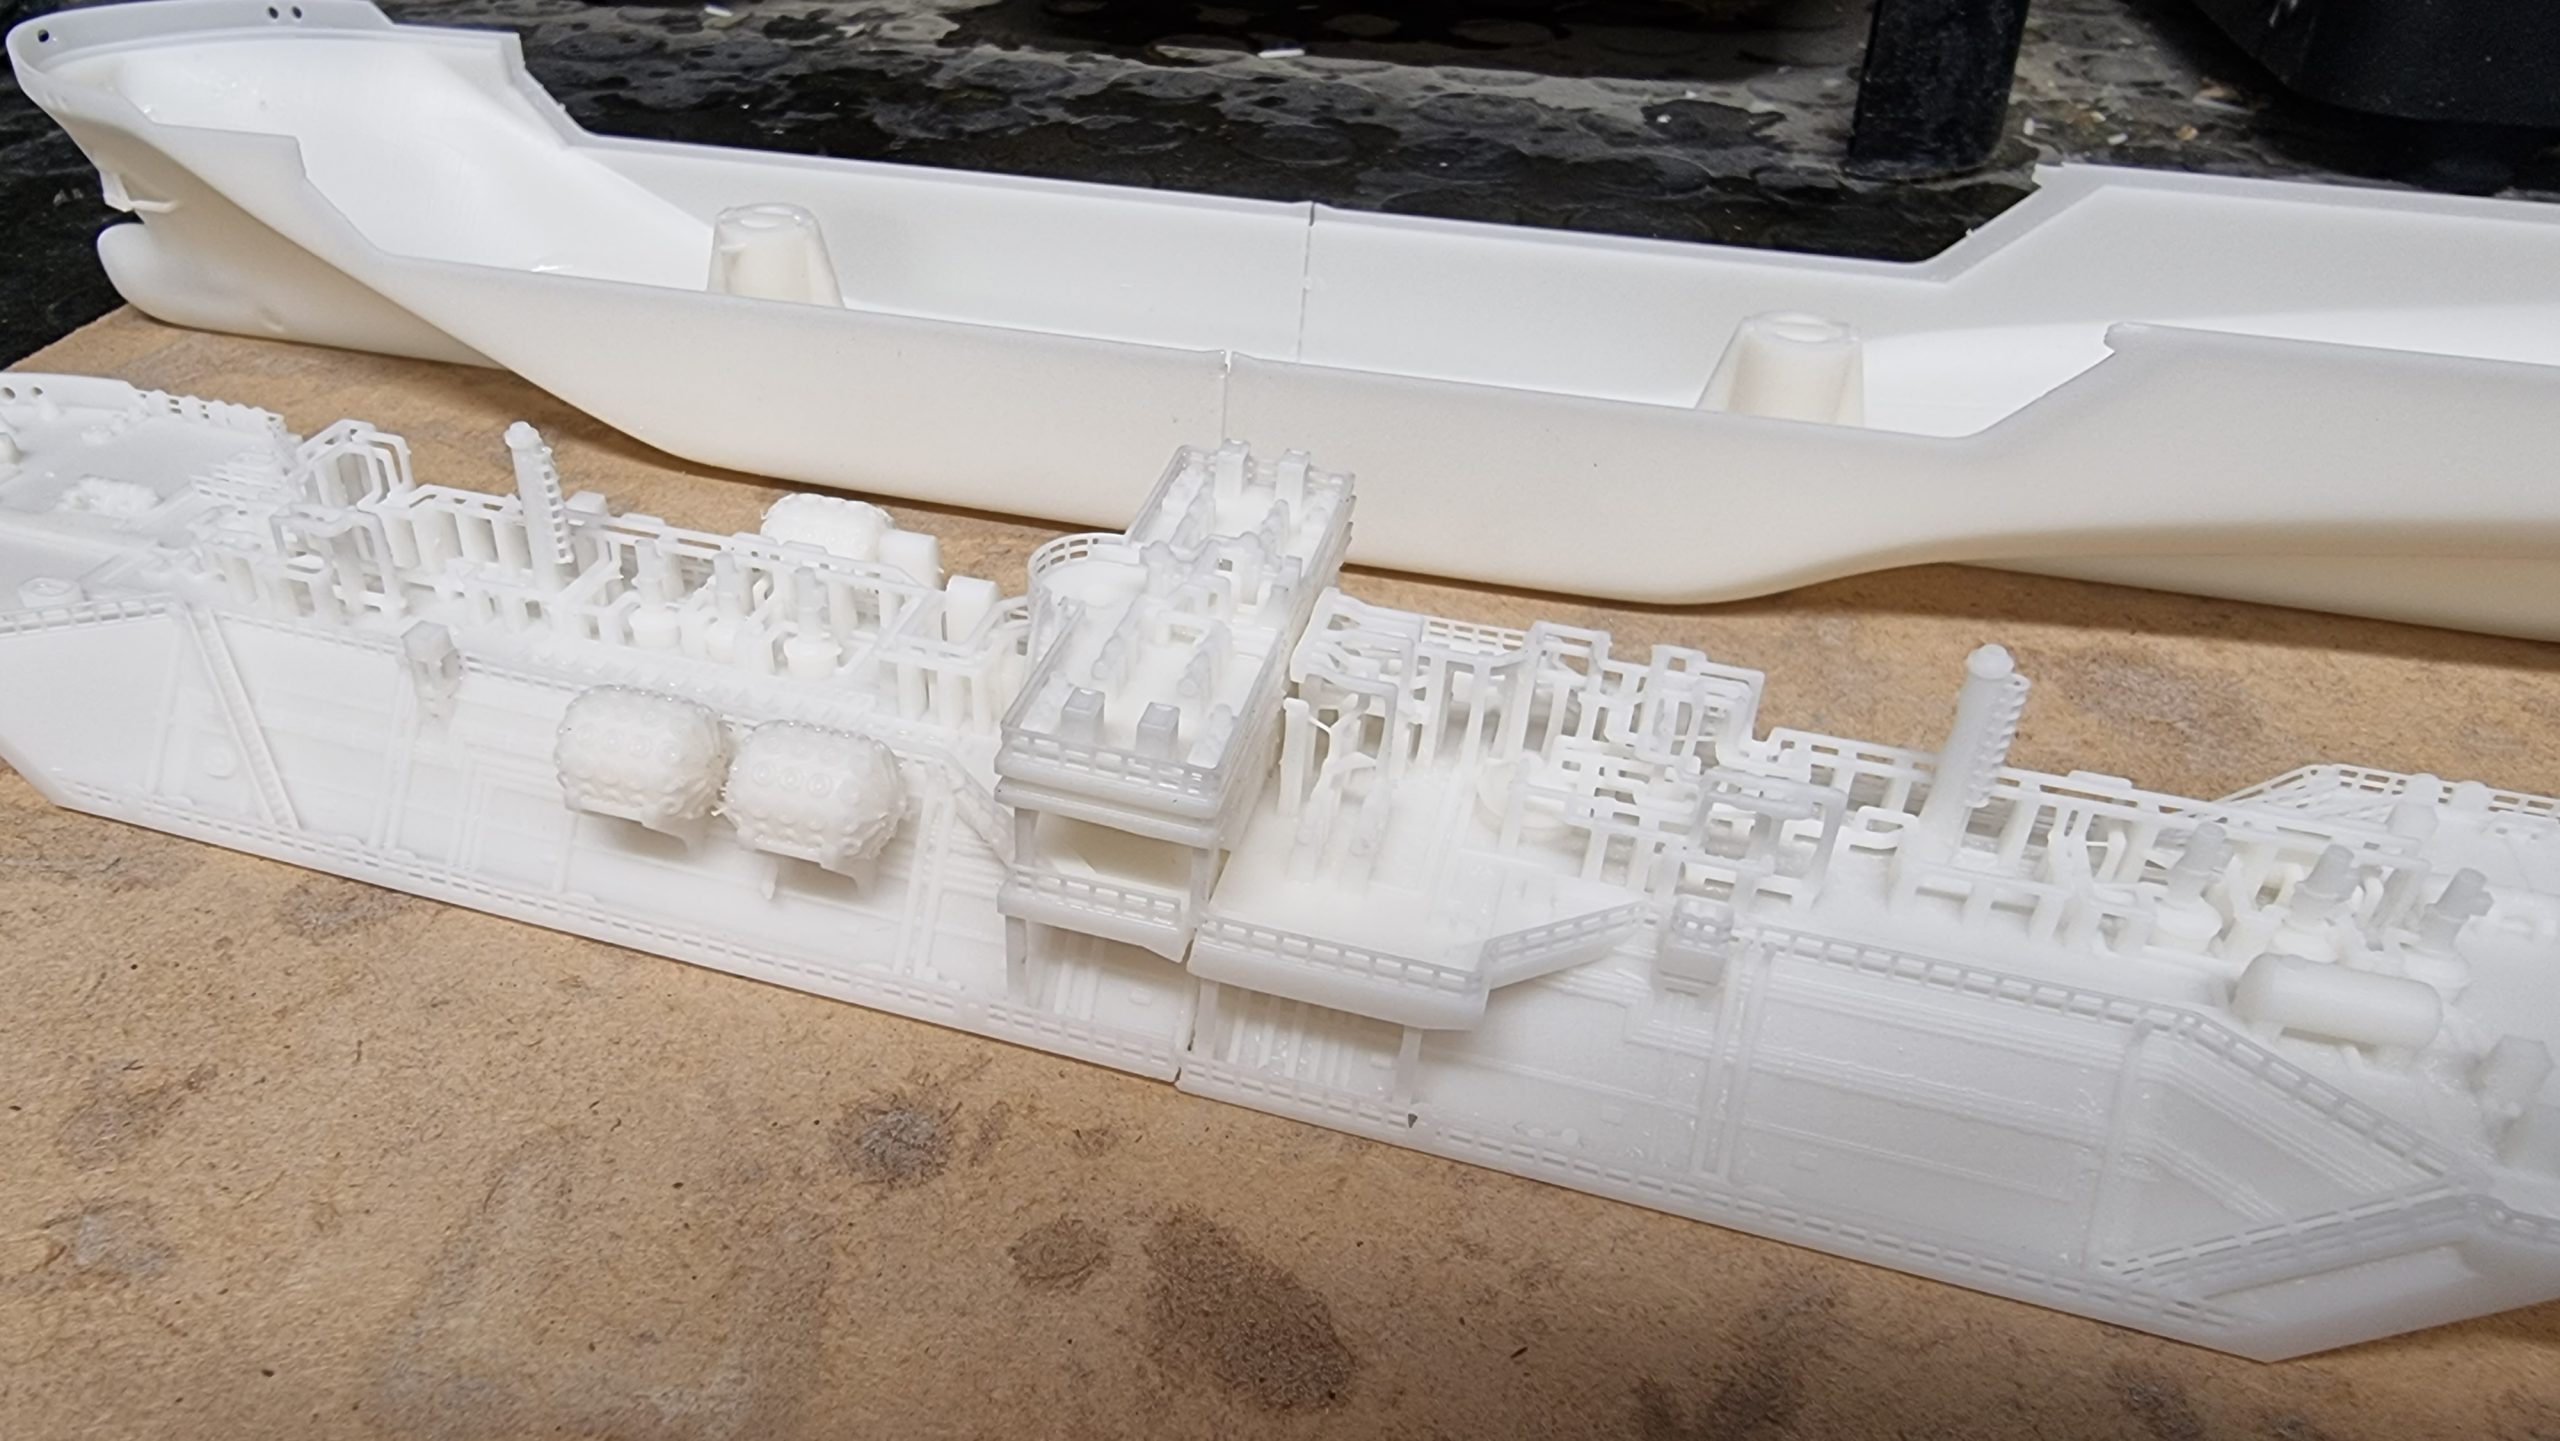
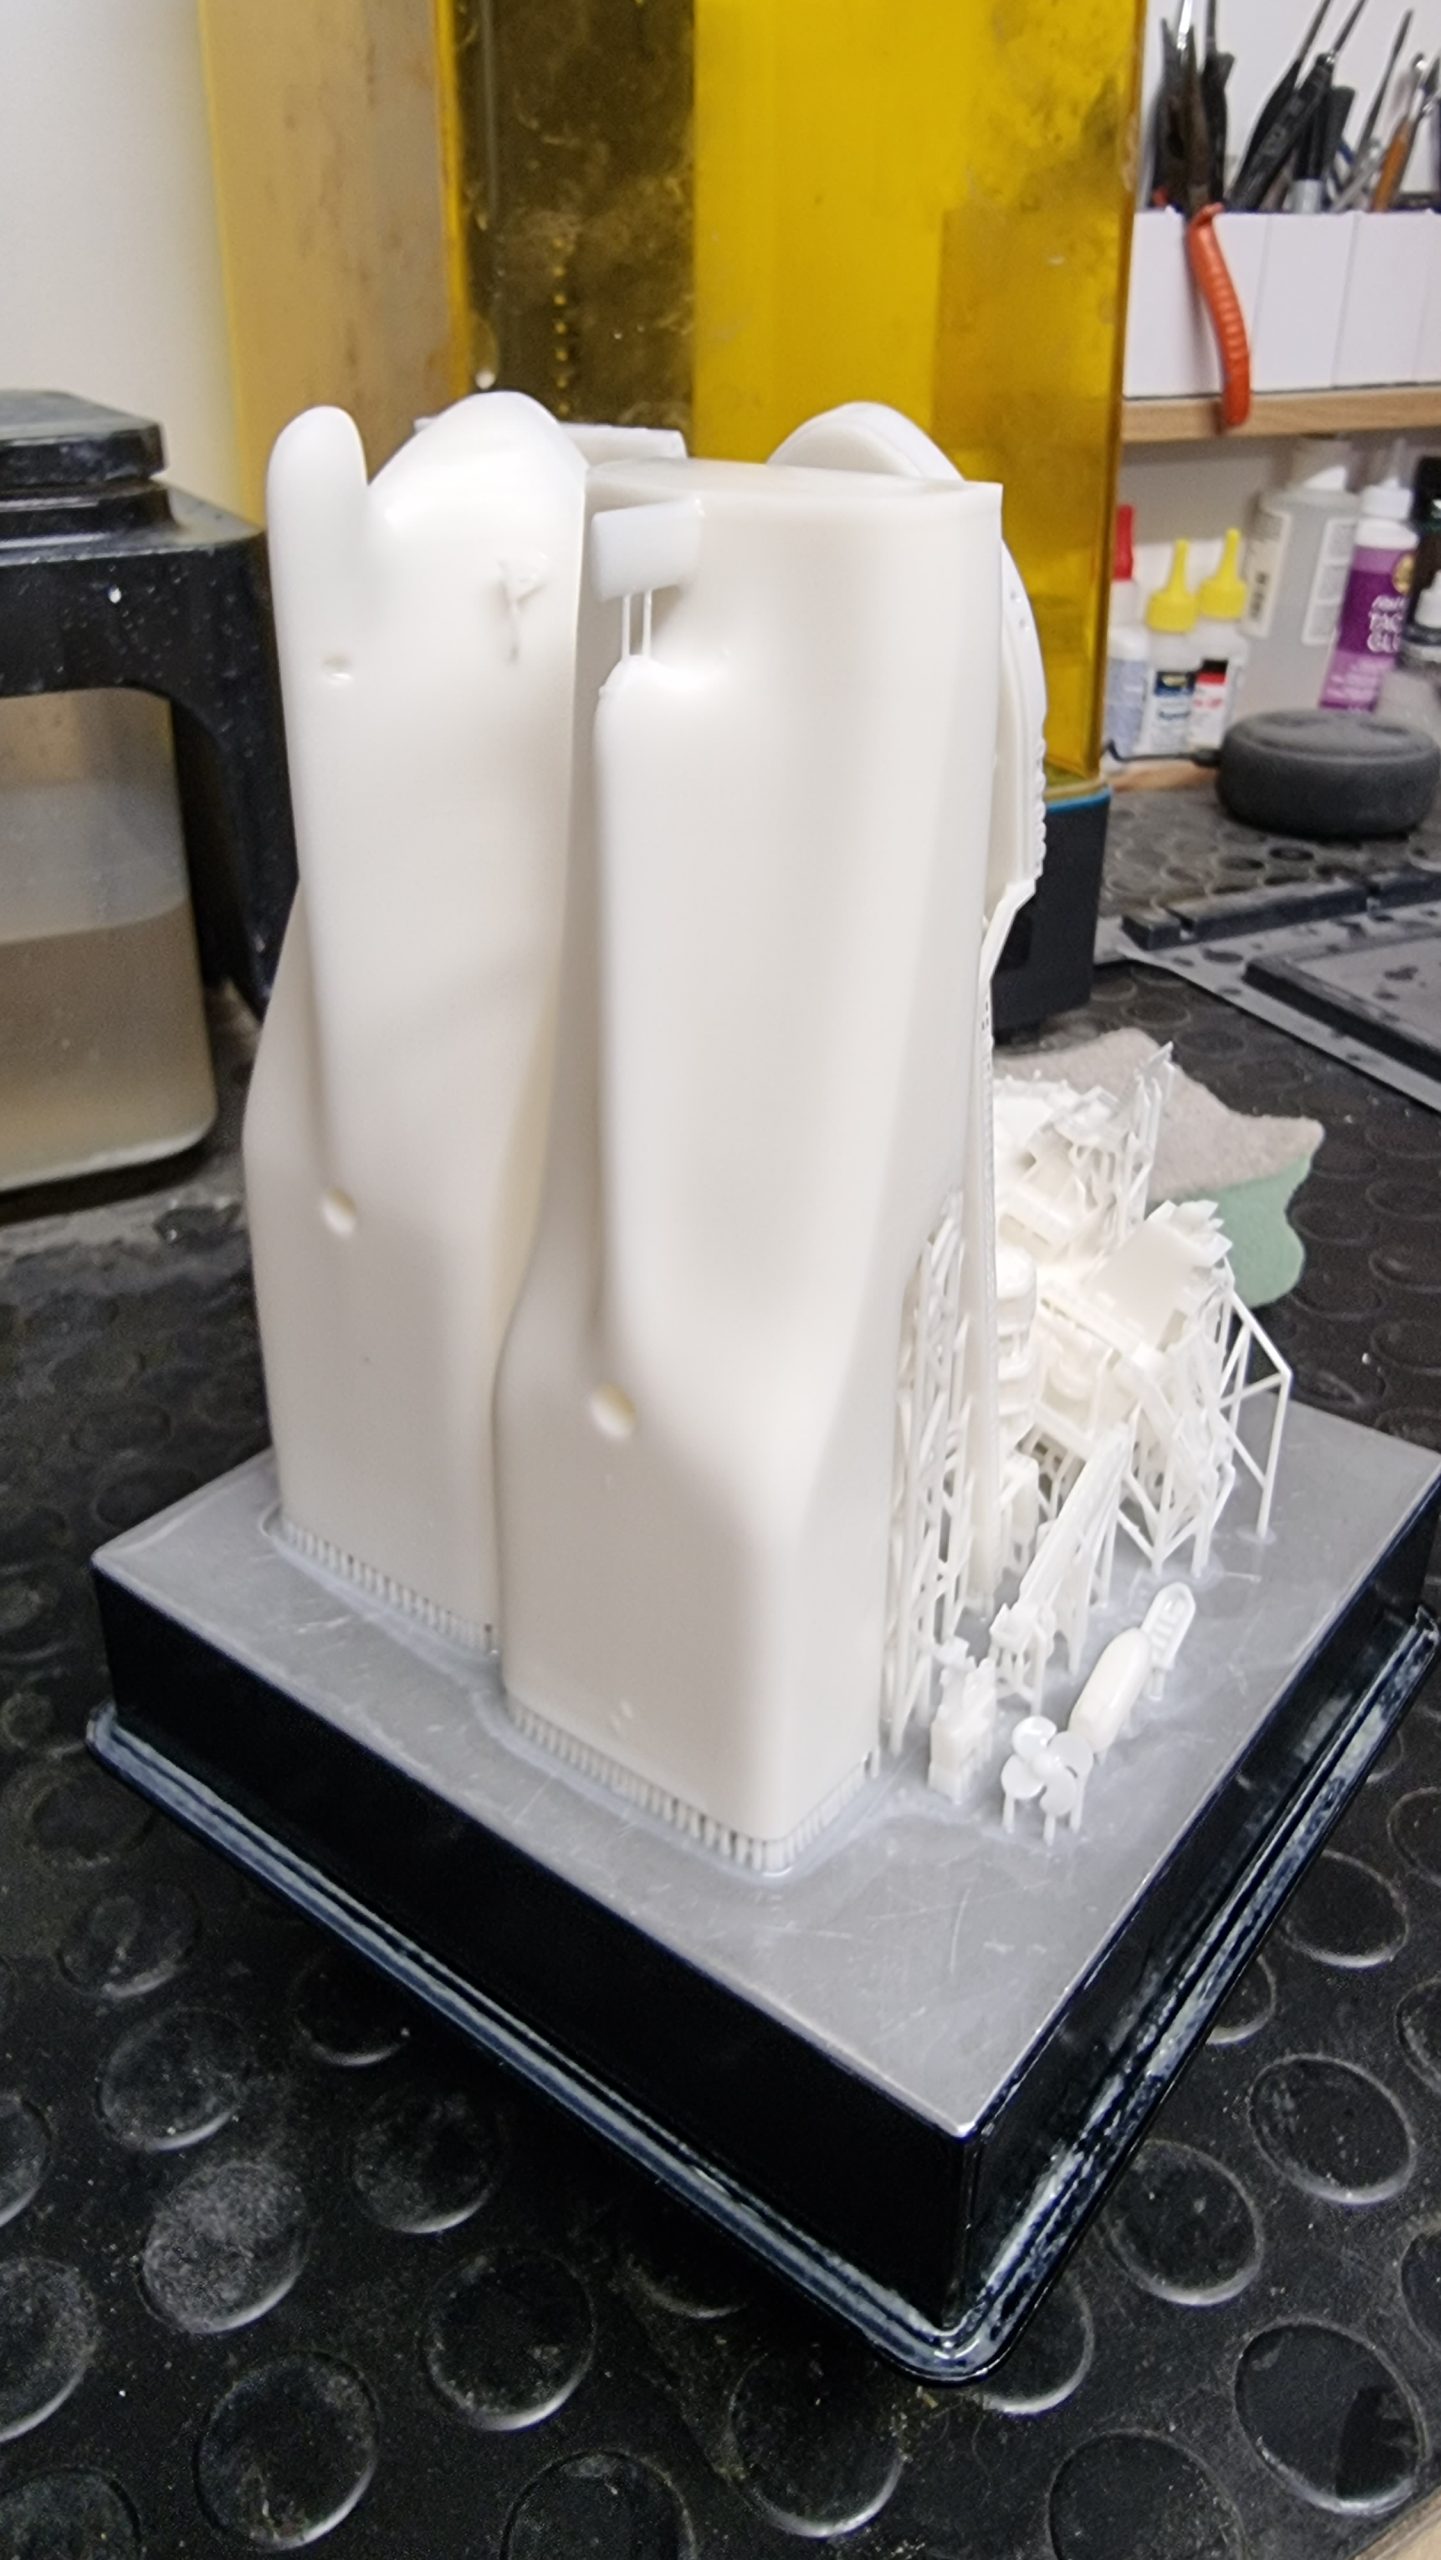
The construction itself is obviously the hands-on section, where specialists are required. It is known as the ‘finishing.’ In the case of the Accolades, one piece met another. The hull of each model was split into three pieces, and they each had joints. These joints were glued together and then left to dry, before additional features could be added. However, the hull is painted before any more pieces are added, and this protects the viscosity of the glue, ensuring the model remains rigid and has no chance of falling apart.
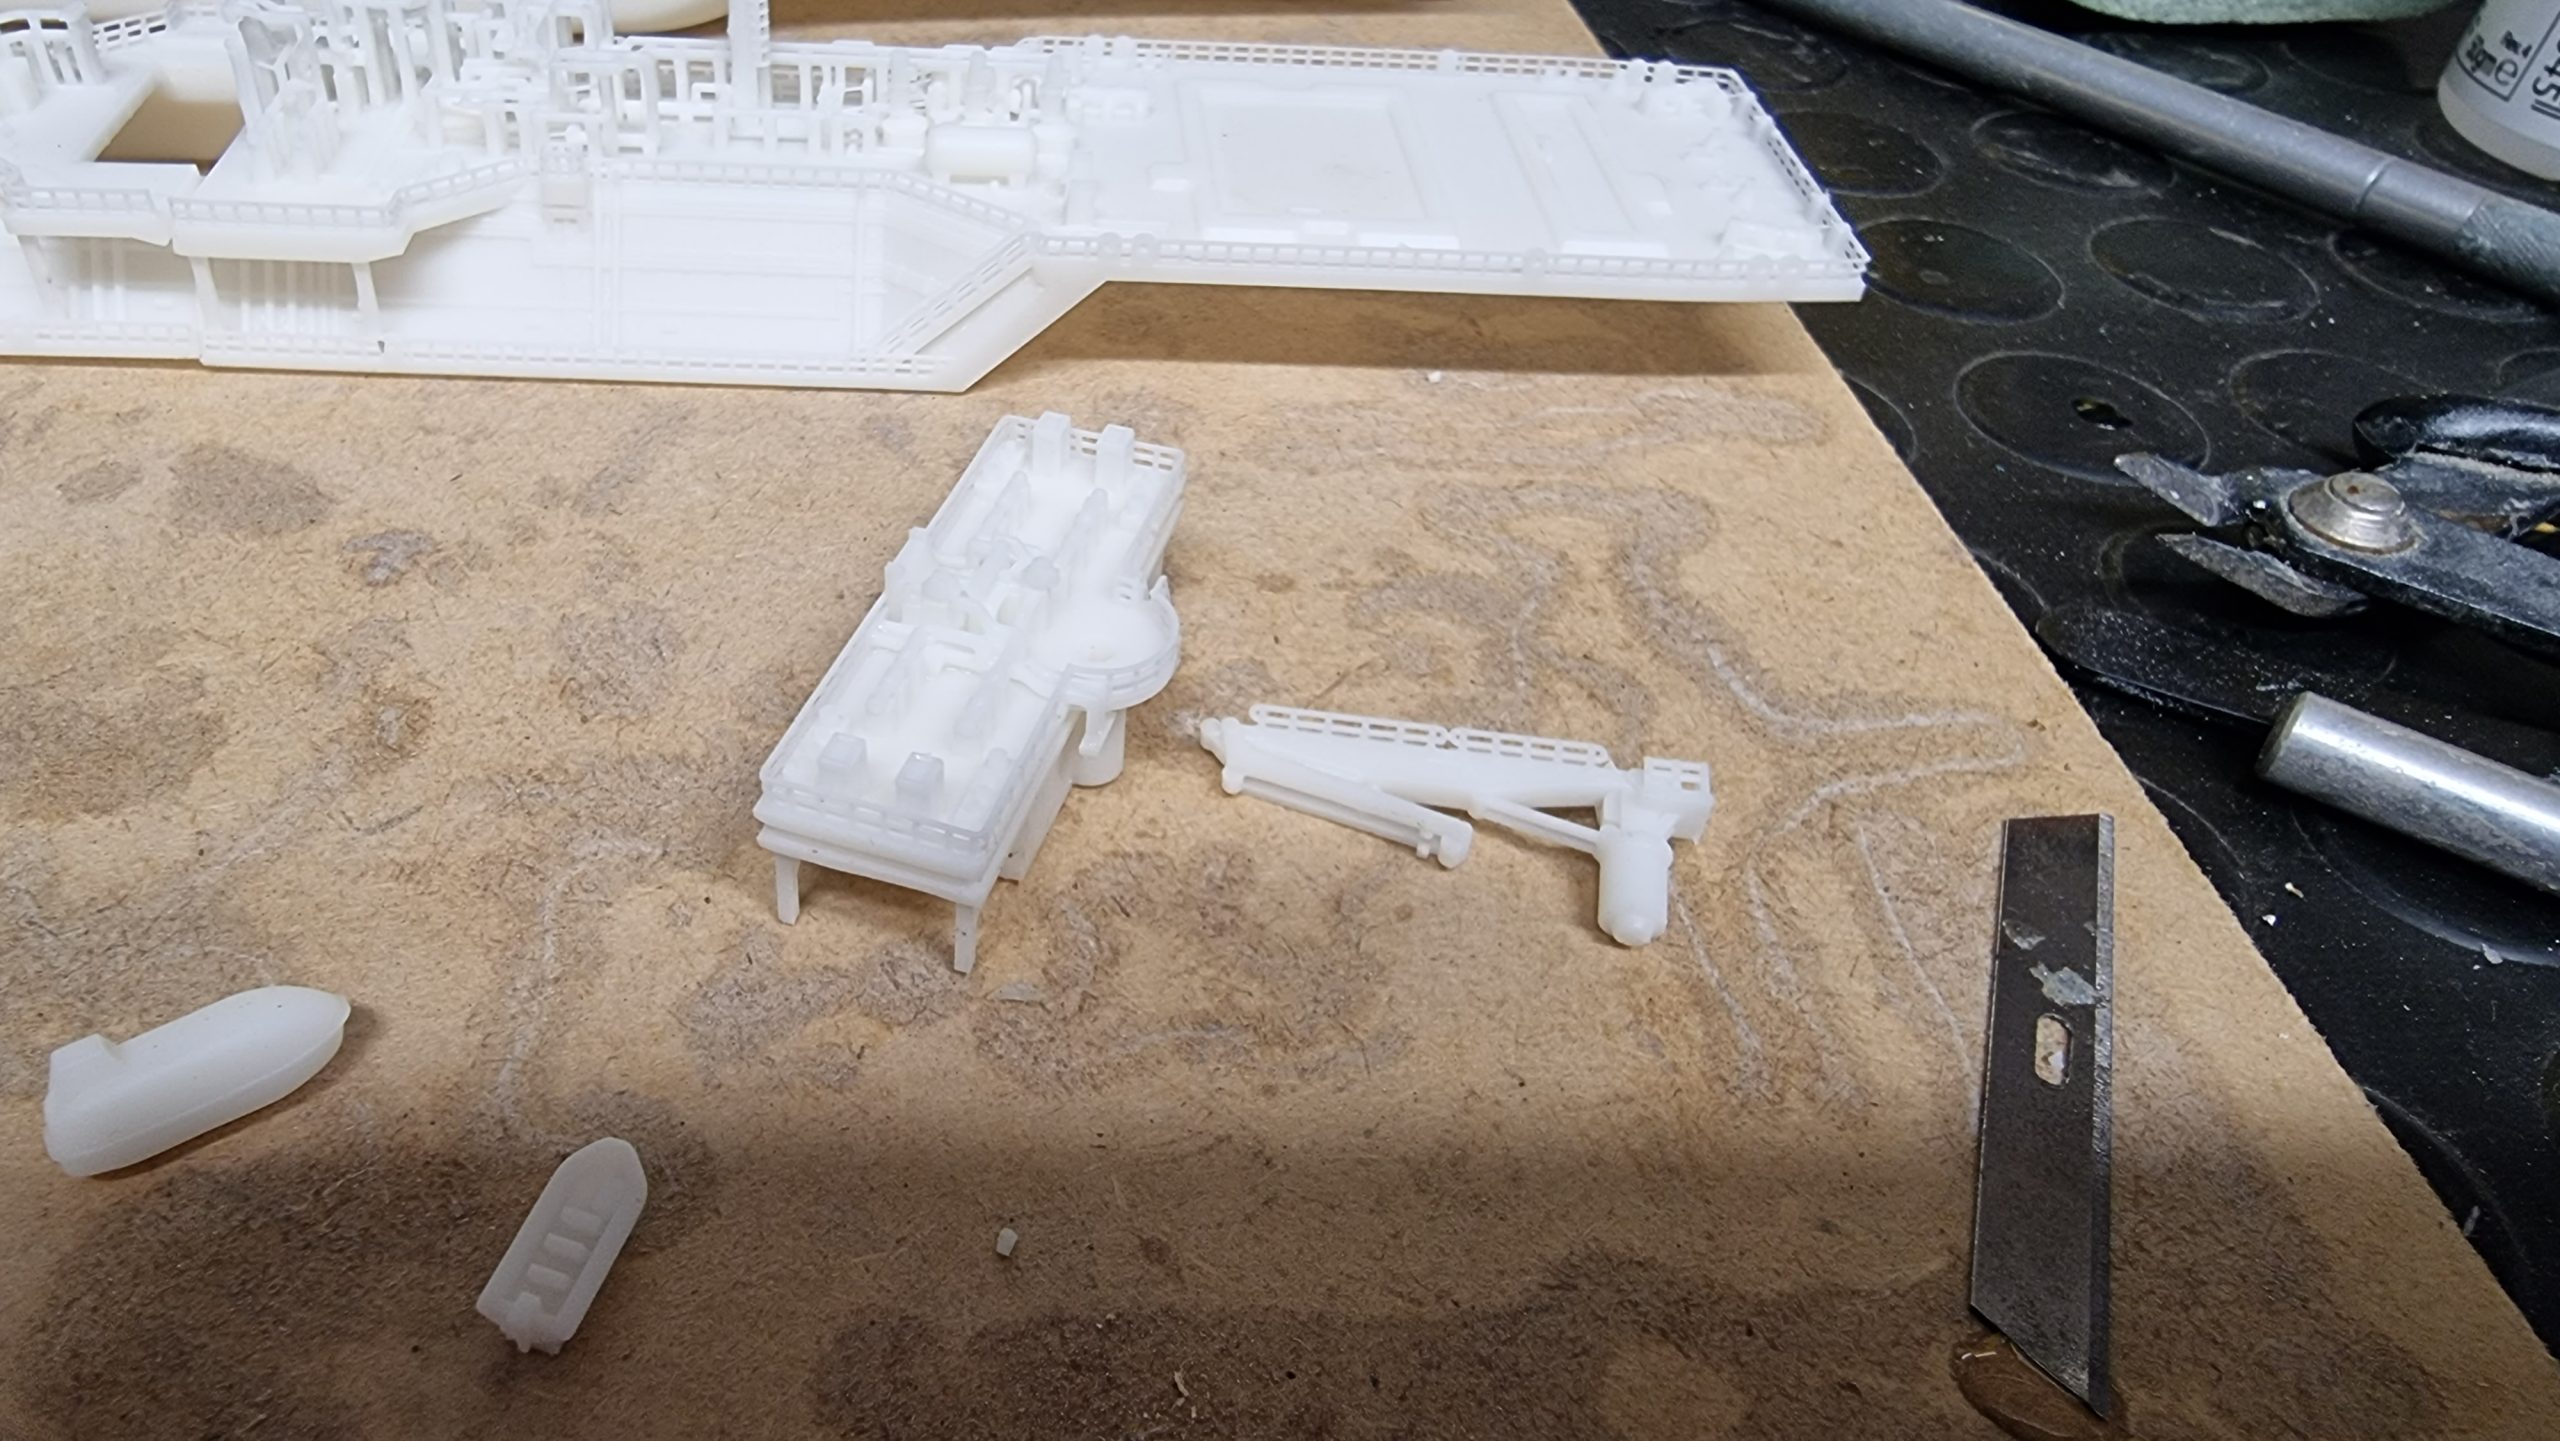
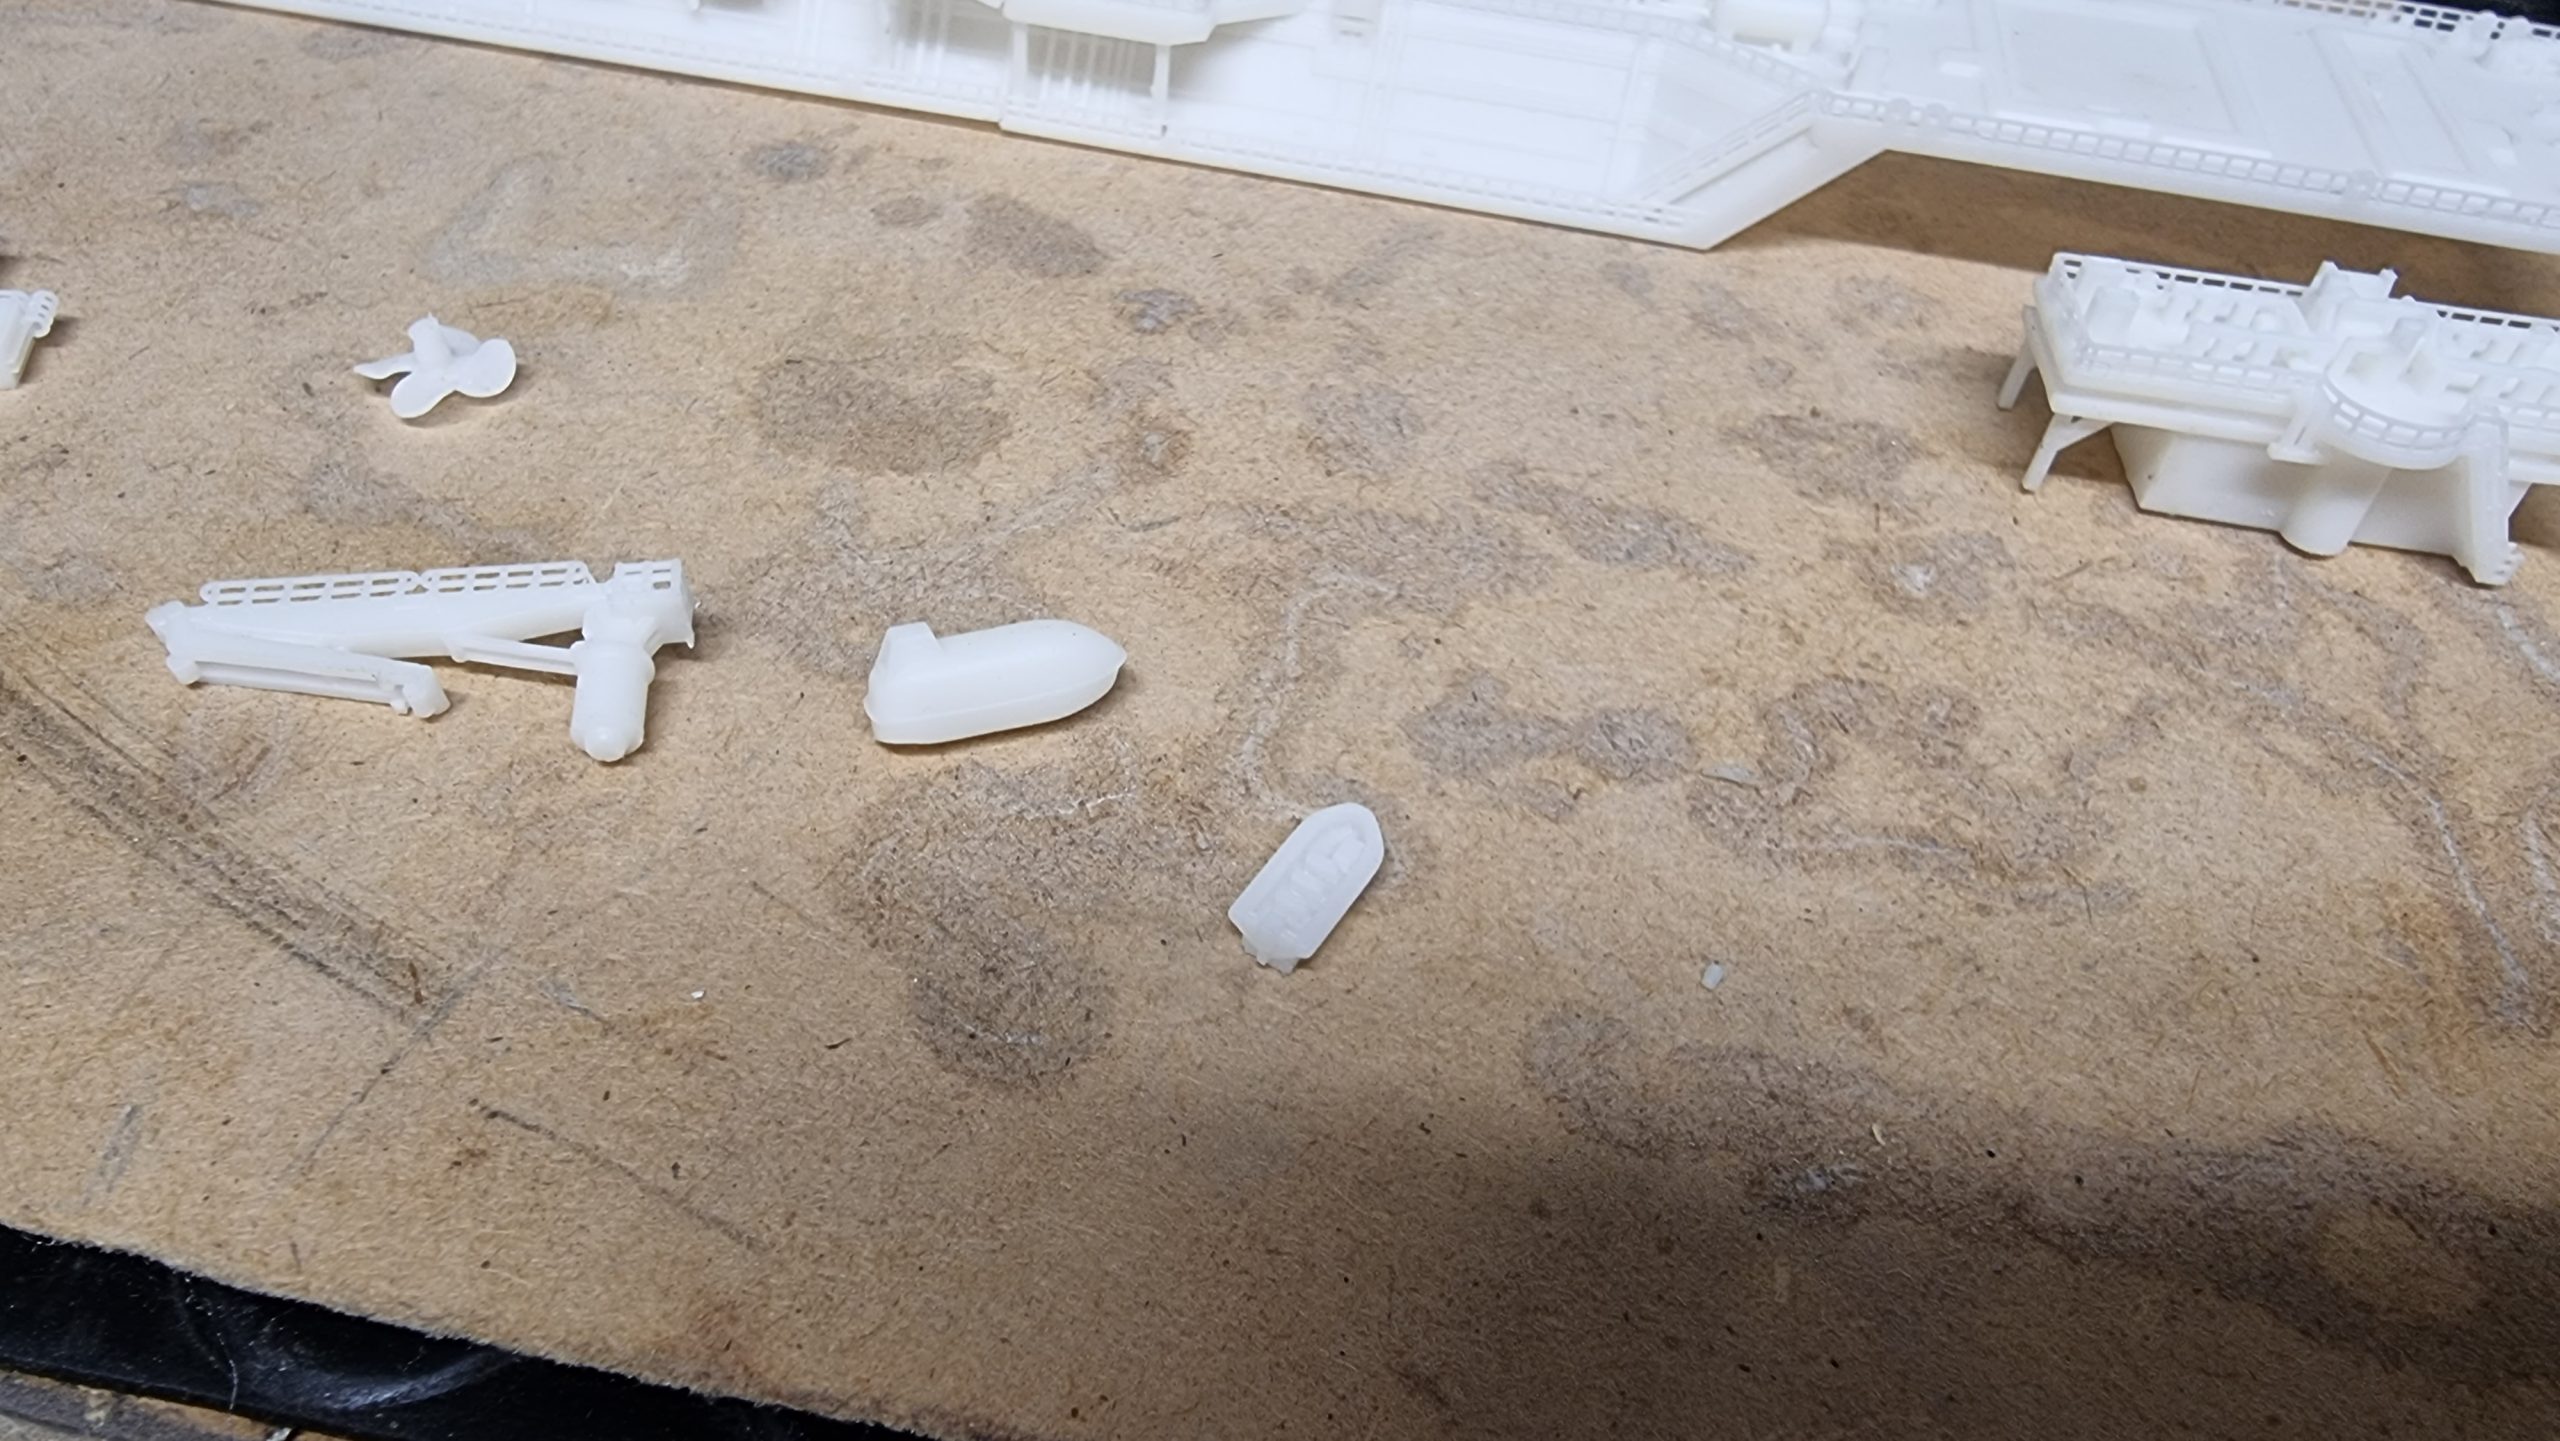
Whilst the construction of the hull is happening, our 3D-modeller will also focus on laying out all of the smaller pieces, cleaning them and then painting them individually. The decking area was printed separately, and this could be attached once all three pieces of the hull had been assembled. Additionally, the lifeboats on either side of the ships were painted in their own unique colour. Once everything has been painted, they can be glued to the hull, and you’re left with the complete unit.
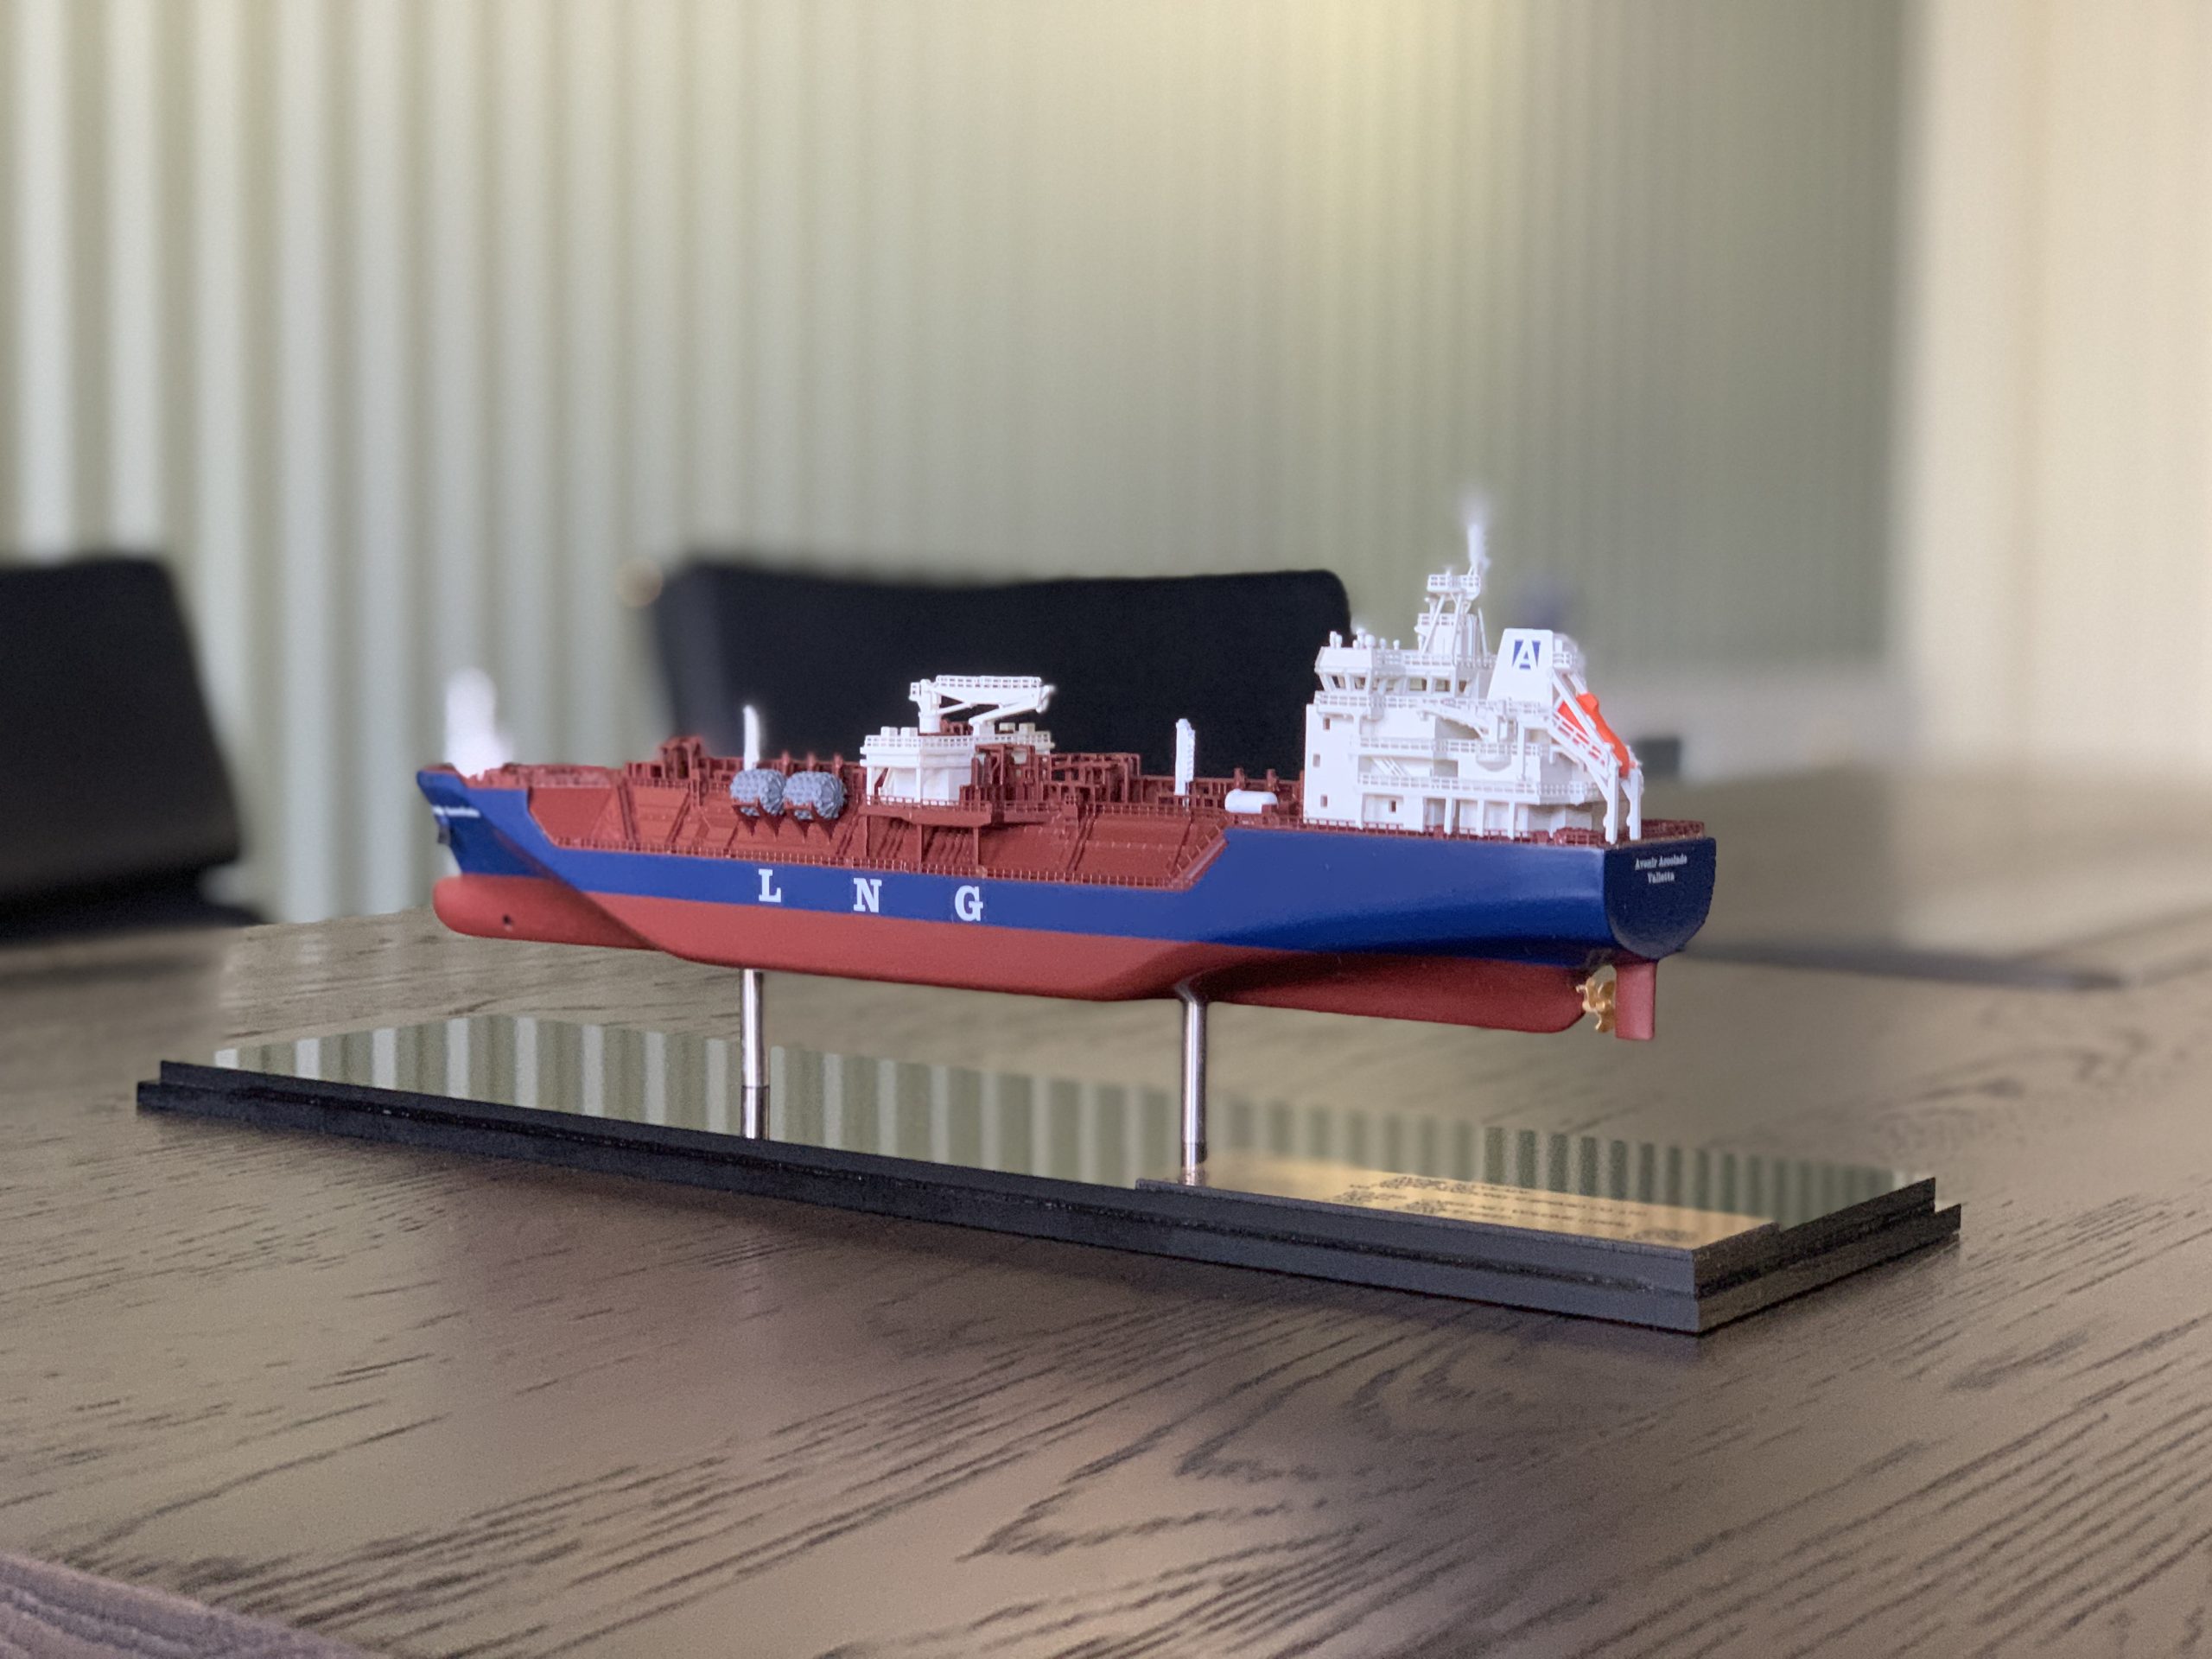
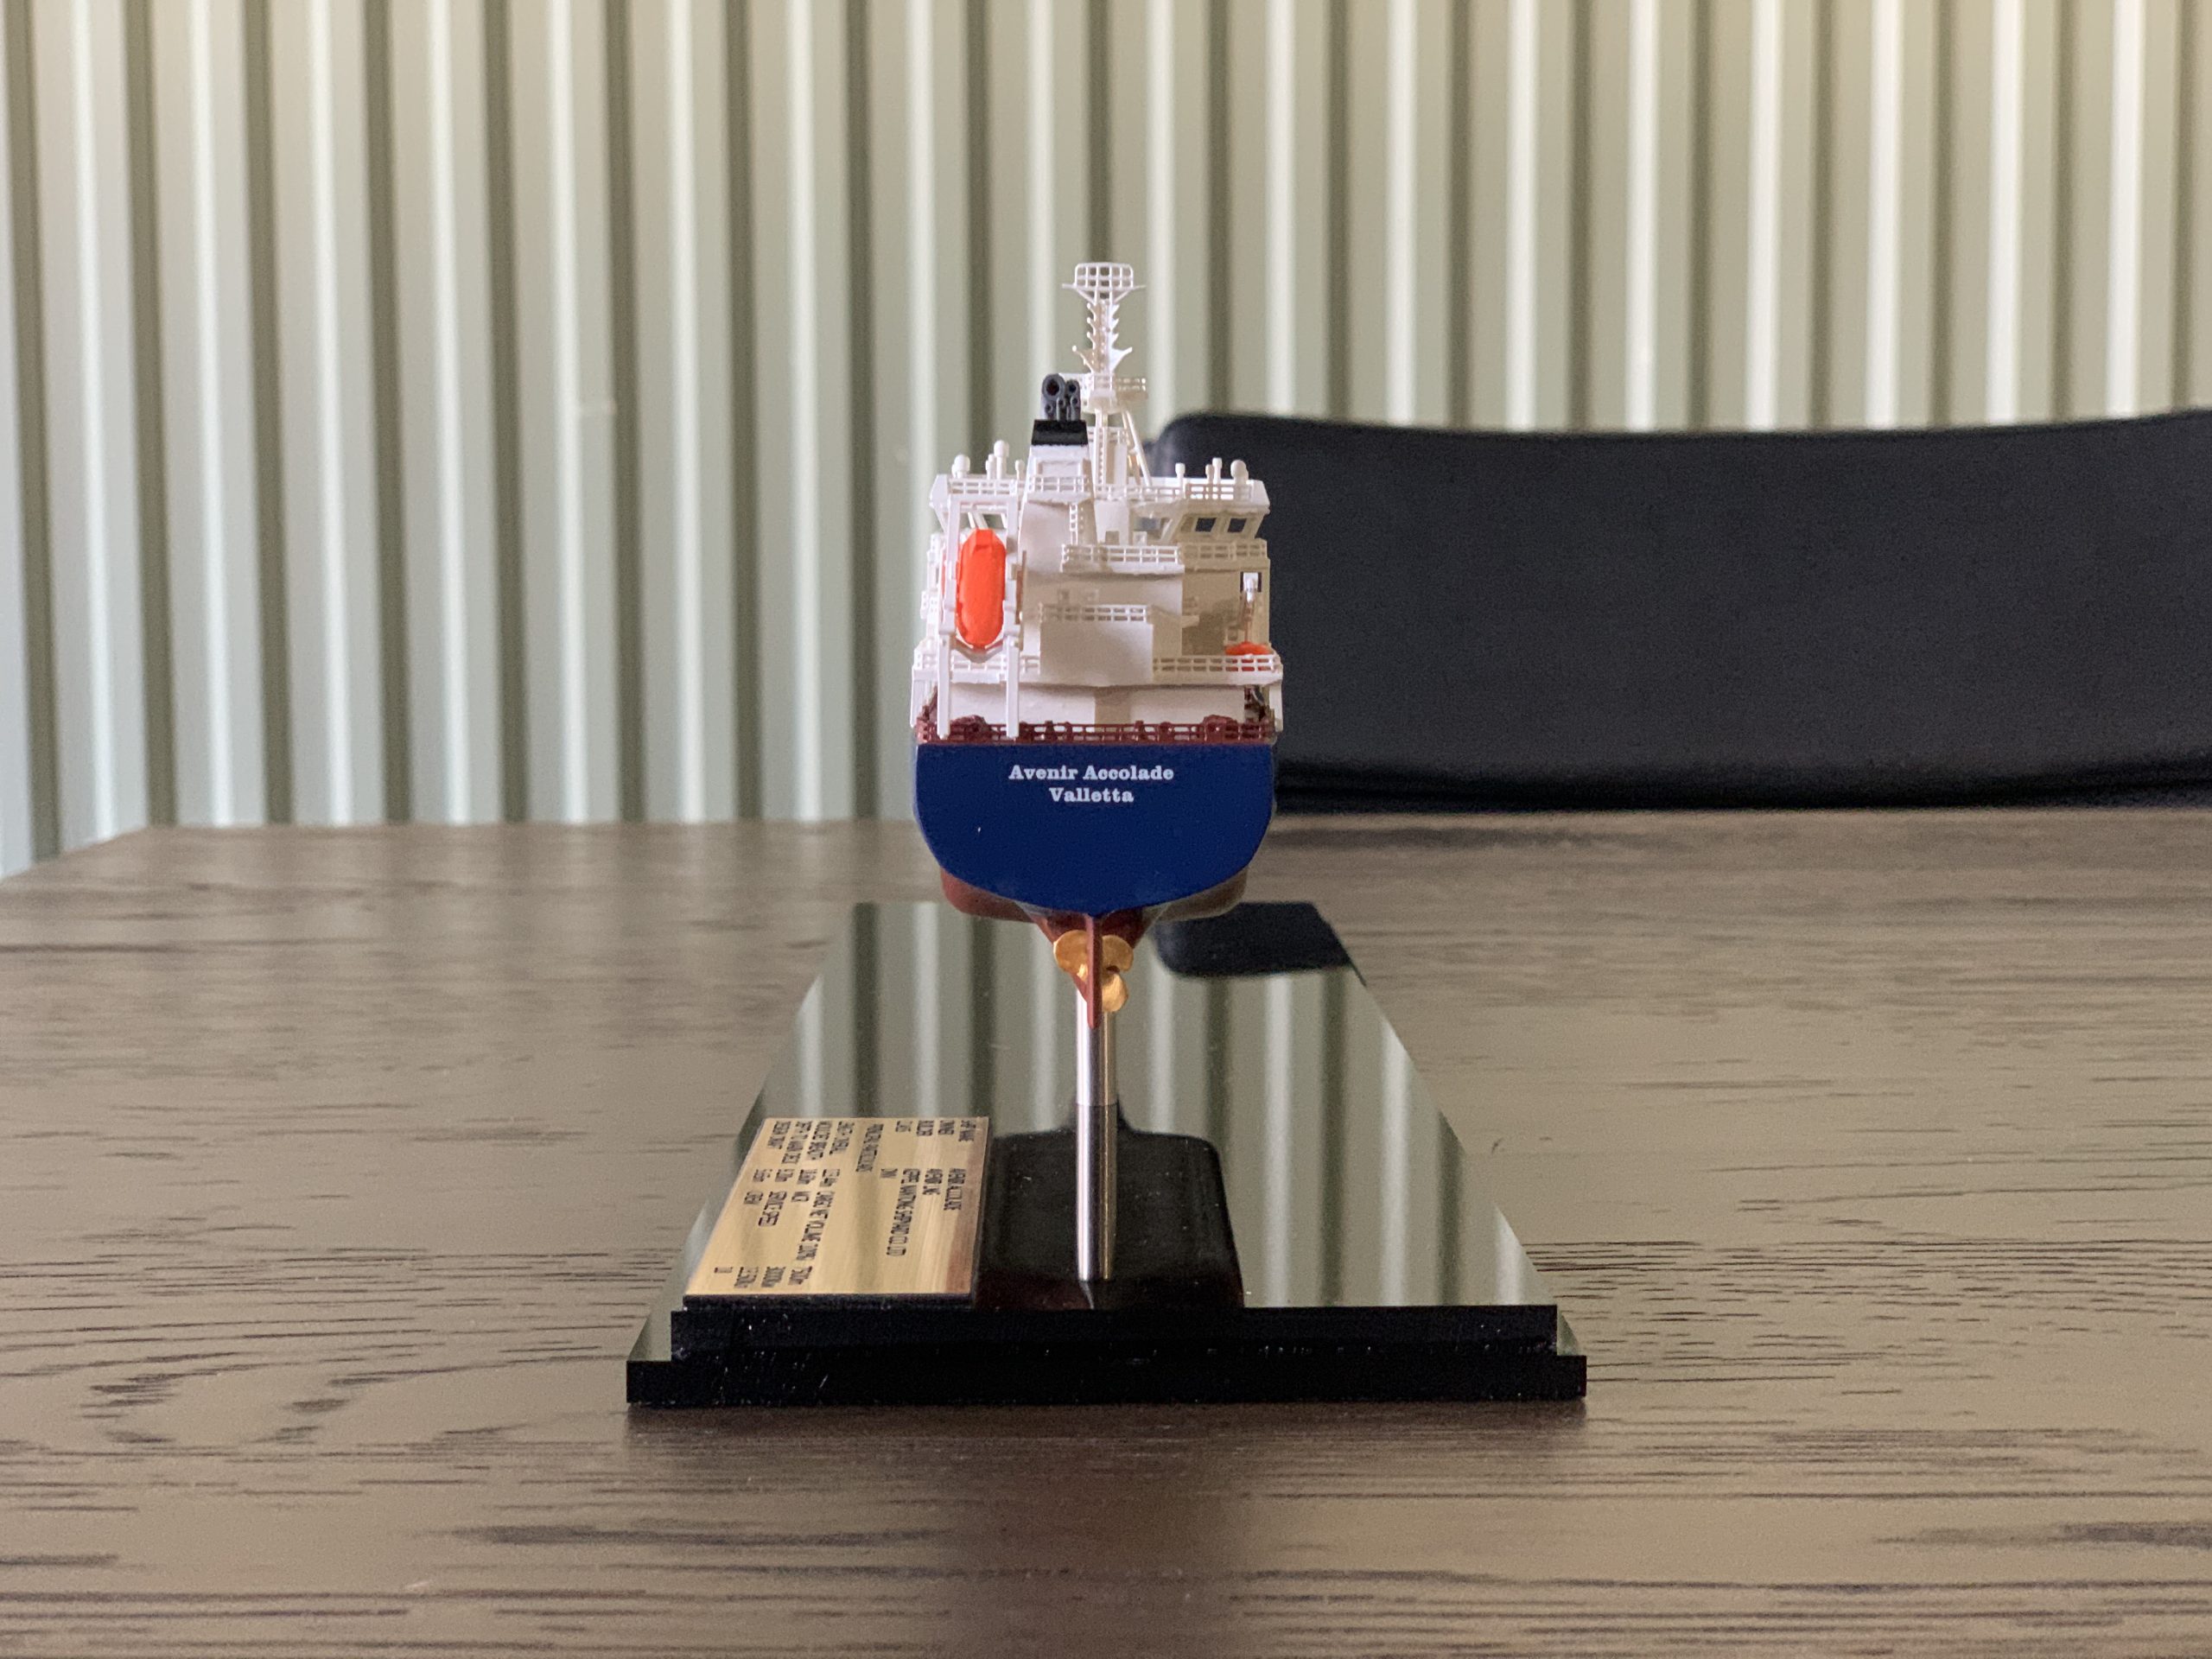
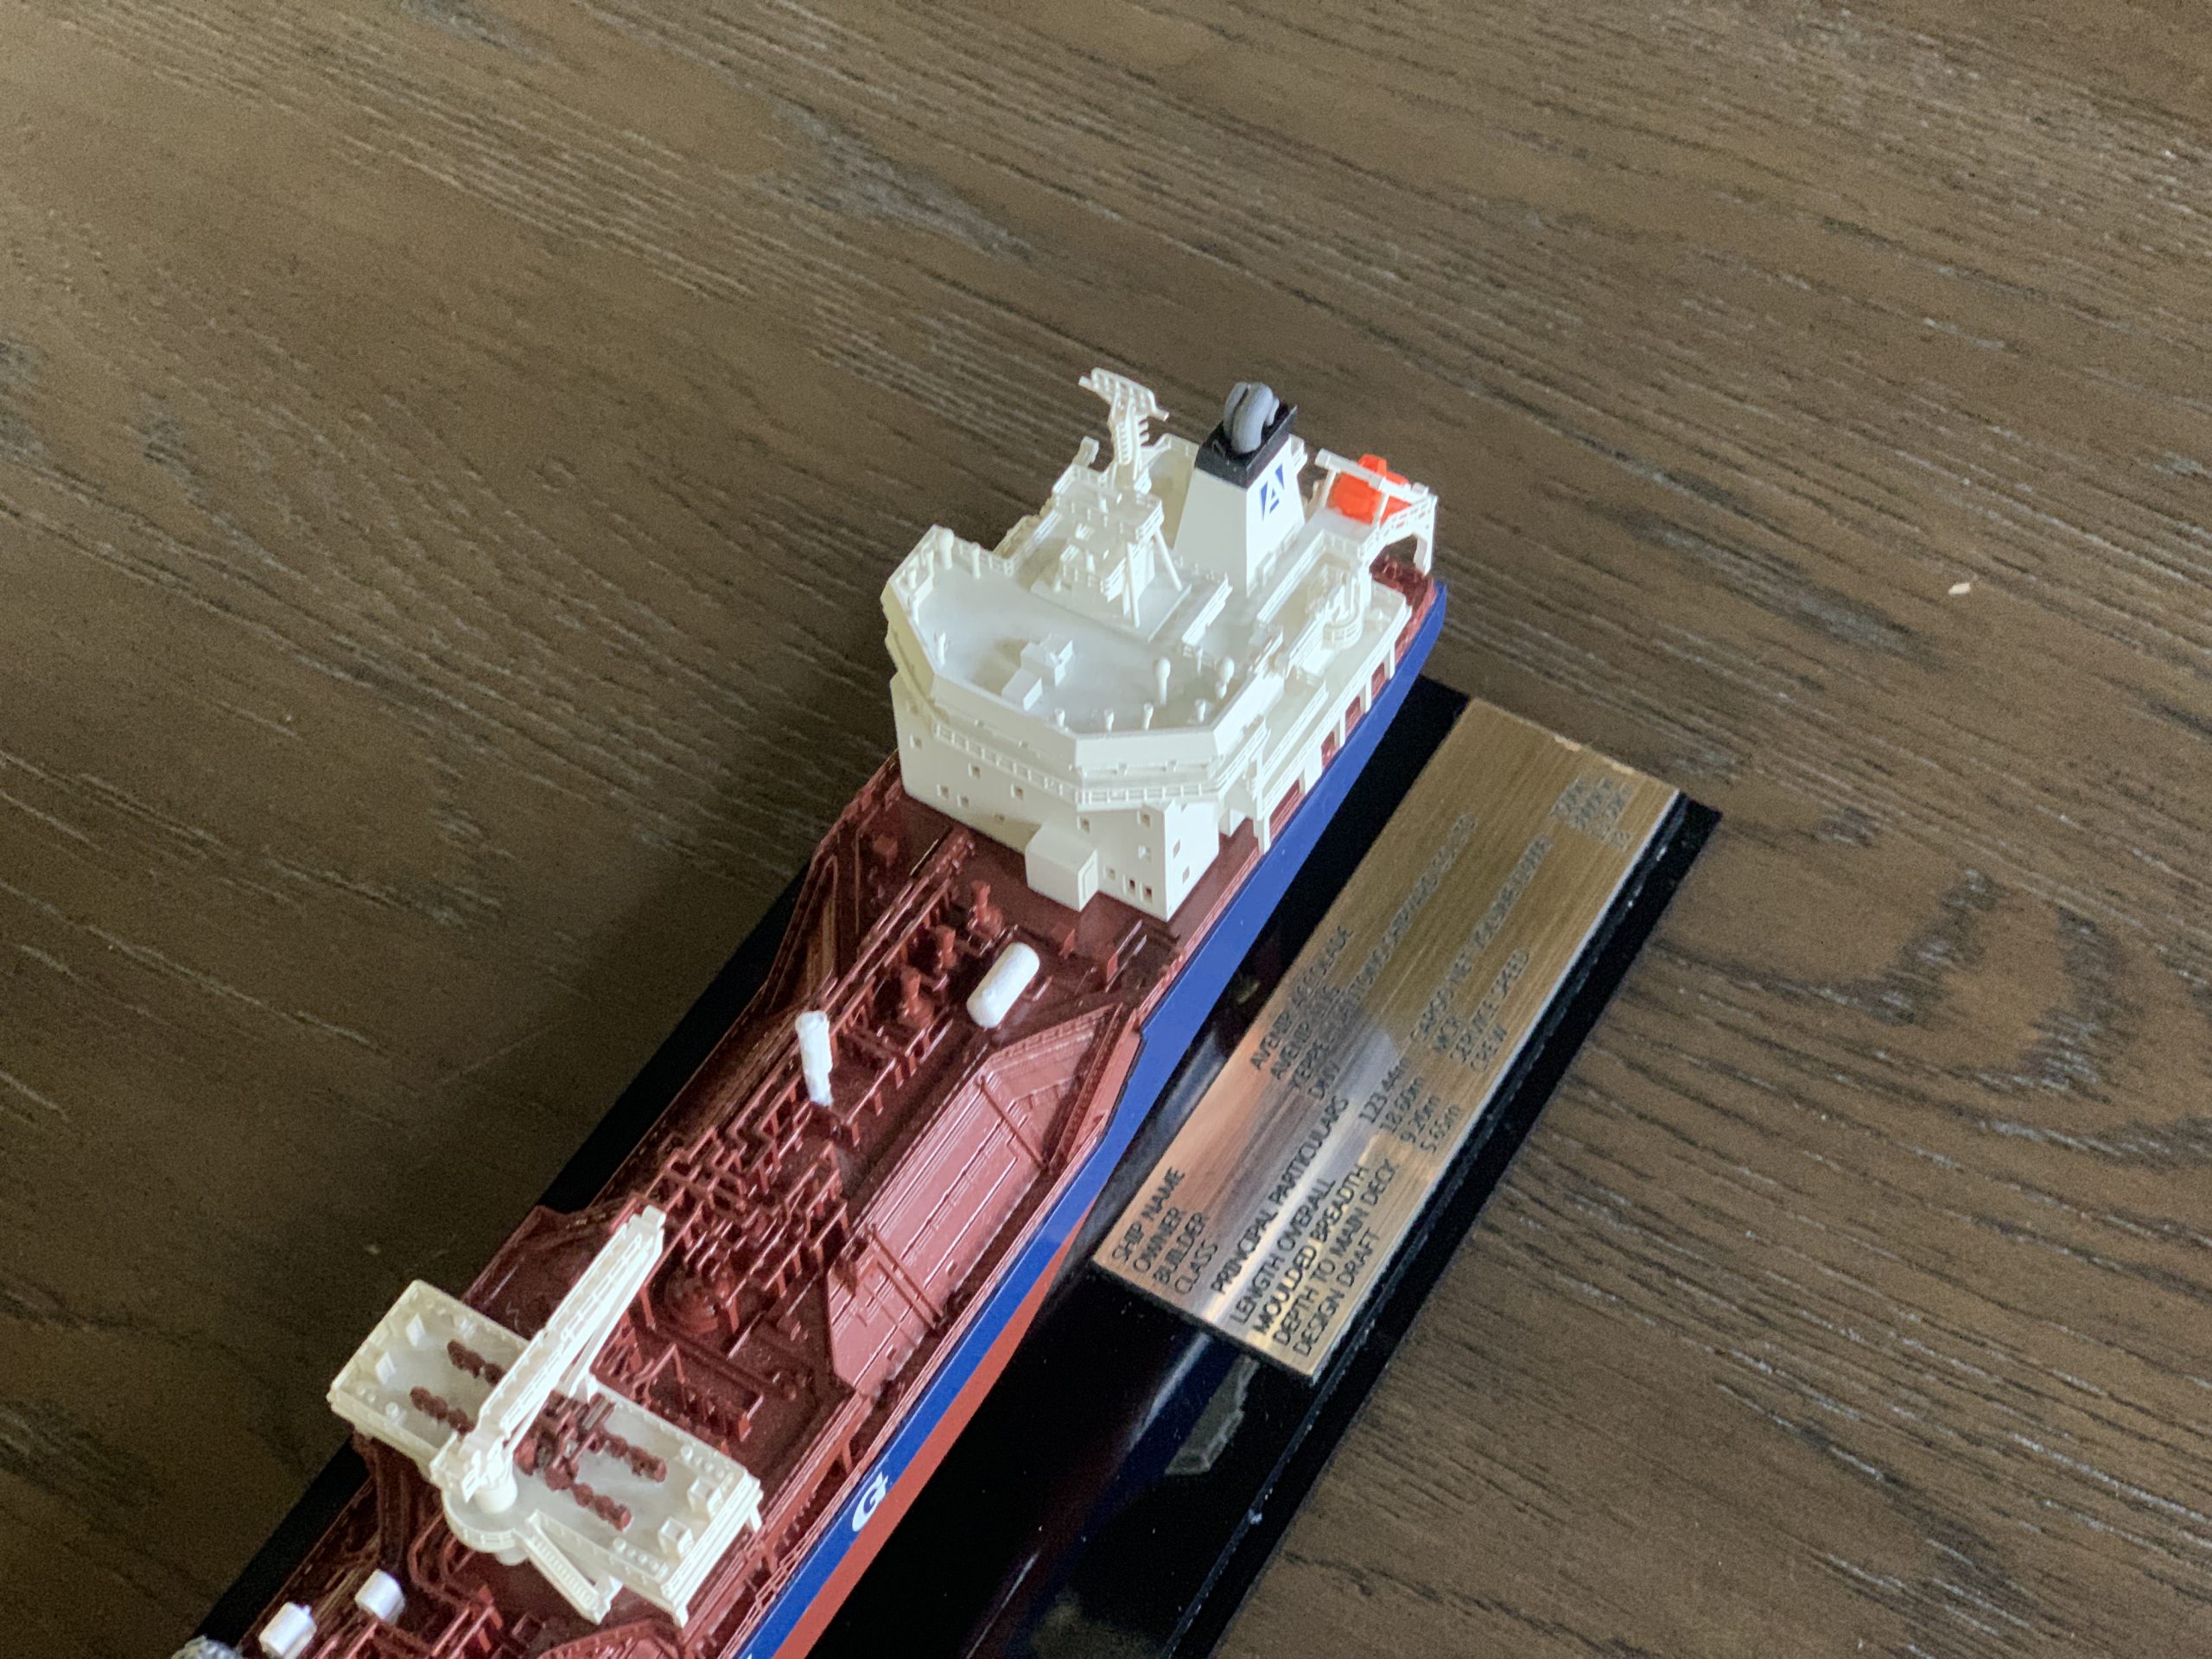
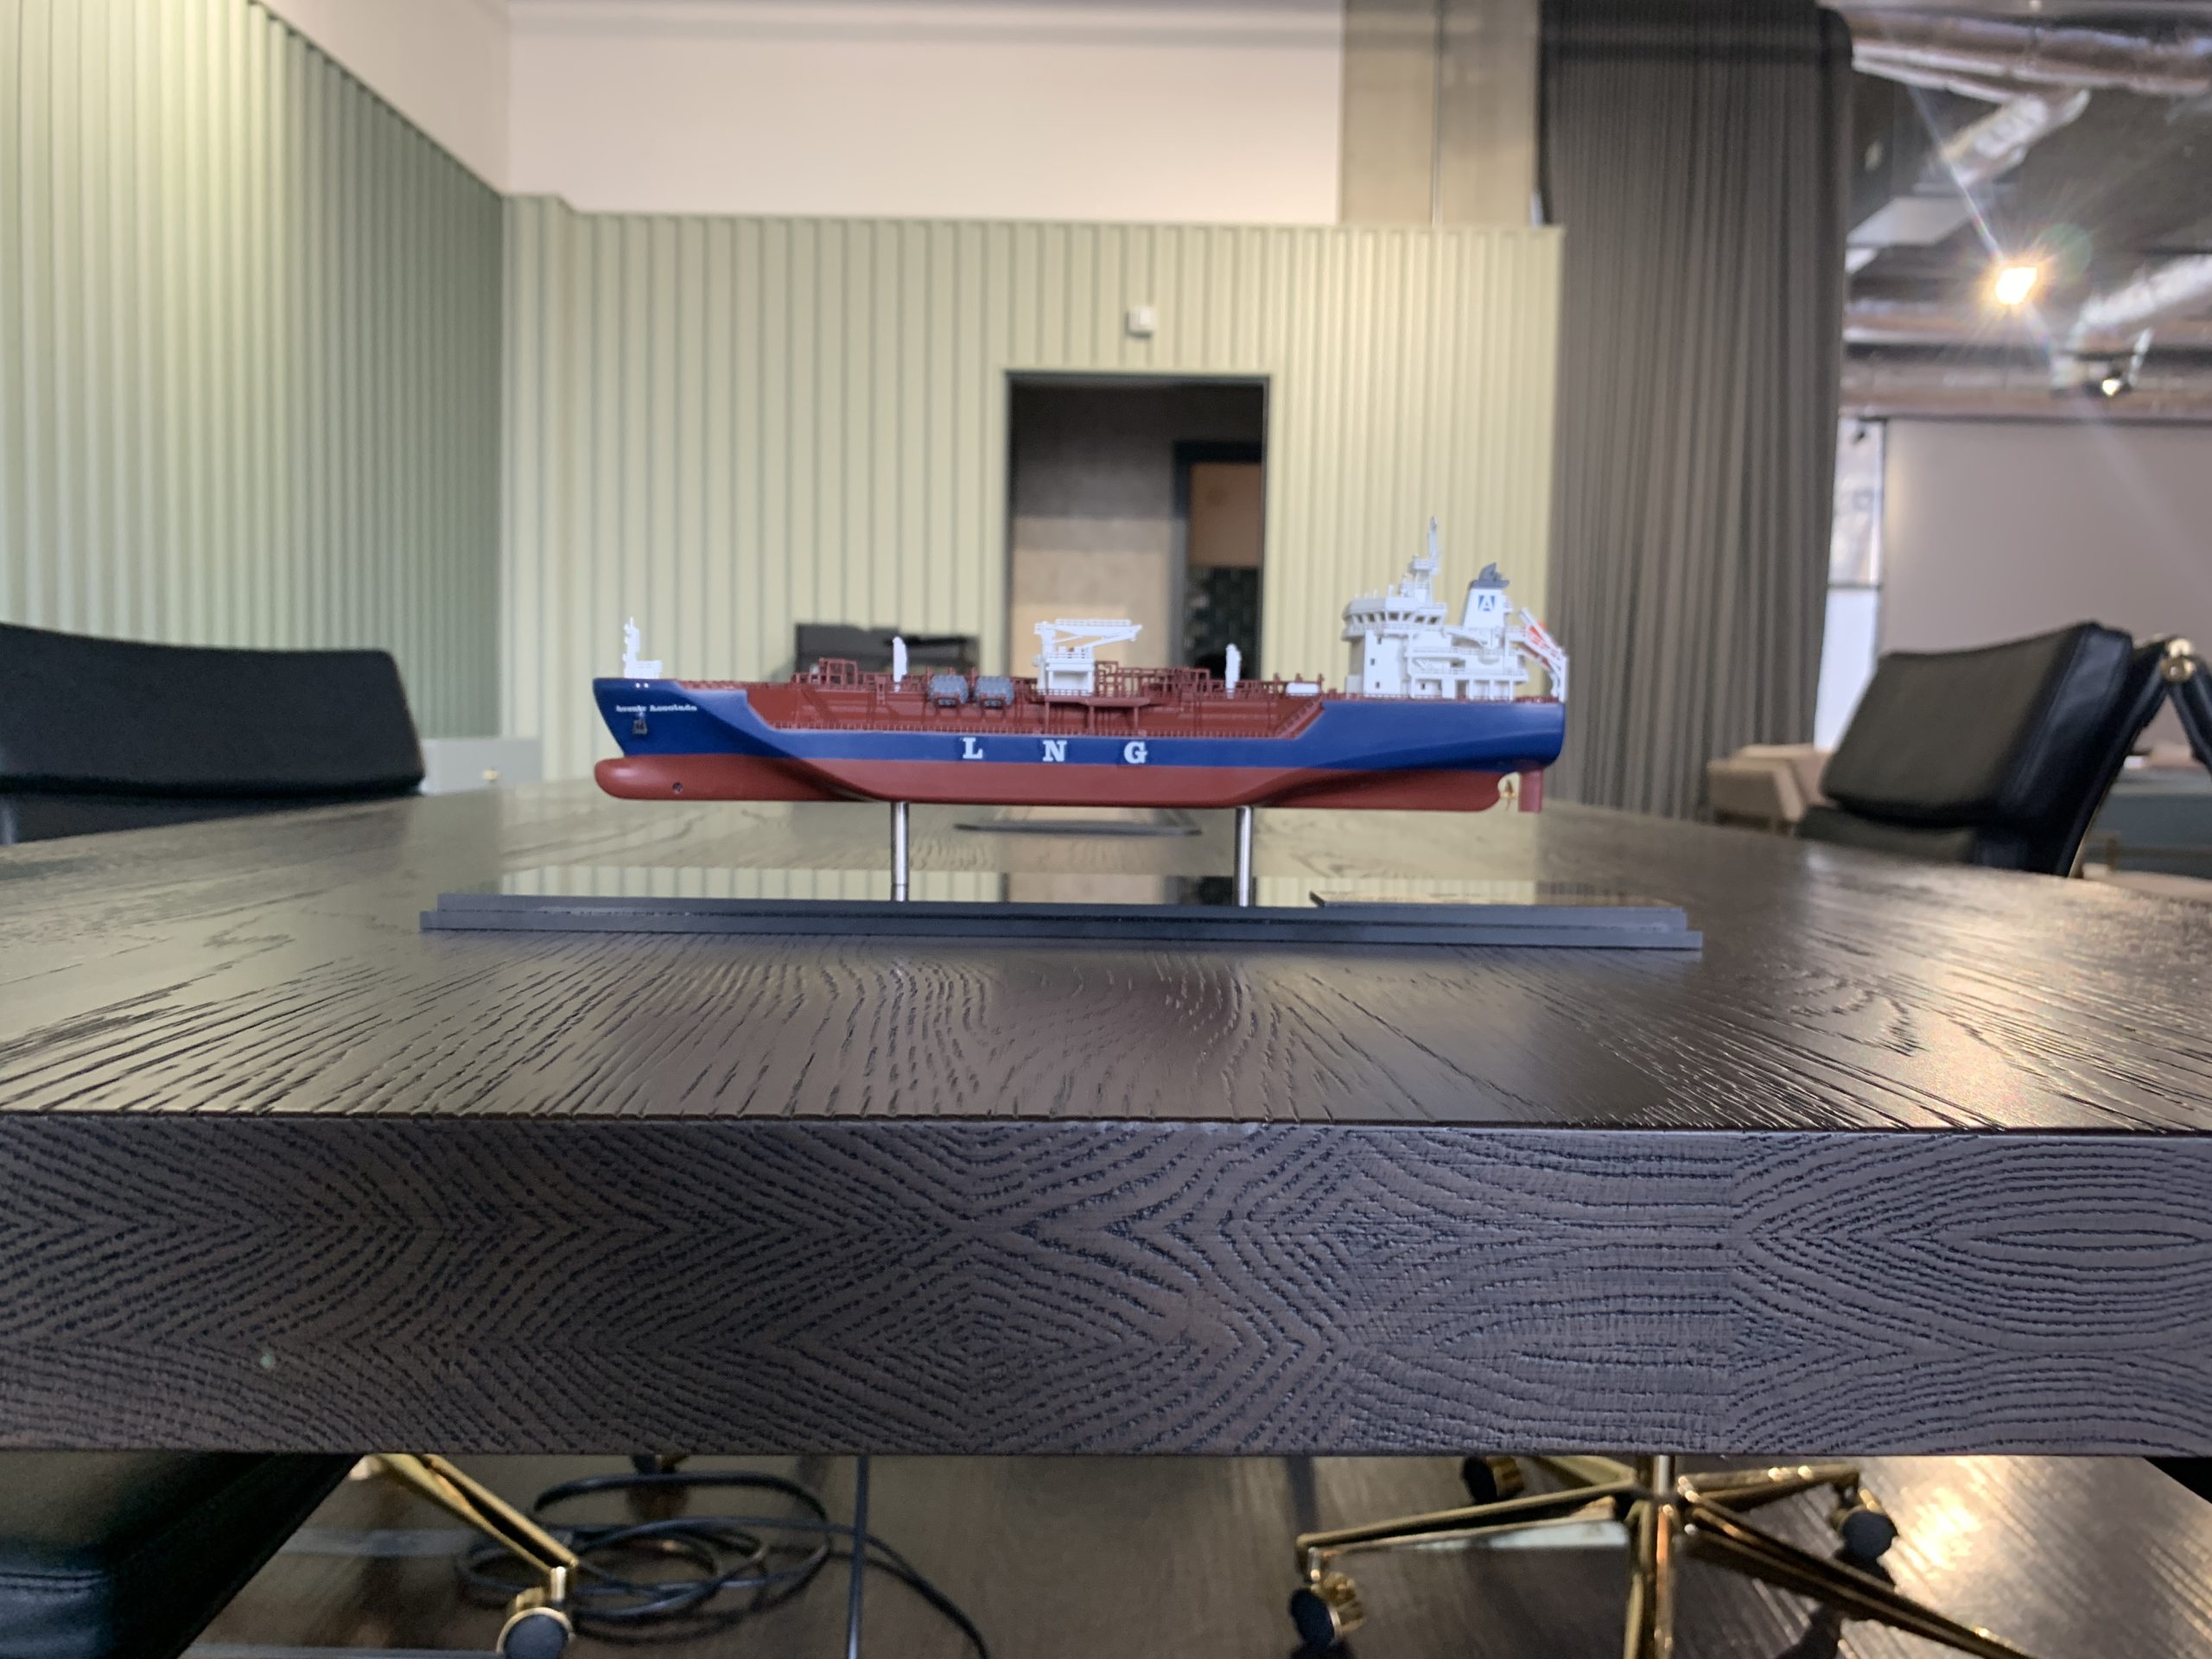
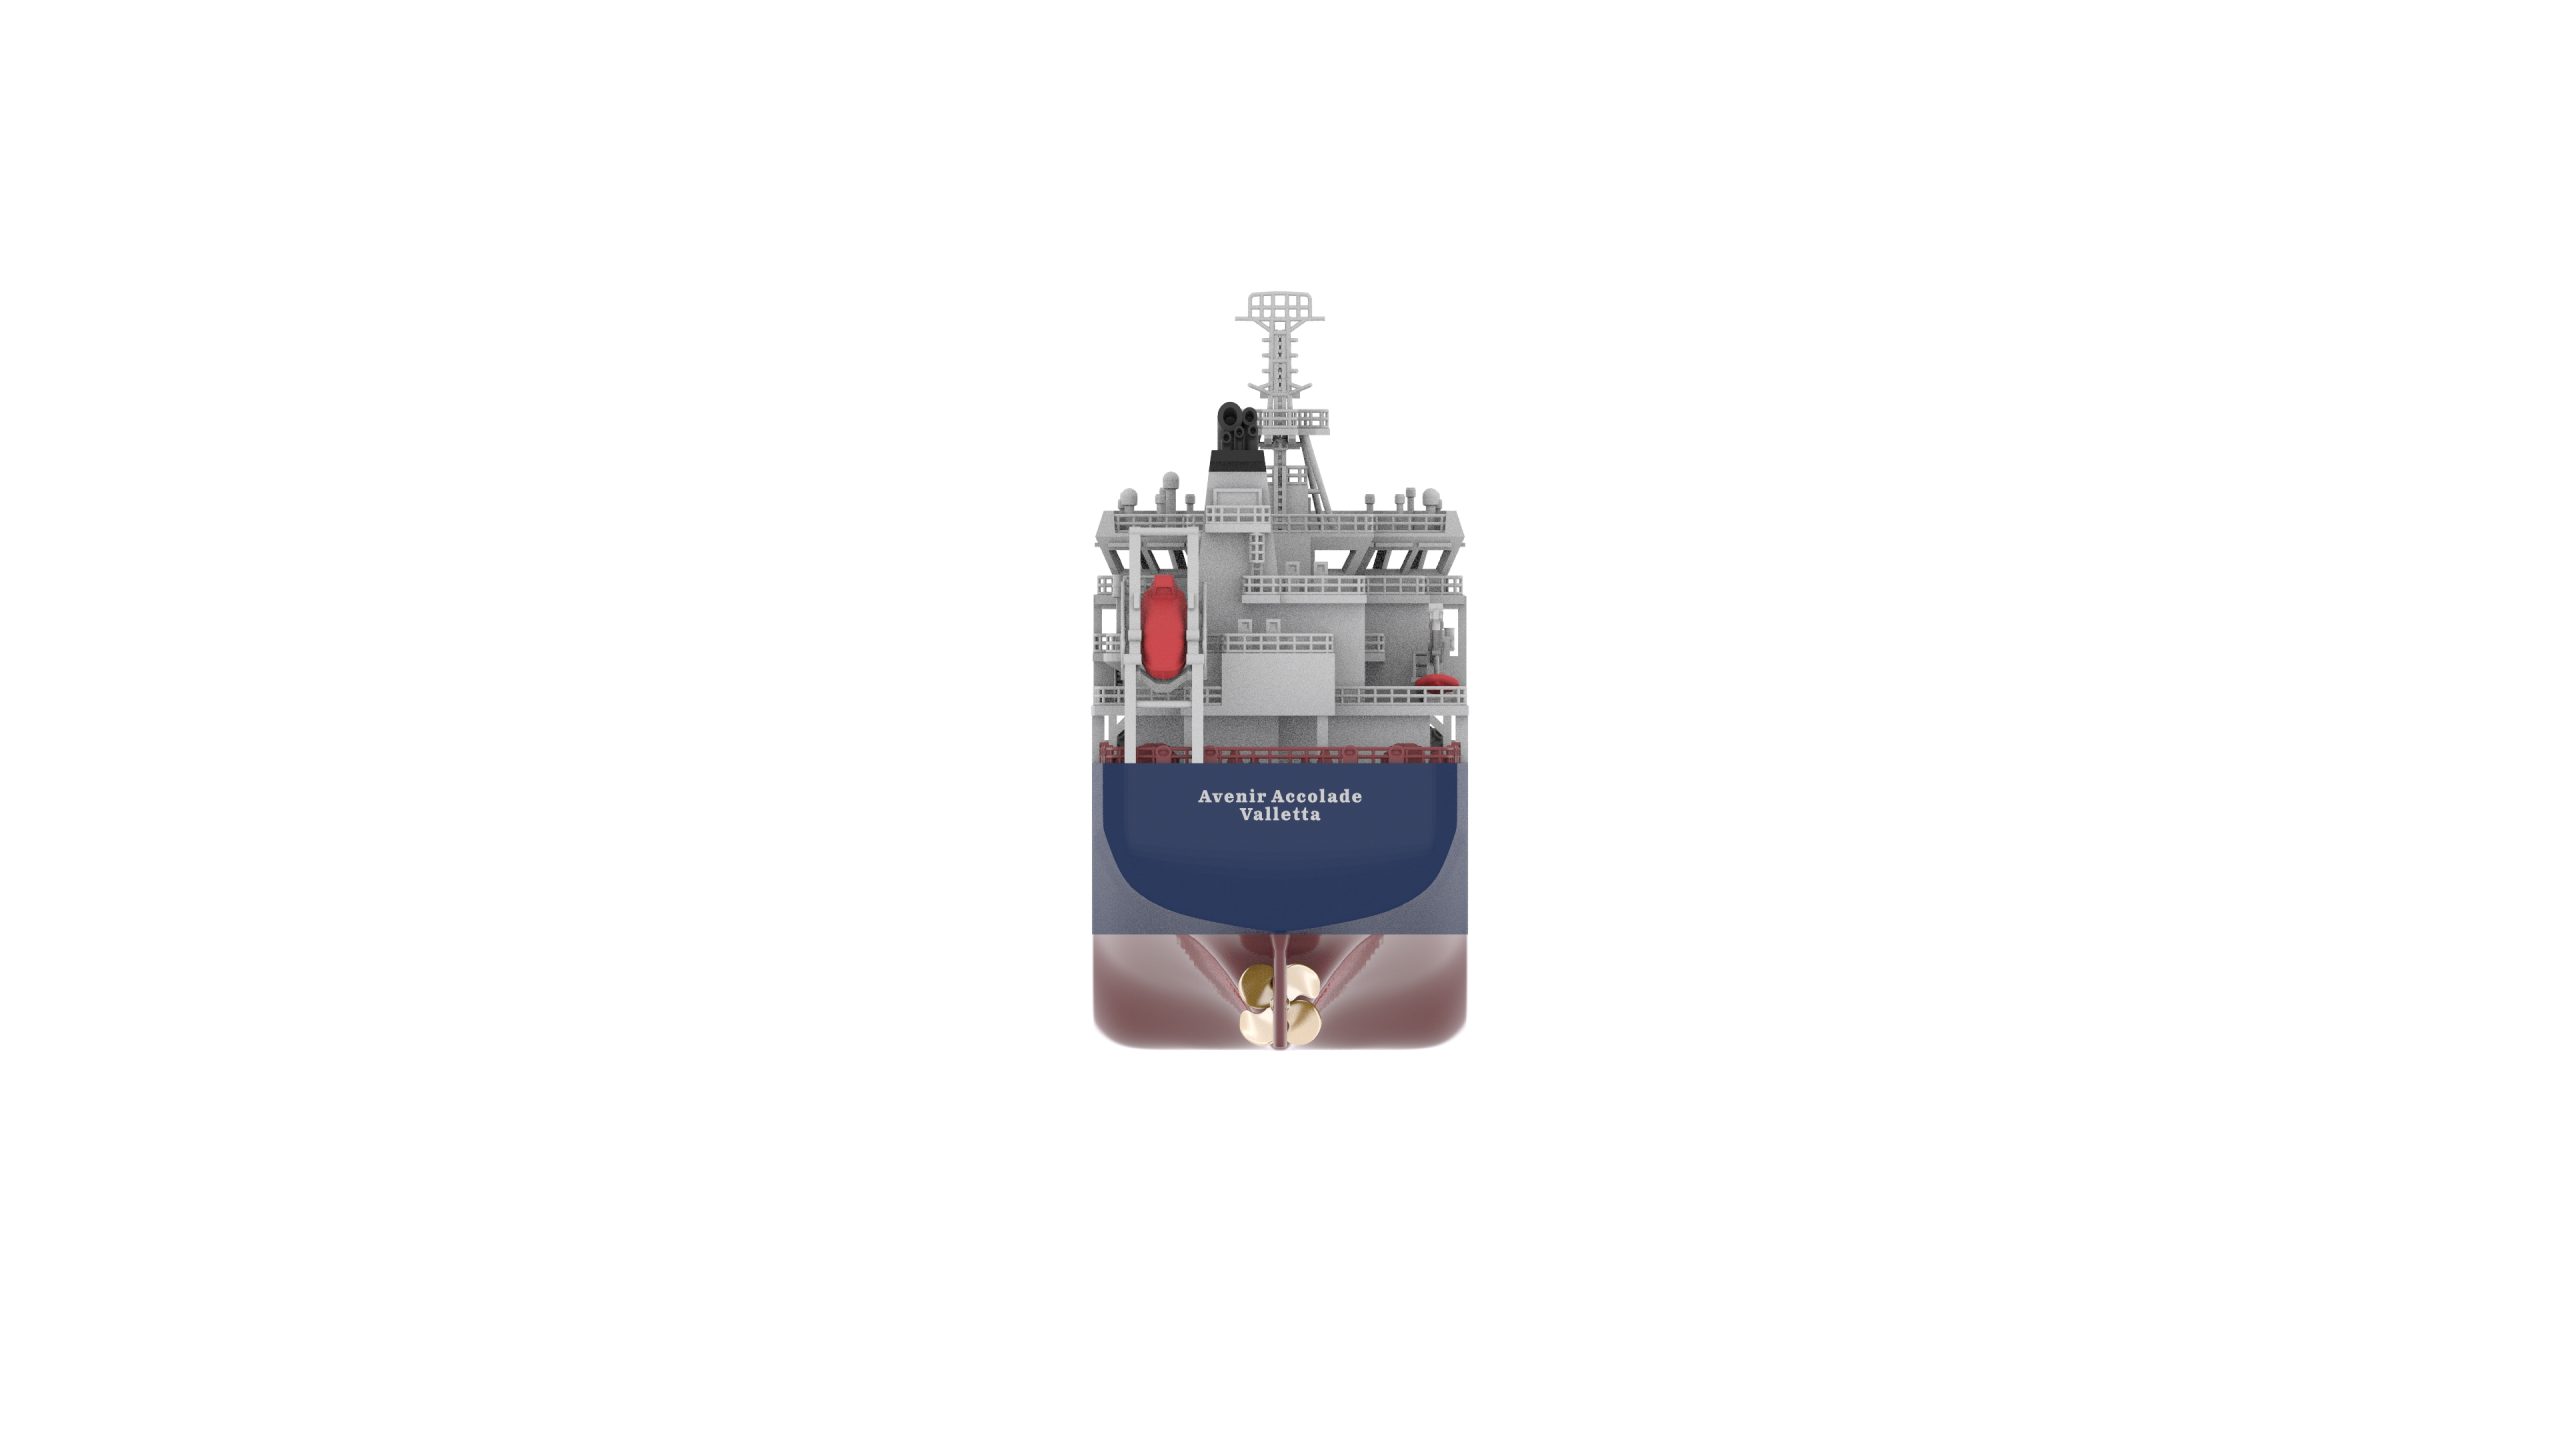
However, whilst the ship is now complete, there are still a number of things to do. Most importantly perhaps is the installation of a display case. Our 3D modeller uses a 10-millimetre display case base, along with support rods. Two holes are drilled into the base, and a pair of hollow stainless-steel rods can be placed in these, connecting the base to the ship. Within the models, our 3D-modeller incorporates a metal socket, and this allows him to seamlessly screw between the model and the base, through the stainless-steel rods. This prevents the possibility of any kind of eyesore, and leaves the model looking pristine and tidy. The display case base and the model then effectively become one unit.
After this, the name plate can be attached to the base. They are pre-cut by laser, and have a sticky back. Therefore, this stage of the process is fairly quick.
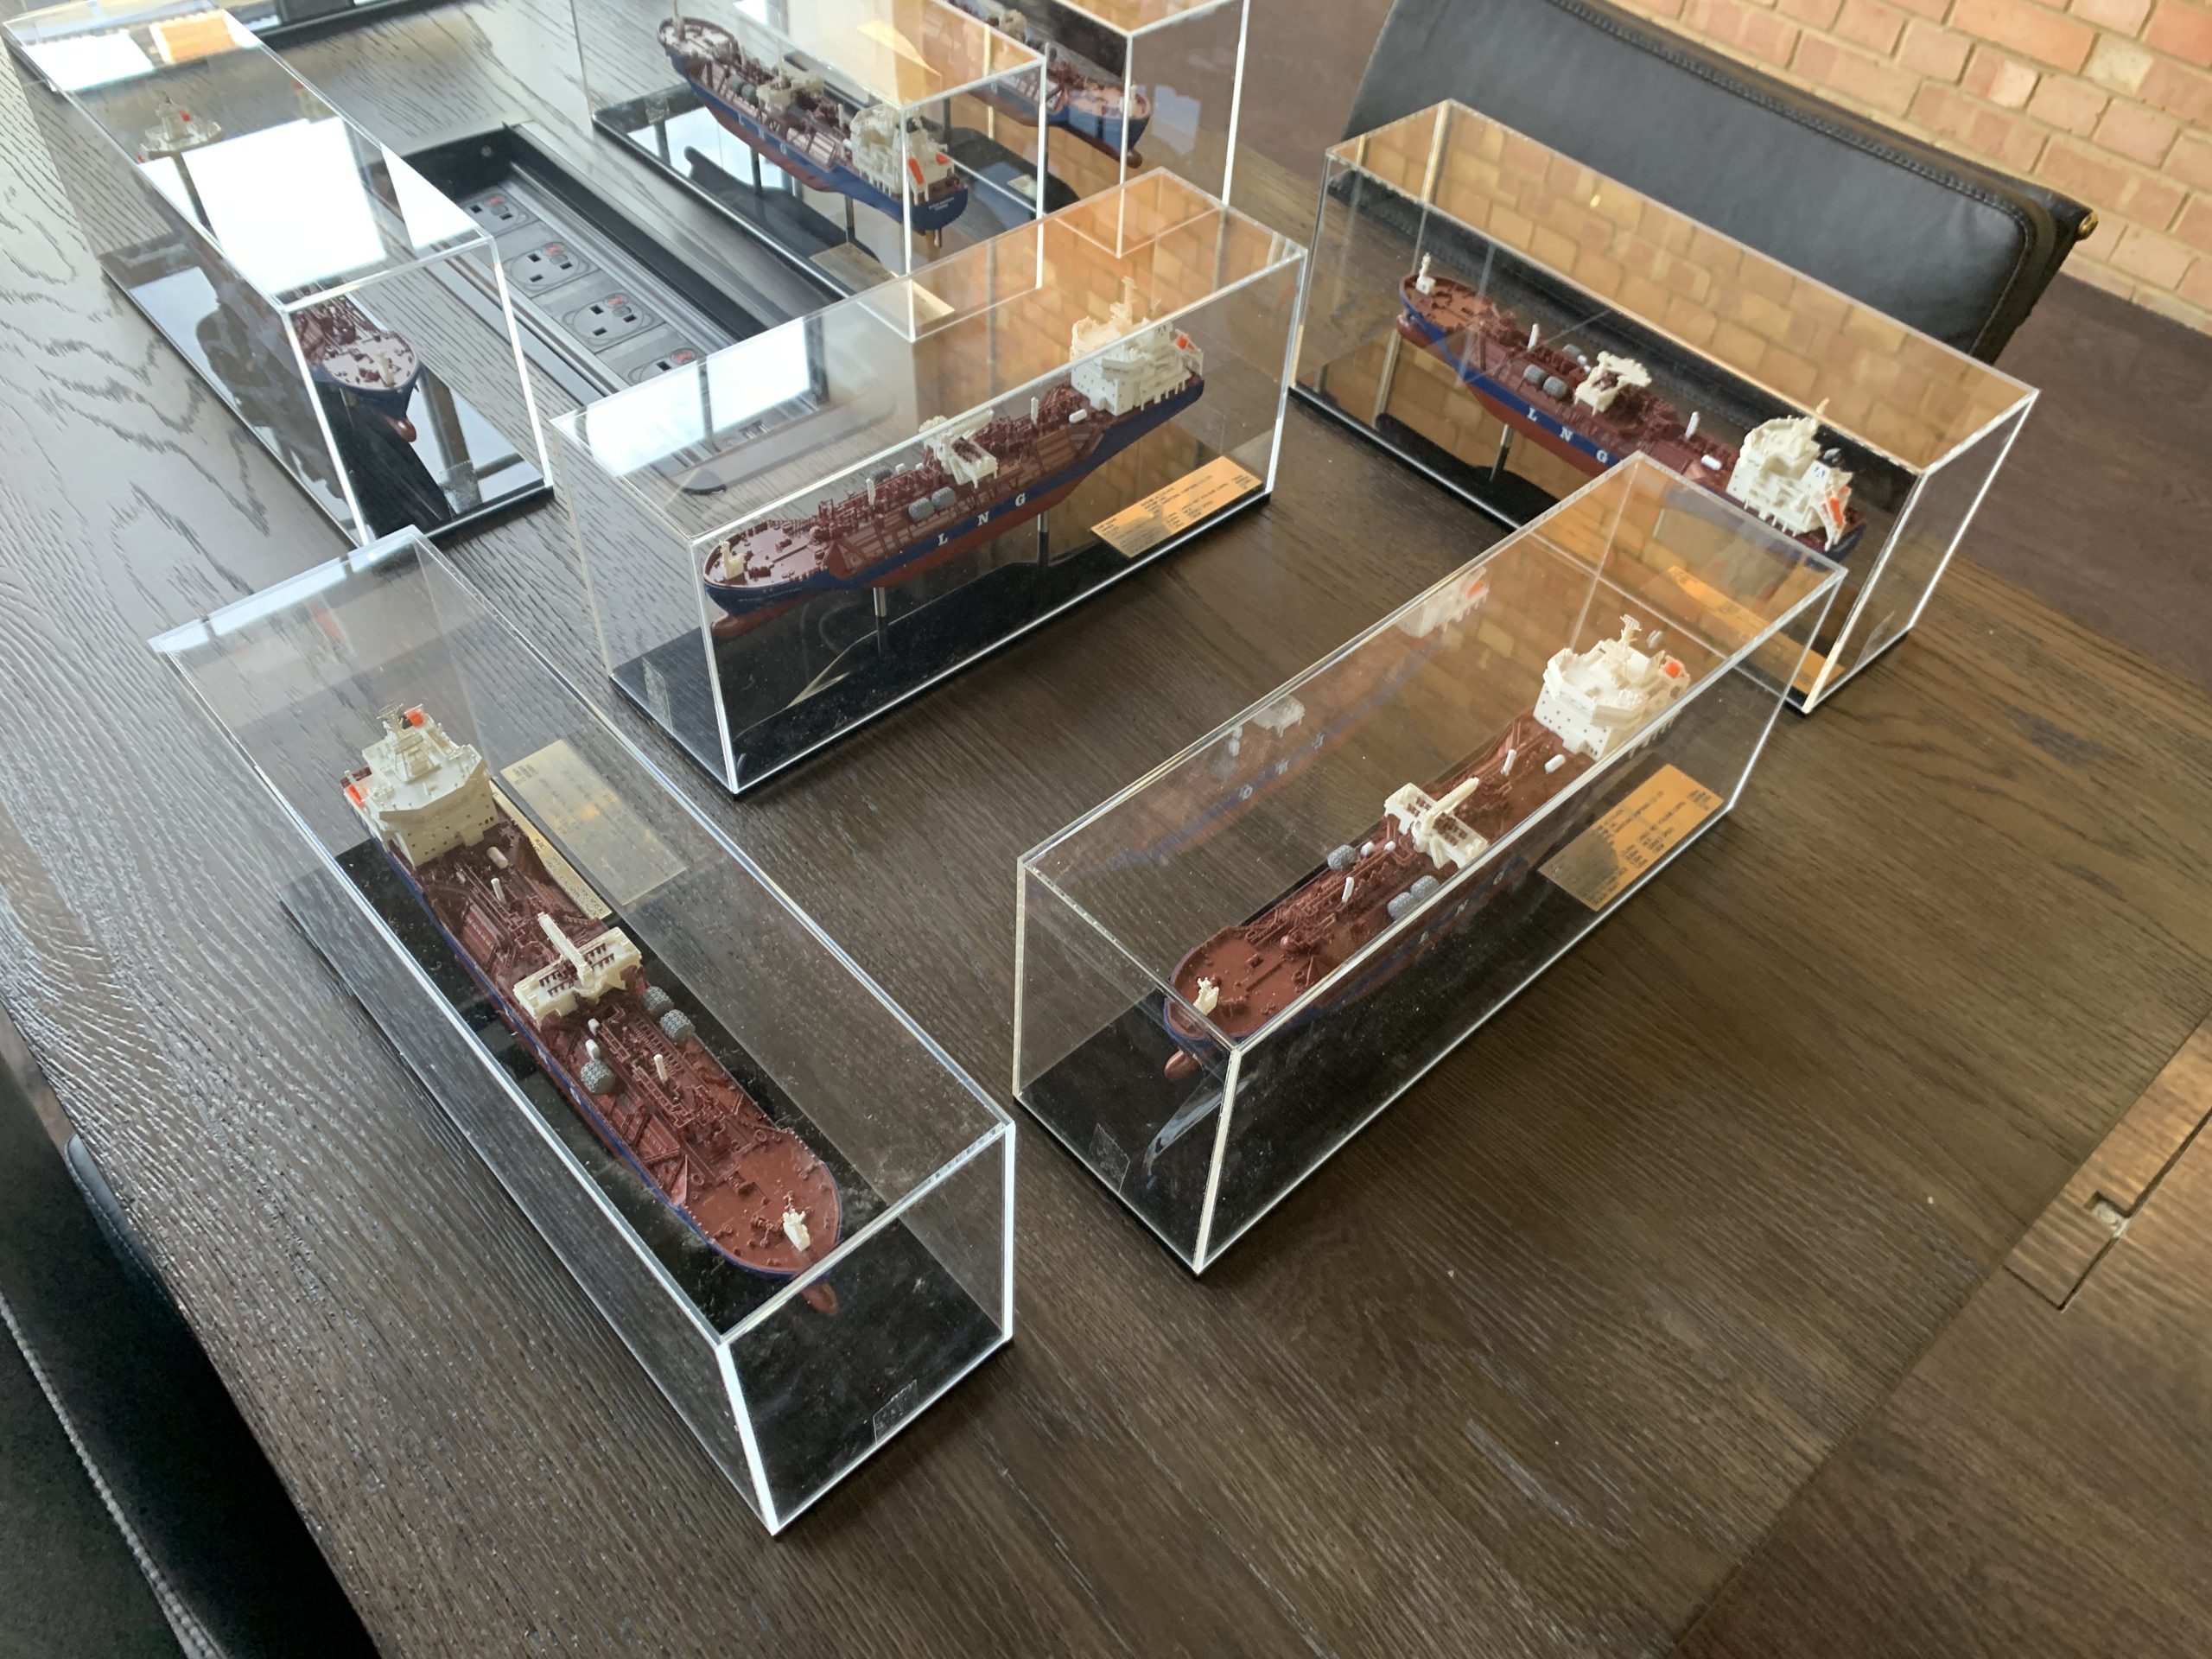
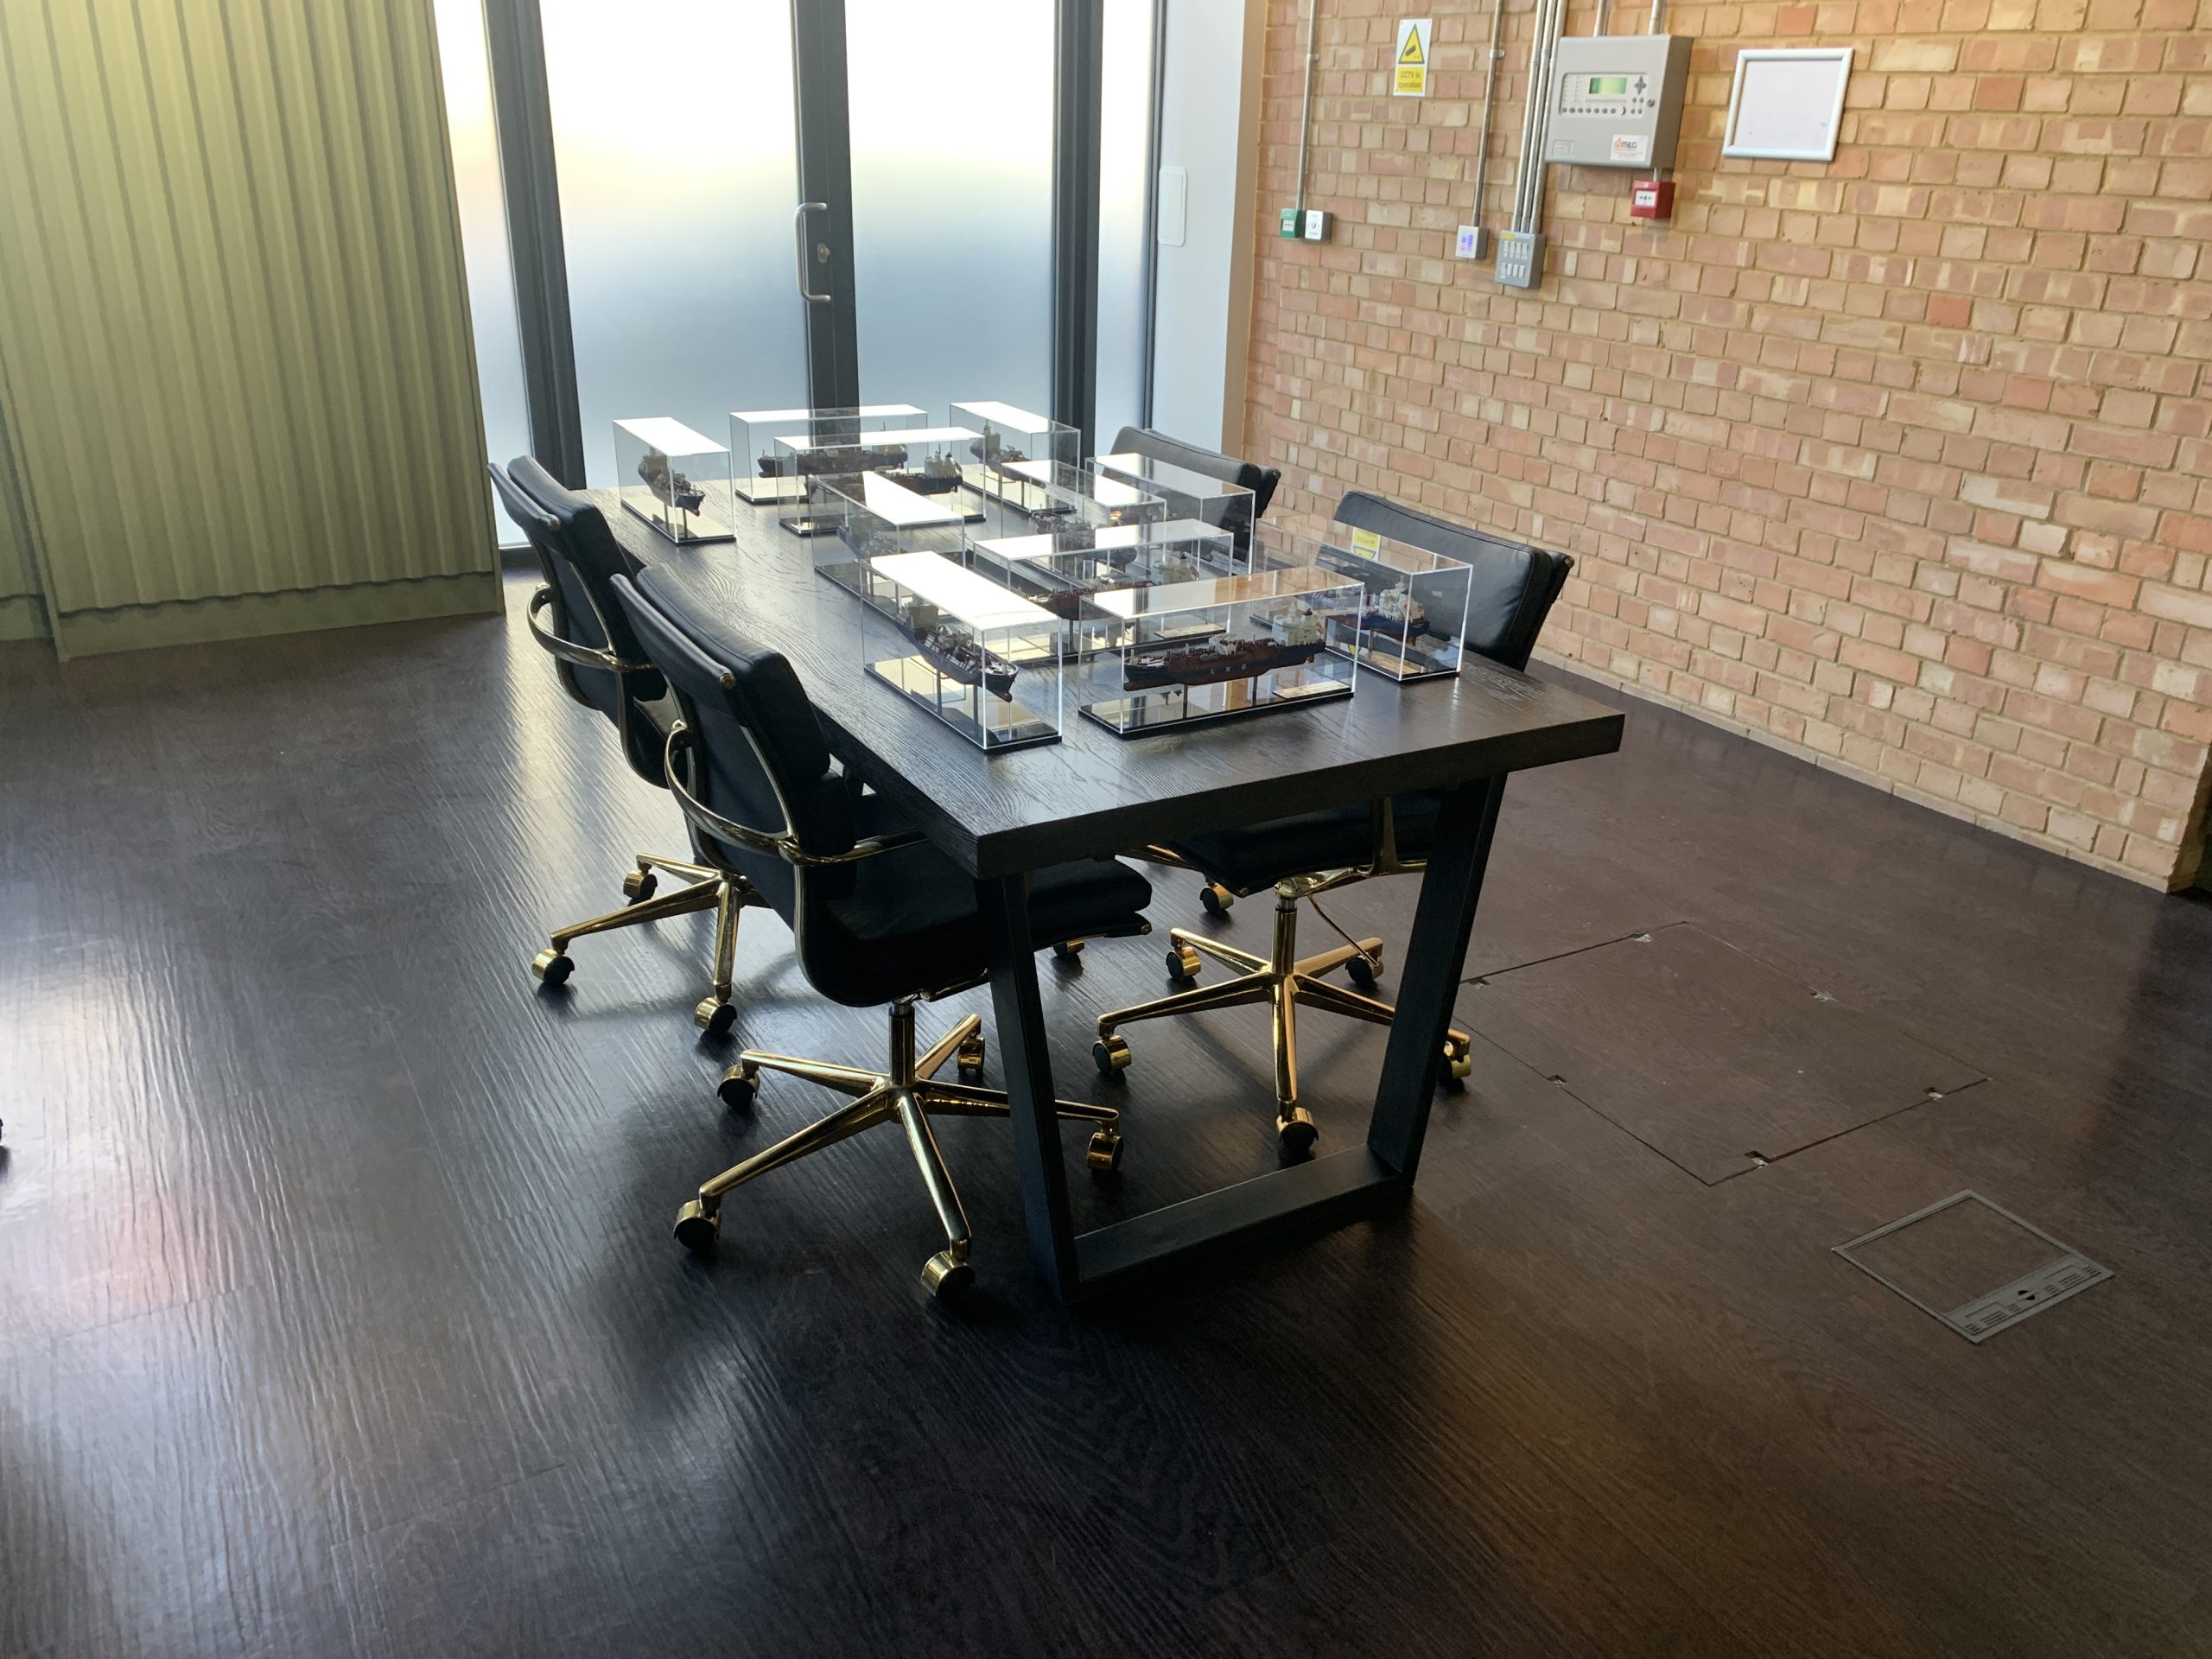
Once this has all been done, the models are complete, and ready to be transported to the client for installation.
The end of the project resulted in eleven Accolade models proudly displayed in their cases, alongside their respective name plates. They were delivered to Avenir on time and were all of a fantastic quality. Avenir were extremely satisfied, with all of the models correctly coloured, measured and built.
Restrictions from COVID did prove to be a slight obstacle of course, as face-to-face meetings aren’t possible and so communication isn’t necessarily as efficient, but thanks to the digitalisation of the company, as well as high levels of dedication and persistence, the project was seen through without a hitch.
Excellent work was conducted by our 3D-modeller, from liaising with the client all the way through to installing the models. He carried out the work swiftly, and to an excellent degree of quality.
Said quality of each model was second-to-none, and Premier Ship Models are hugely proud of this project. All parties in fact were left pleased, and the models are a wonderful representation of Avenir, and the highly important work they’re doing to try and reduce global CO2 emissions.
Commission your own model
If you would like to have your own bespoke model built, please complete the contact form below.
